
Introduction
I purchased a 100% Carbon Fiber Mini Quad Bundle w/DYS motors from Multi Rotor Mania. The bundle included everything necessary to get the copter in the air except for the control board, receiver, and battery. I started off with the Mini-APM GPS Combo w/OSD but after a month or so of thrashing realized that it was not meant to be. After swapping out the Ardupilot for Multi Rotor Mania's Naze32 clone, the Dragonfly32, I have had nothing but incredible flights.
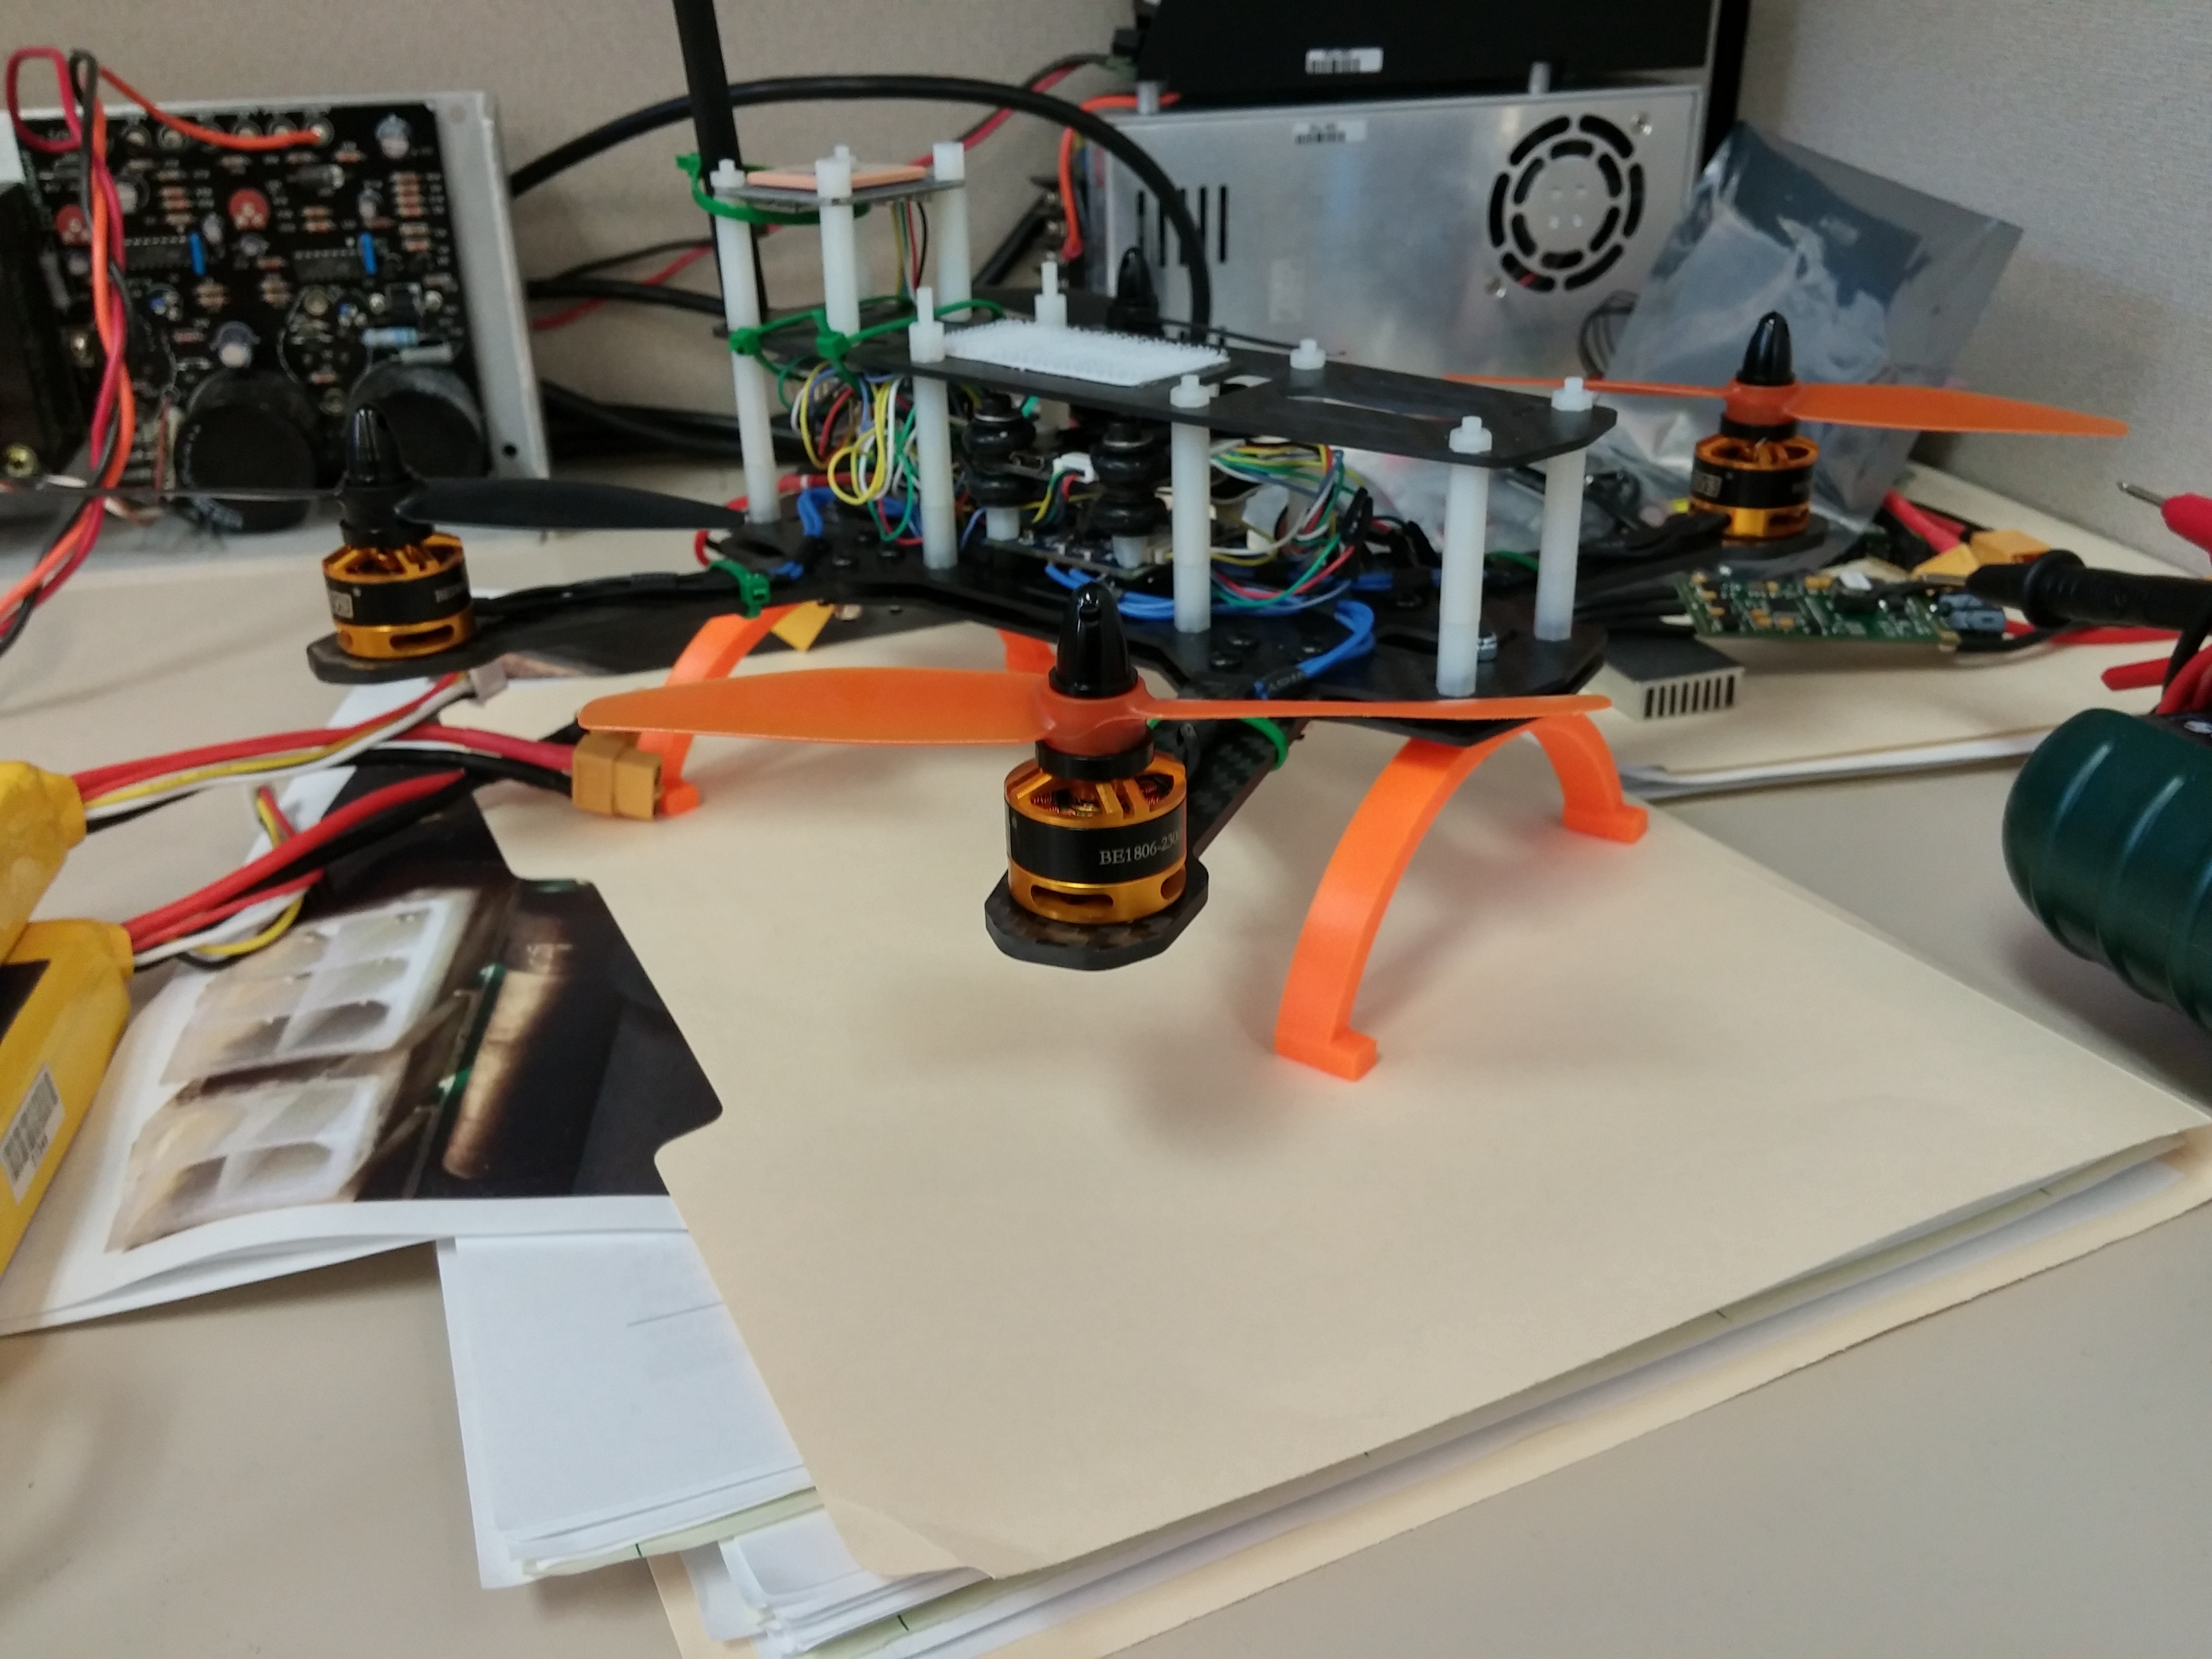
Frame Assembly
The arms wholes and frame wholes have tolerances that are a little bit sloppy. They should be cleaned up with a 1/8in drill bit before attempting to assemble the copter. The motor mount at the end of the arm requires some modification as well. The two slits are not close enough together for the DYS bolt pattern so a drill or file must be use to make the motors bolts fit in these slits.

To lift the top plate off of the base, Nylon spaces were used instead of the stock metal spacers. Using nylon hardware saves weight and can help protect the carbon frame in a crash.

Motor and Speed Controllers
The MRM 4x12A ESC with SimonK was used for this build. This speed controller helps save weight, has a bolt pattern that matches the frame and is high performance because it comes preloaded with SimonK firmware. Before installation the capacitor leads were shortened up and the stock power leads were replaced with larger gauge wires.

The nylon standoffs interfere with a connector on the ESC. To resolve this, the stand off was whittled down with a box cutter.


After installation of the motors, a servo tester was used to help determine the correct motor power wire sequence for each motor. For this build, an H copter configuration was used opposed to an X. The rotation directions are a little bit different between the H and X so plan accordingly. The motor leads were soldered directly to save weight.
When I wised up and move away from the Ardupilot on this build, I needed to change motor direction from an H quad to an X quad. Fortunately I was able to switch the arms around and completely avoid needing to re-solder motor leads.
Mounting the Flight Controller
Although the bolt pattern matches the frame, mounting the APM directly to the frame proved to cause unacceptable vibration levels. Vibrations were damped with some 3d printed ABS plates and rubber vibration dampening balls. The APM mounts directly above the ESC with no issue.
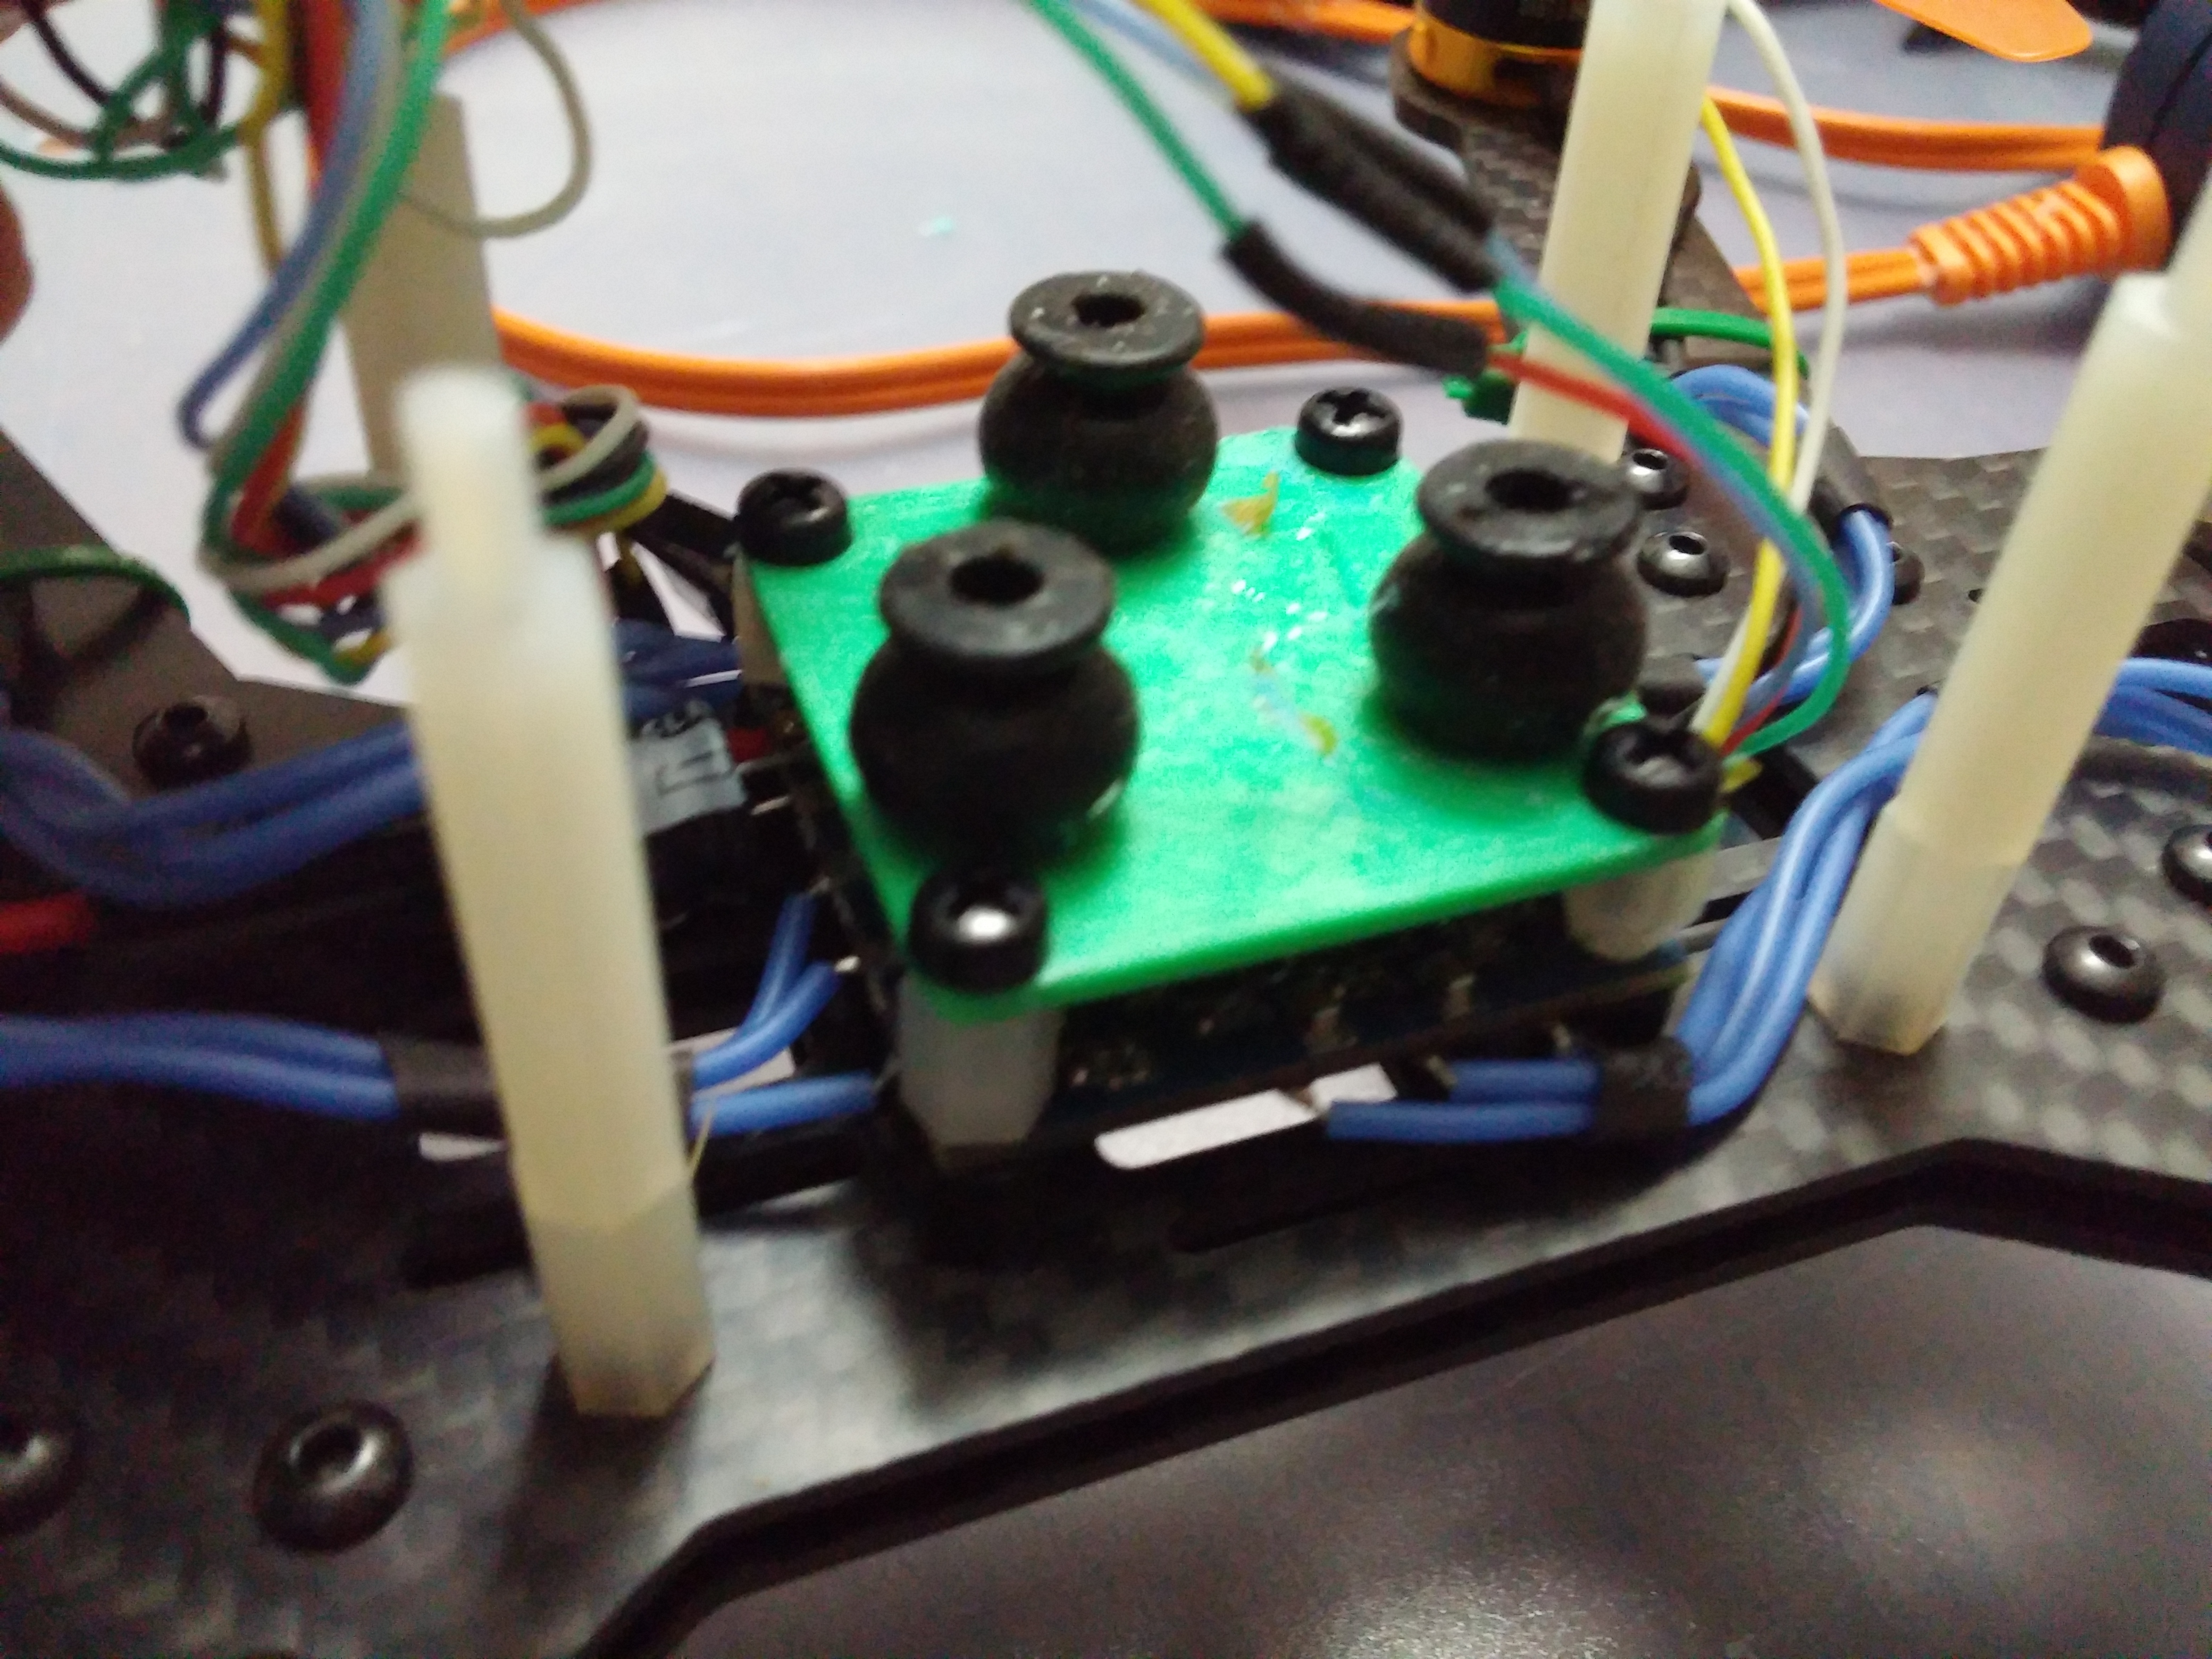
In the final build, the flight controller was mounted to the frame with the use of some vibration dampers.

Compass Position and Orientation
Initially, the combination GPS and Compass unit was mounted to the top plate. This was accomplished using more nylon stand offs. This proved to be a bad idea because the GPS was easily damaged during a crash. A GPS case was 3d printed to protect the GPS and the GPS was mounted directly to the top plate with Velcro and zip ties.
The second set of compass problems came from the compass orientation setting. Without the proper roll set in mission planner, only two of the four compass directions were correct. After getting this parameter right, the compass held position well in loiter and was able to RTL. Before the copter would fly normally but would run away when either of these modes were activated.
Battery Position
Initially the battery was placed on top of the copter as seen in other builds. This was problematic for my build for two reasons.
- The power cable ran directly over the compass. This caused the cmott test to return 96%. After changing the placement of the battery, this went to 4%.
- The battery was located in close proximity to the compass. Placing the battery on modified the compass heading.
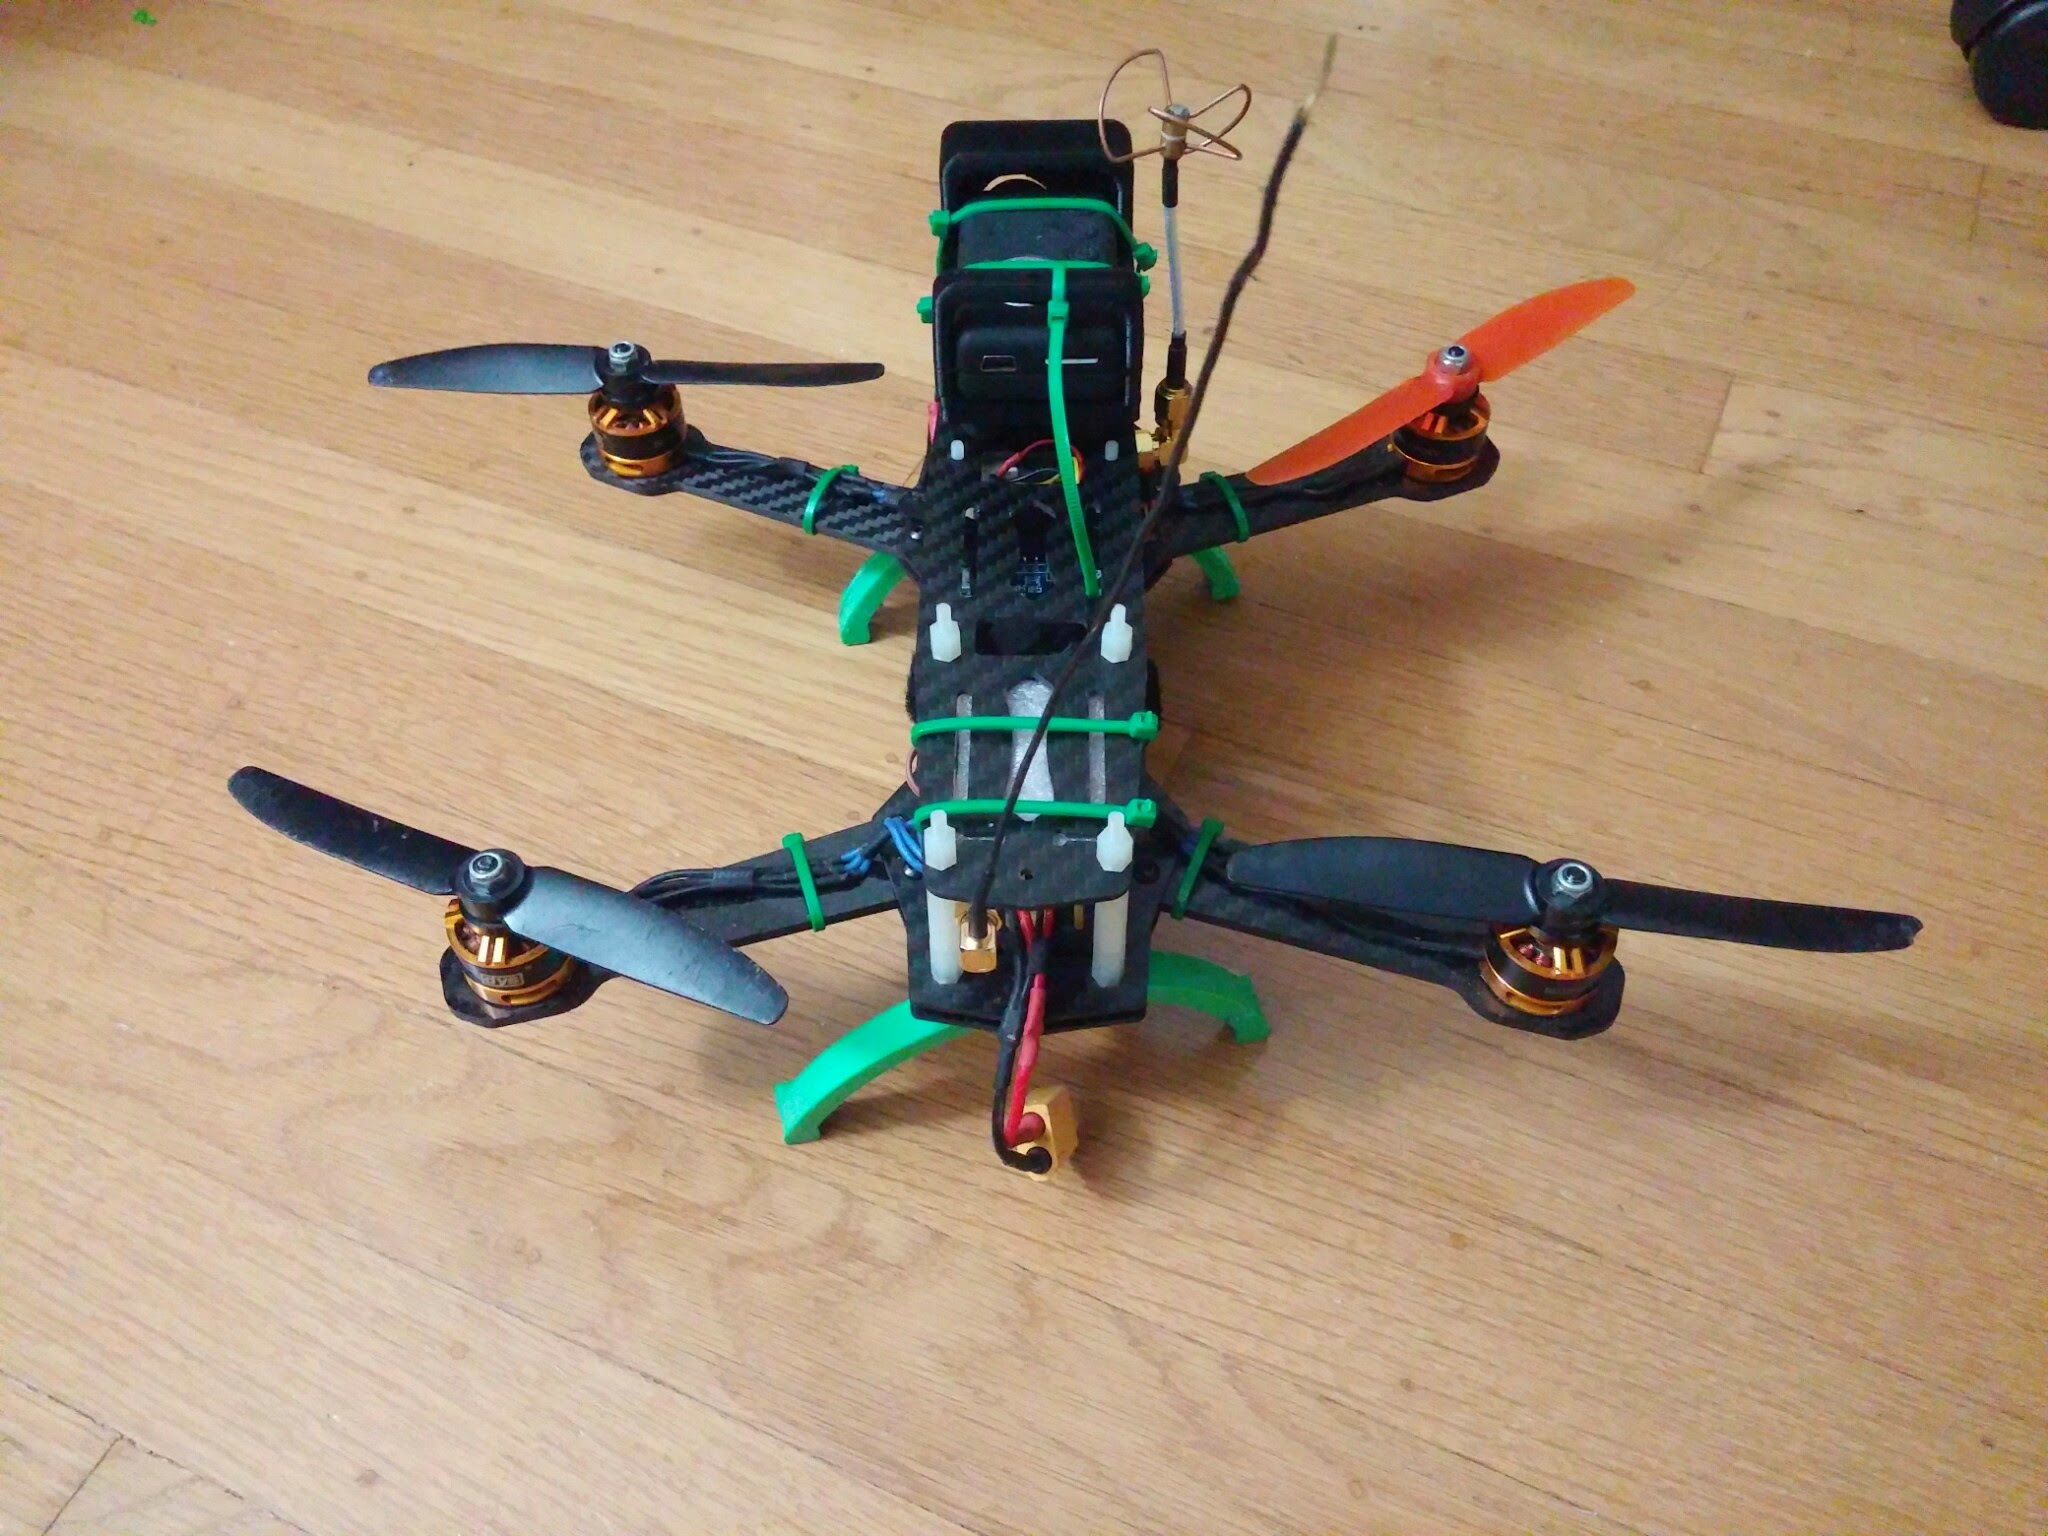
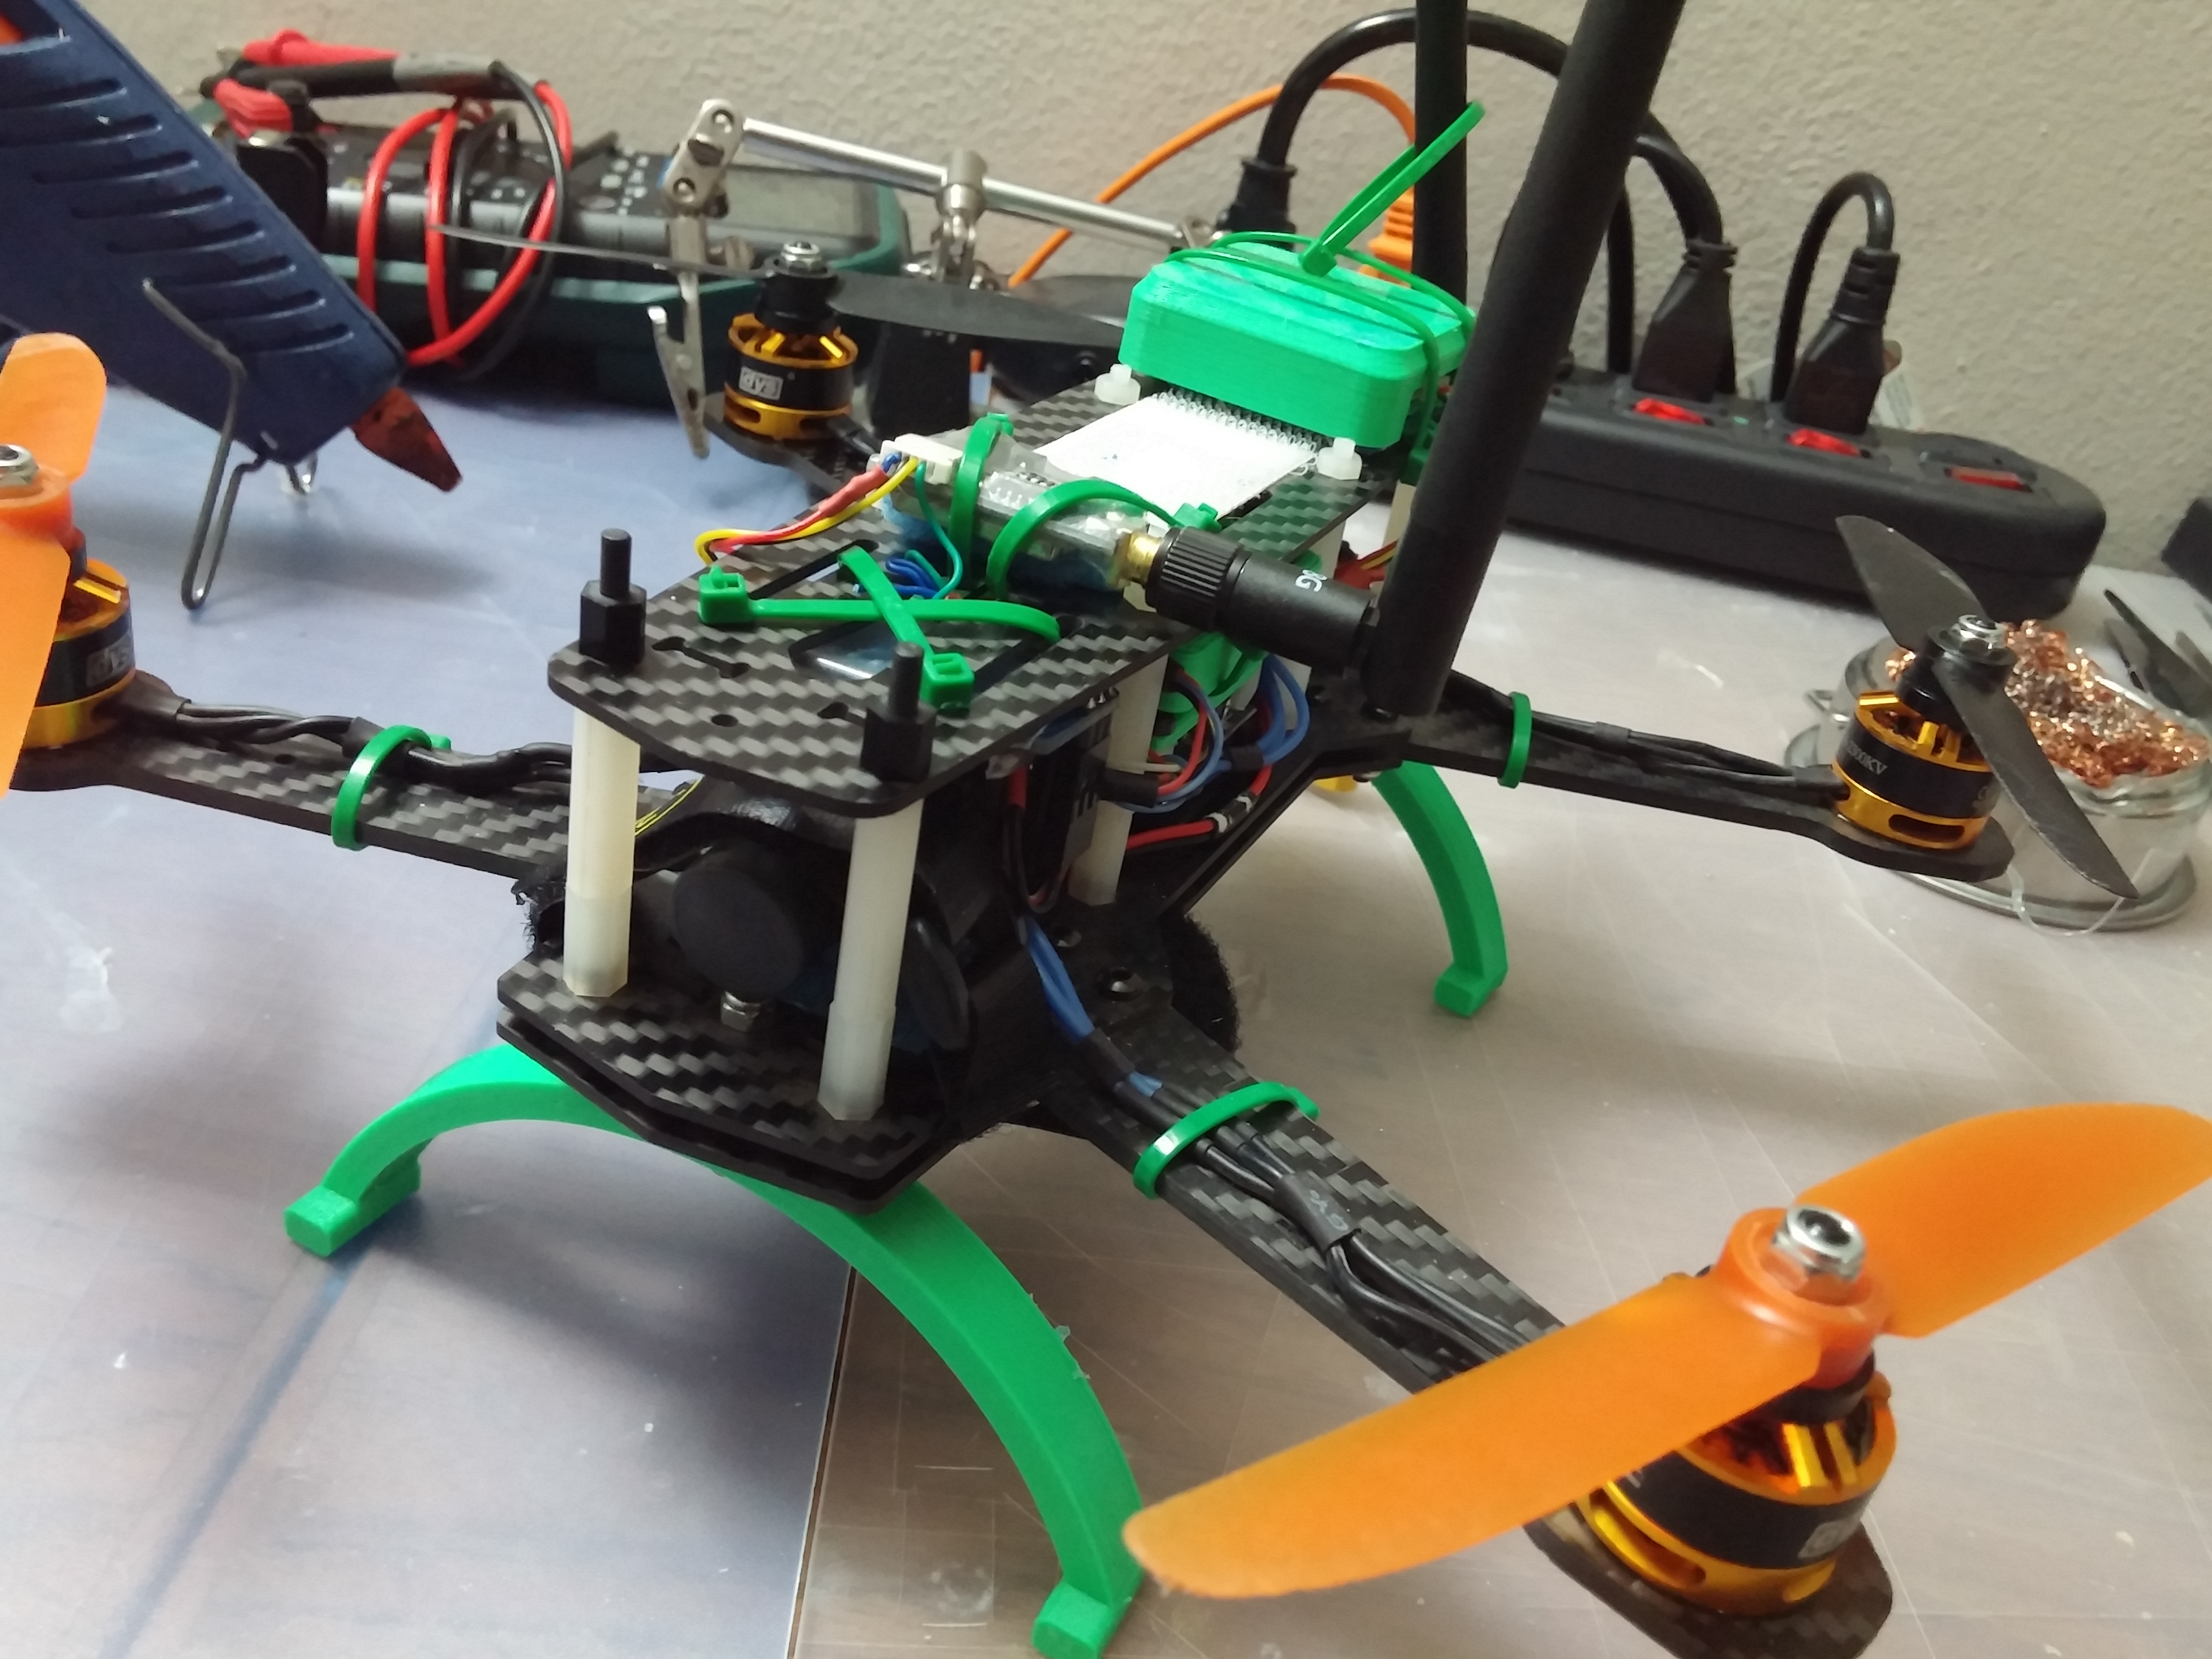
To resolve these two challenges the GPS and Compass module was left on top of the copter and the battery was placed below the copter. Some 3d printed landing gear helped protect the battery. The copter seems more stable with the battery on the bottom.
Center of Gravity
The mini is very touchy when it comes to CG. If the CG is too far back, it will cause the copter to flip backwards when a quick stop is attempted. Similarly if the CG is too far forward, the copter fill flip forward.
Tuning
Alt Hold
Even after dampening the vibrations that are seen by the APM mini to almost nothing, alt hold still did not perform. The copter would rise and wall uncontrollably. I found some alt hold settings from another APM build that used 6 inch props and used the alt hold PIDs as a jumping off point then fine tuned it. The starting values can be found on kiloohm.com.
STABILIZE_ROLL_P= 2.000
STABILIZE_PITCH_P= 2.000
STABILIZE_YAW_P= 4.5000
PITCH_RATE_P= 0.0750
PITCH_RATE_I= 0.2000
PITCH_RATE_D= 0.0065
ROLL_RATE_P= 0.0750
ROLL_RATE_I= 0.2000
ROLL_RATE_D= 0.0065
Pitch and Roll
The copter flies with the stock PIDs but it is very sloppy. I hoped to use auto tune but this produced a poor tune. The tune was too stiff and would cause the copter to go unstable in stabilize mode when a quick change of direction was attempted. After several attempts, the tie down method and manual tuning was used to get the tuning to an acceptable point.
After tweaking the tuning parameters for more than a month trying to make the copter perform, I ultimately decided that the smaller copter was too agile for the Ardupilot to control. After updating to the Dragonfly32 (a naze32 clone), I have had no problems and happy fling.
I have clean flight with the following PID parameters.
set looptime = 2500

       P    I       D
ROLL   4.1  0.036  34
PITCH  4.8  0.049  35
YAW    8.5  0.045   0
ALT    5.0  0.000   0
VEL   12.0  0.045   1
Pos    0.11 0.00
PosR   2.0  0.08    0.045
NavR   1.4  0.20    0.080
LEVEL  7.5  0.010   100
MAG    4.0

ROLL & PITCH RATE 0.45
YAW RATE          0.65
TPA               0.64
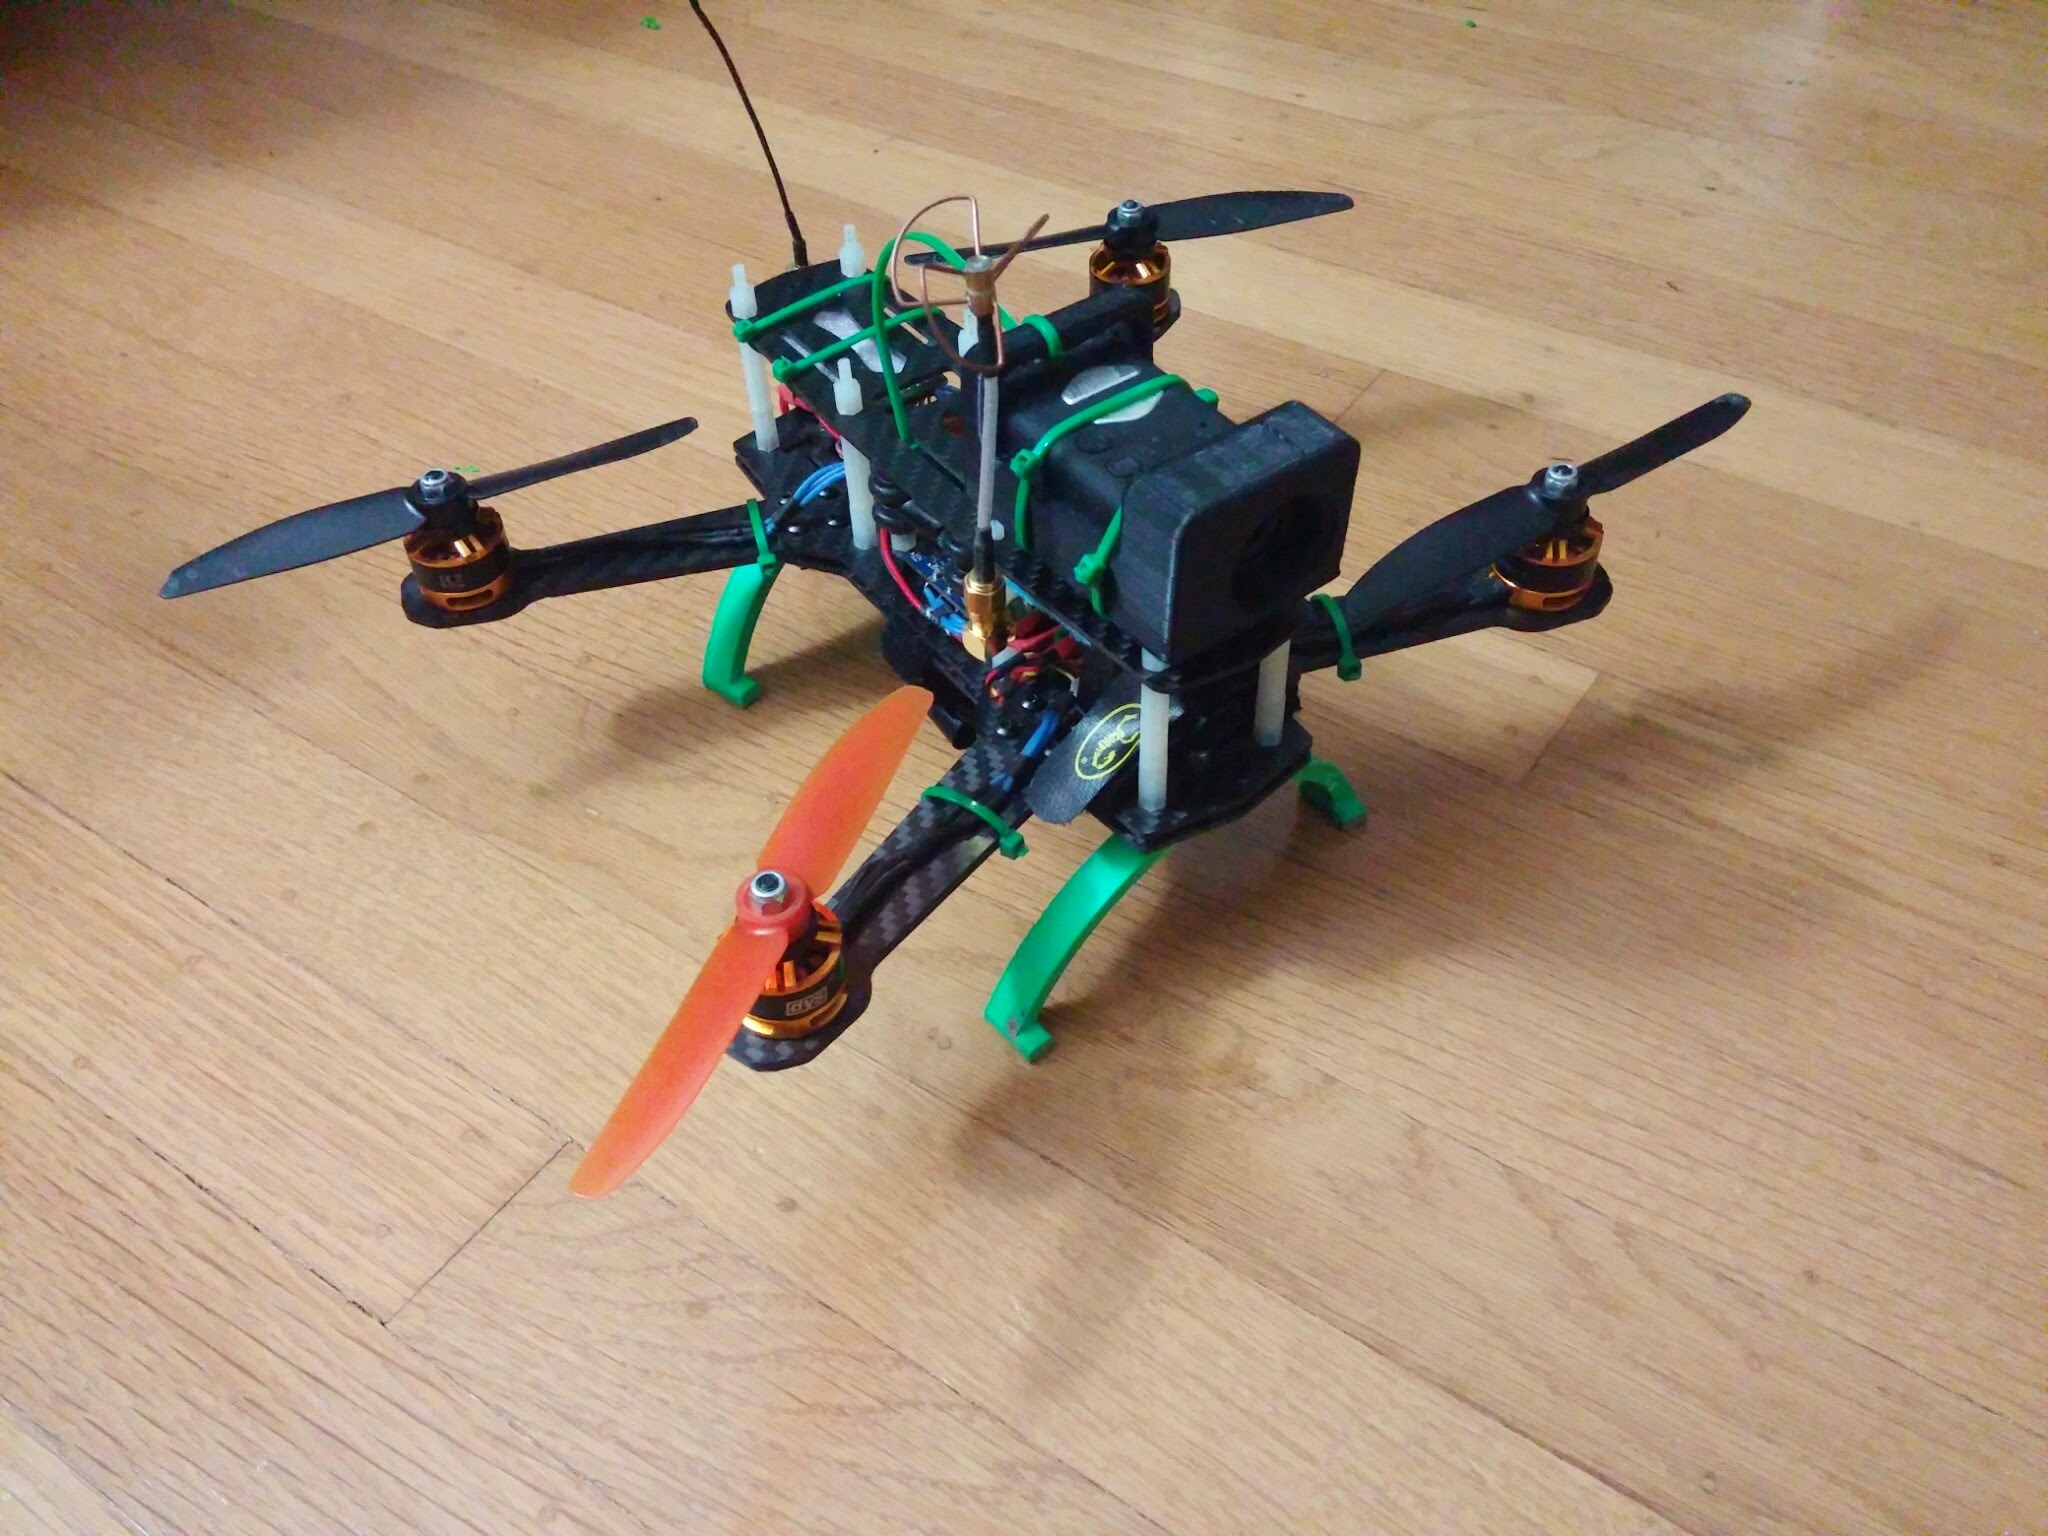
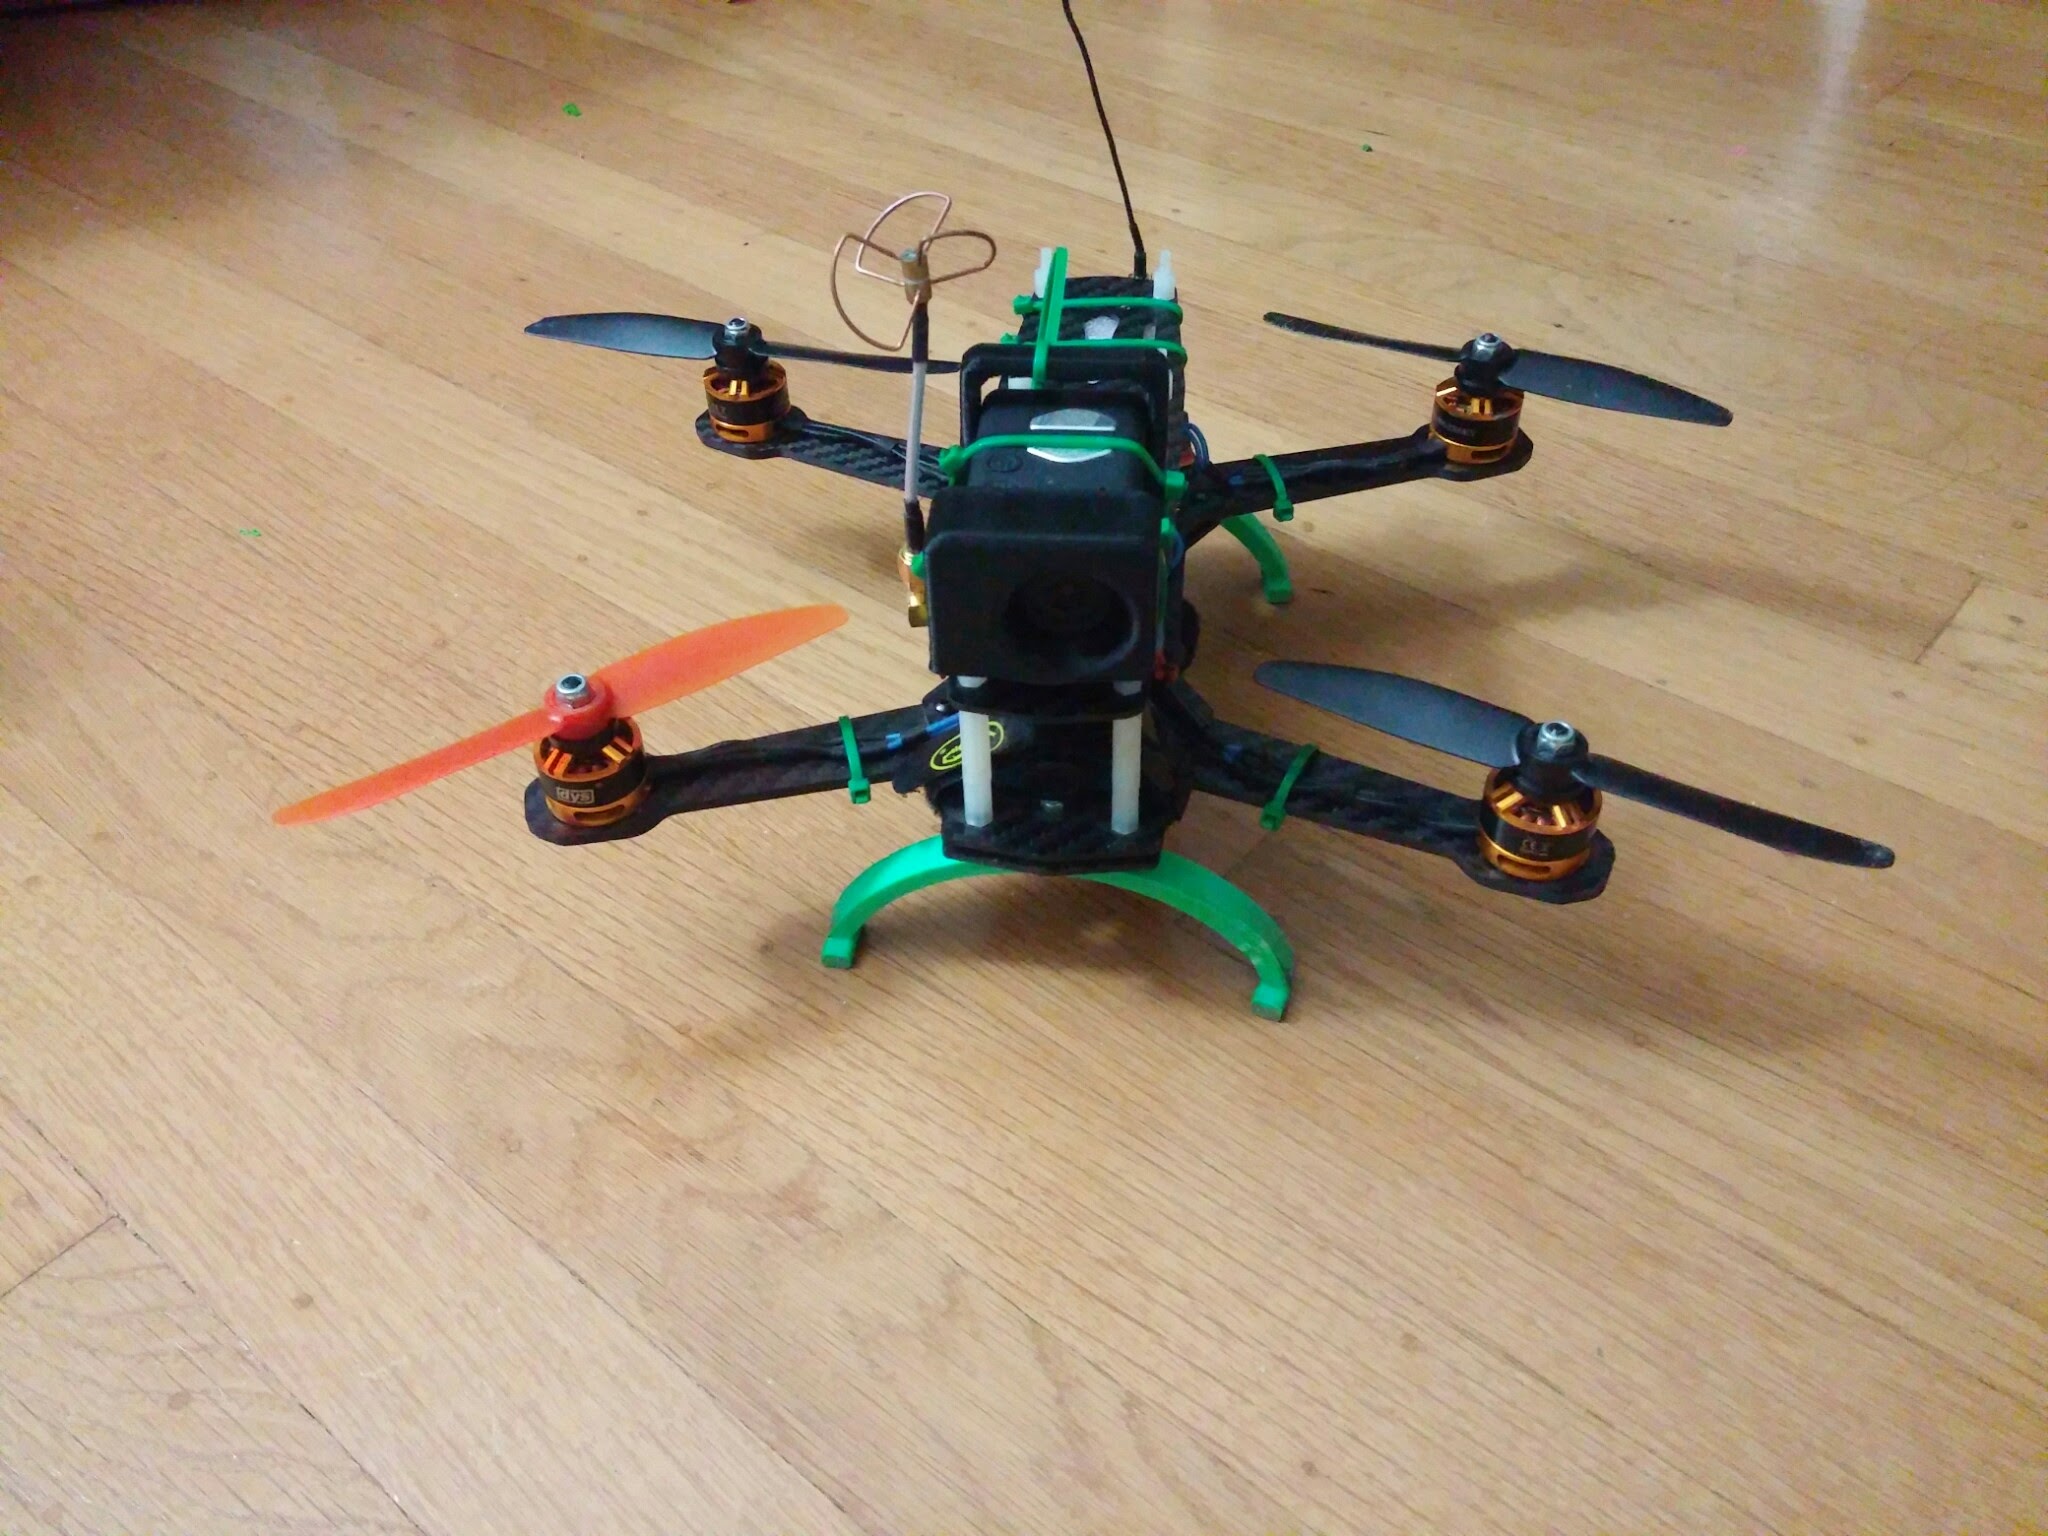
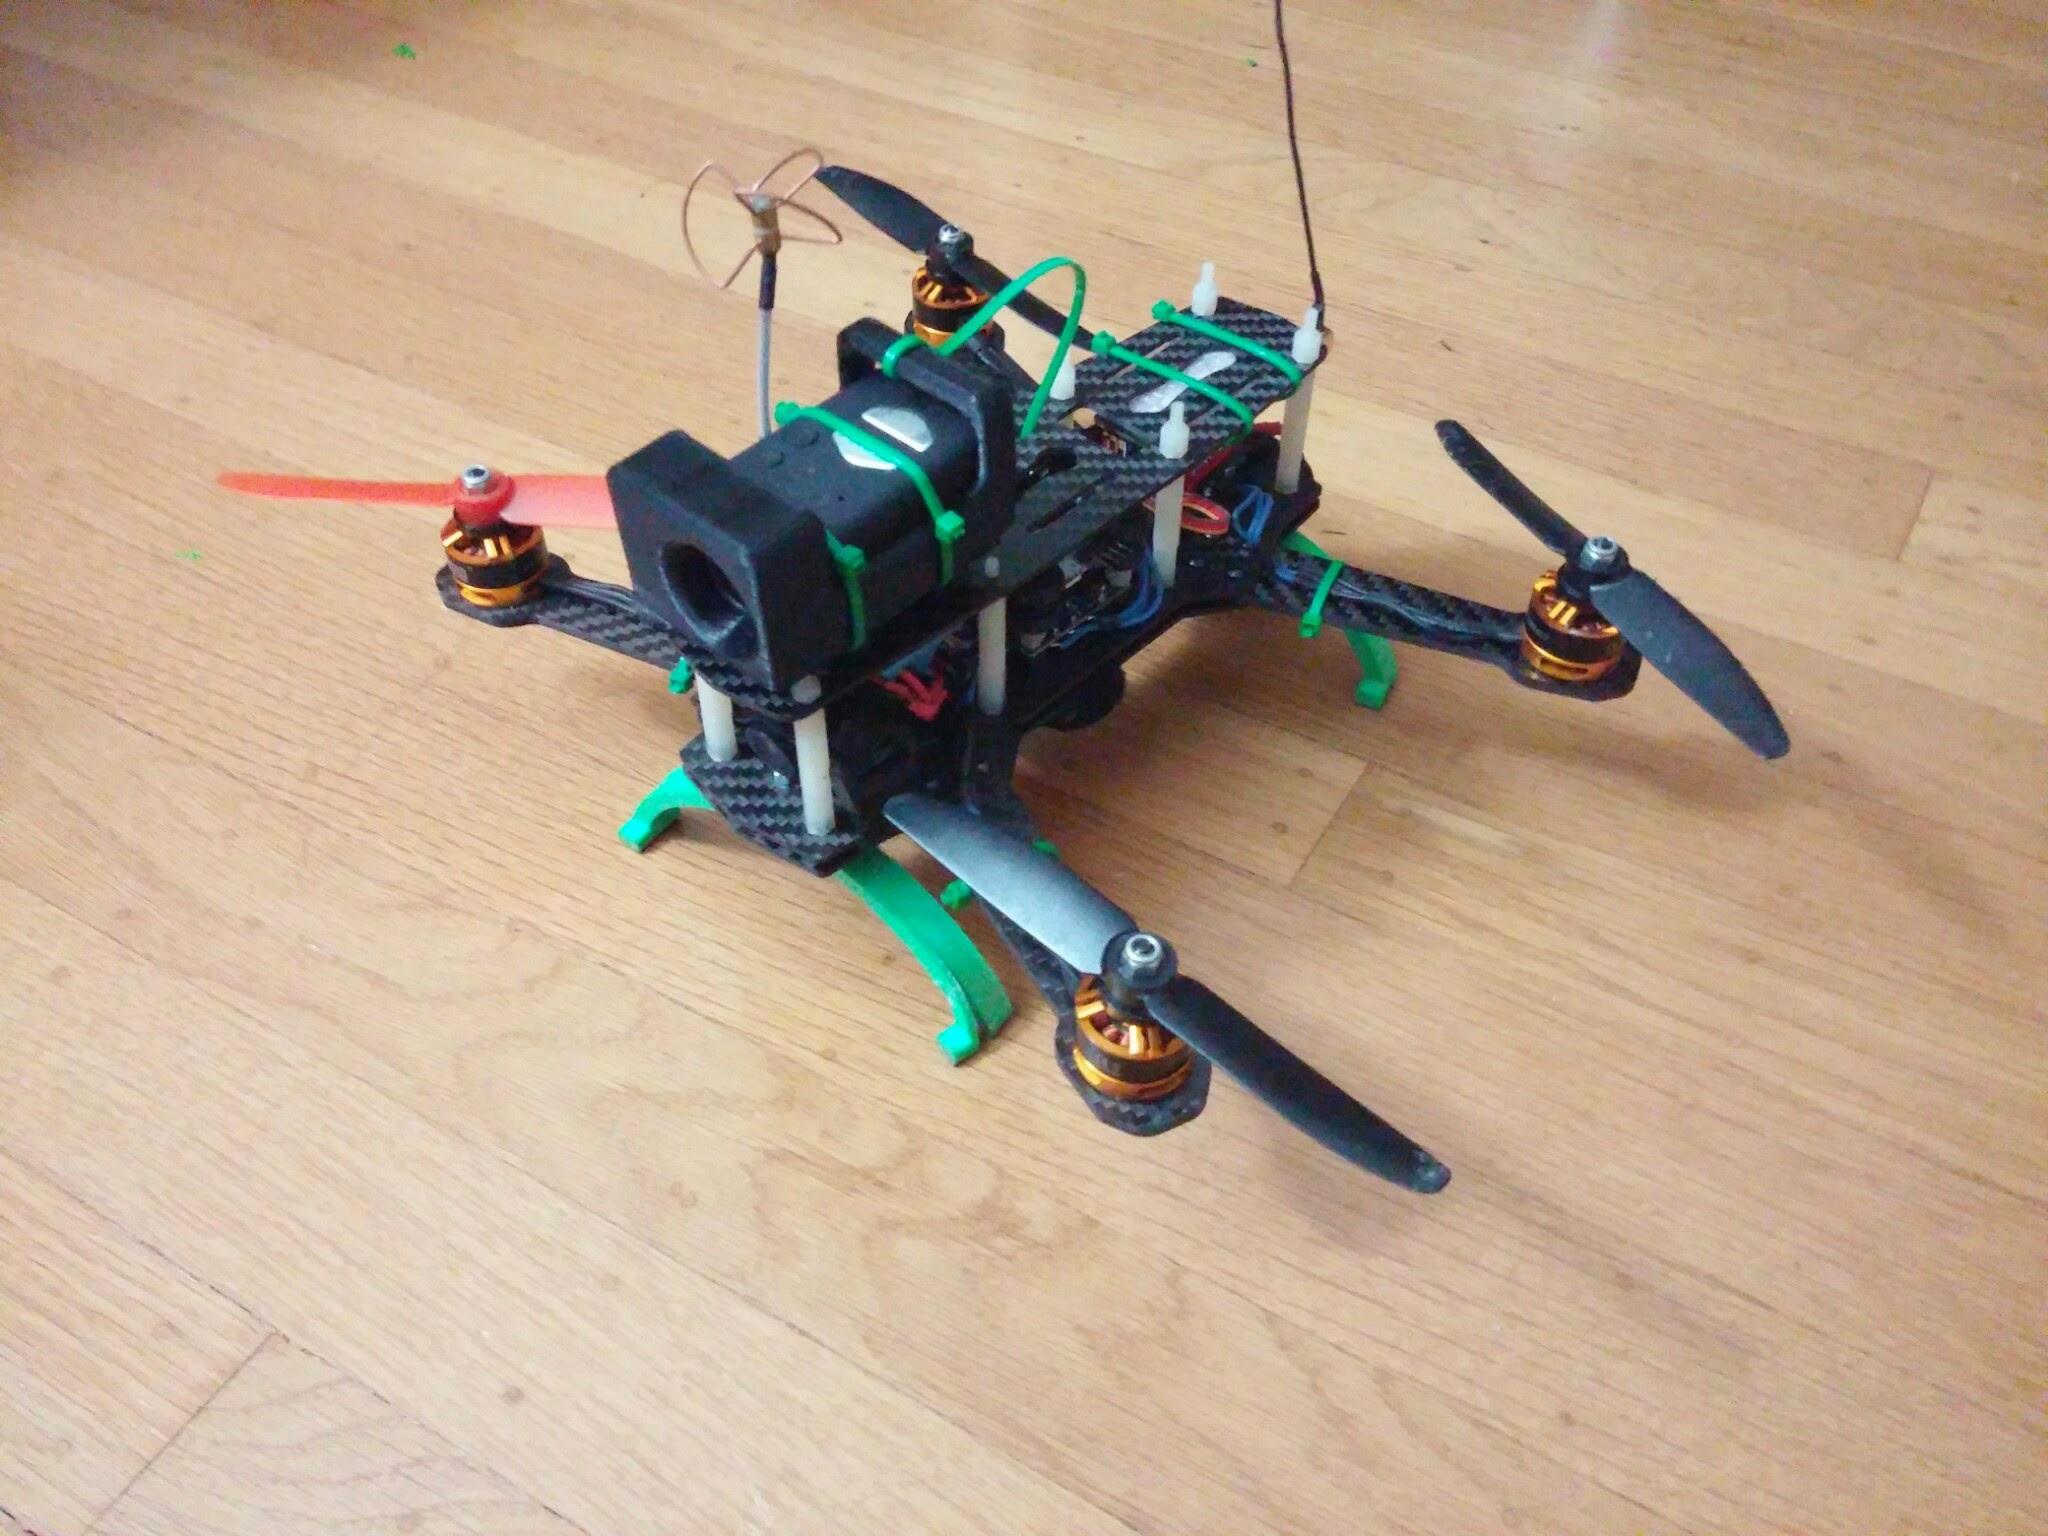
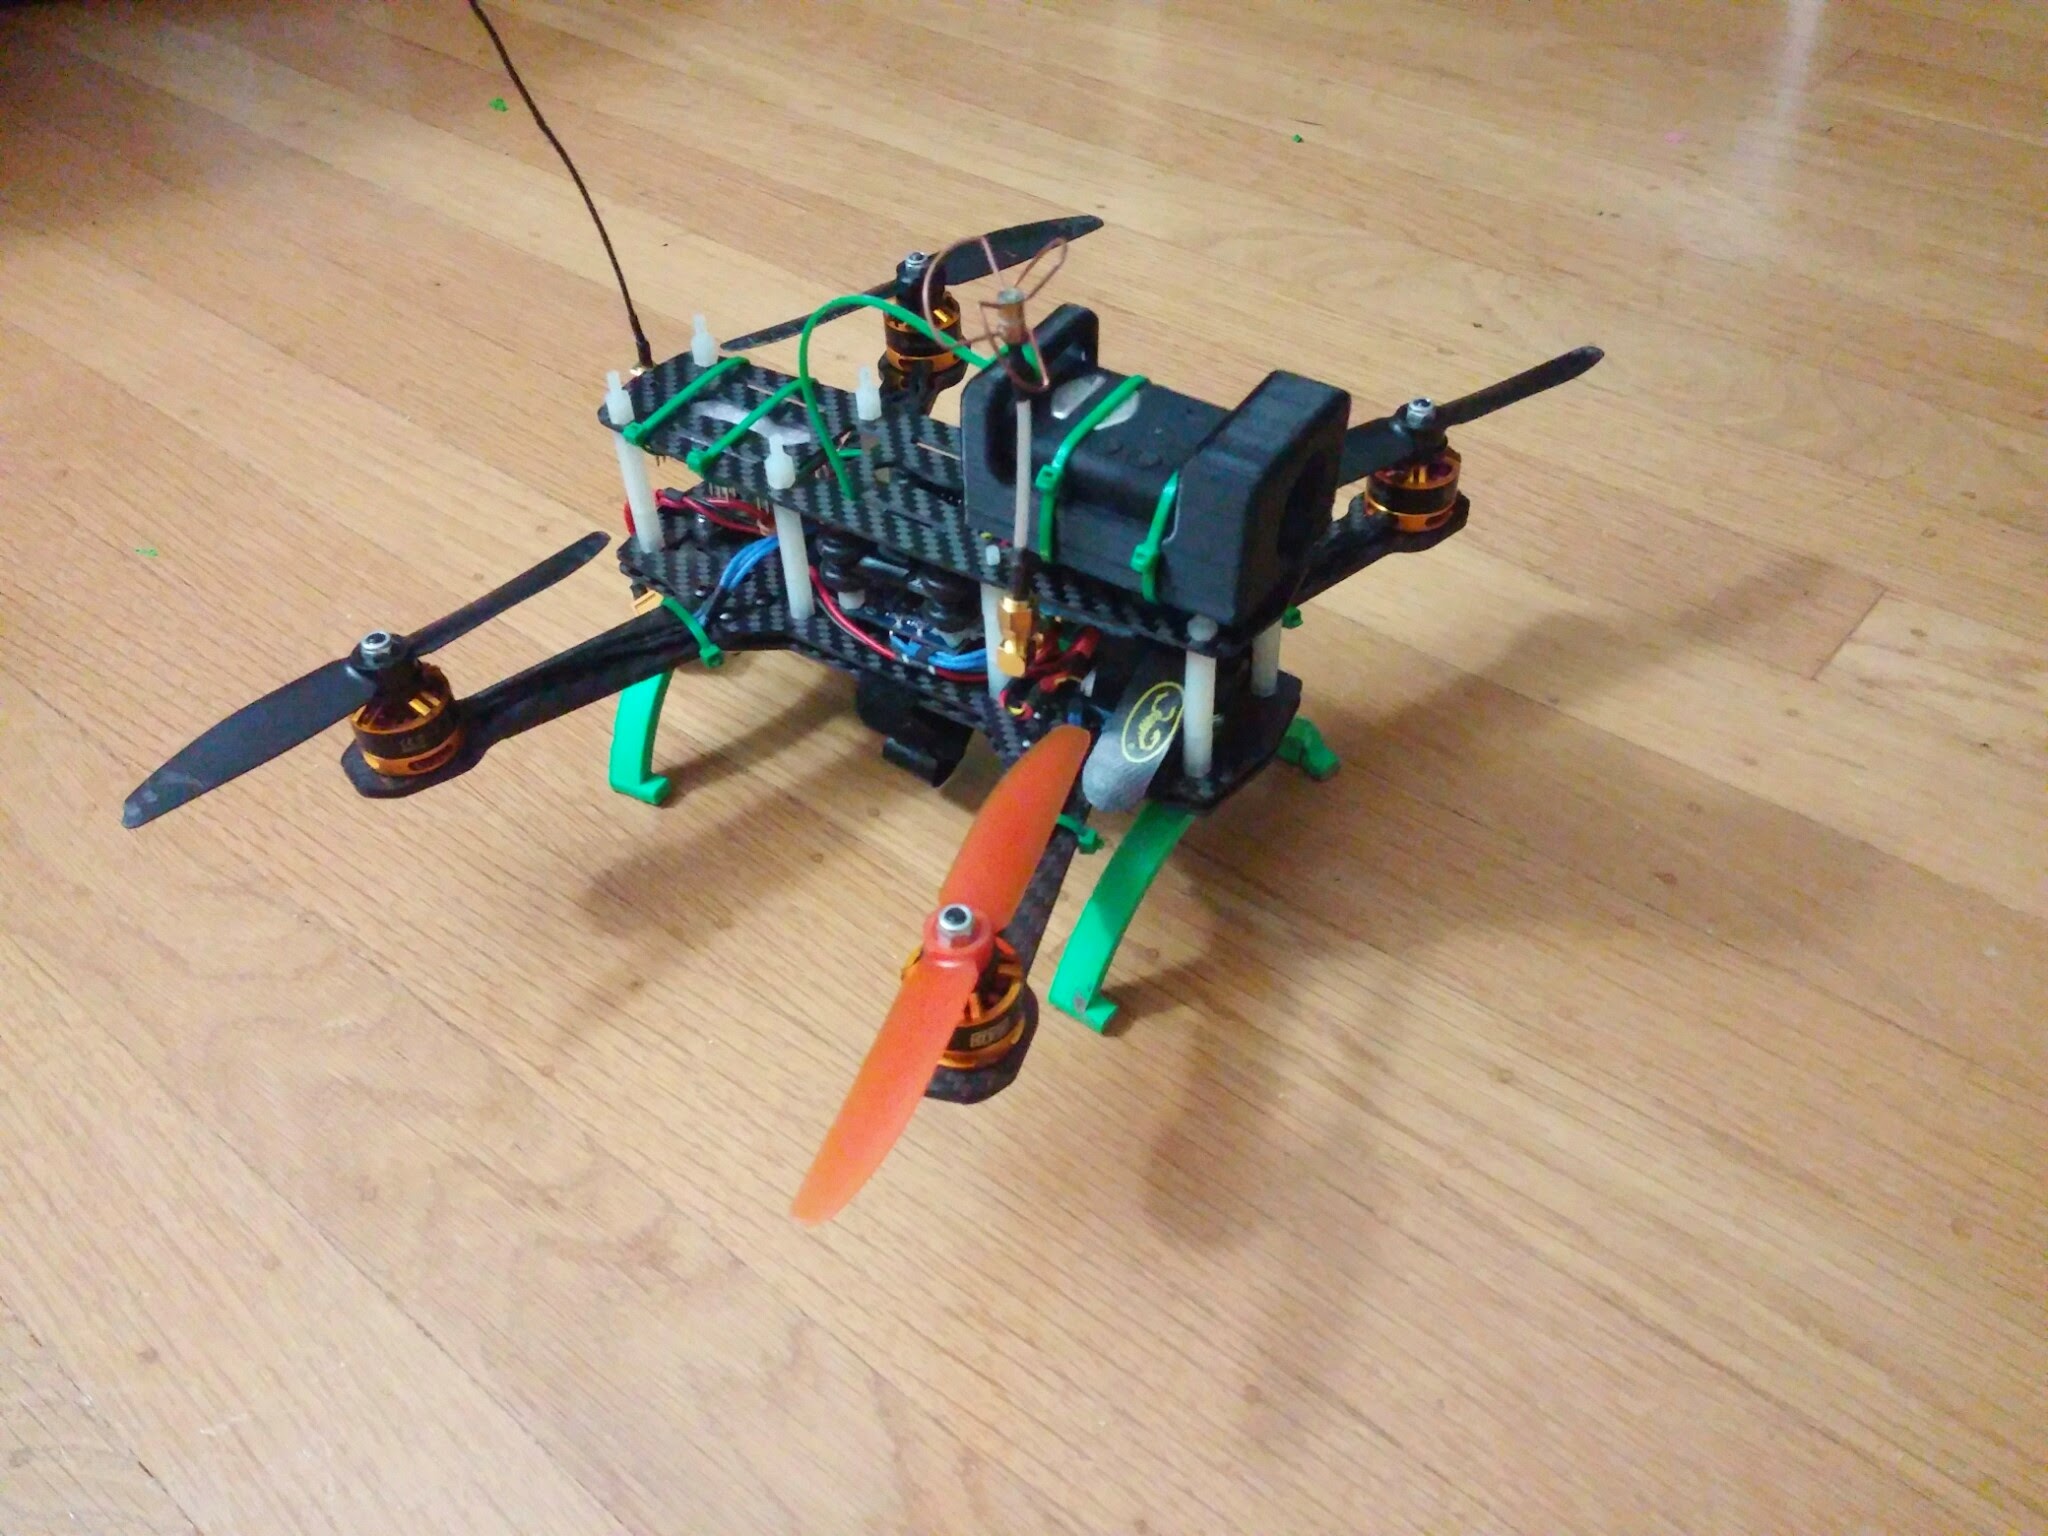
Here is the ZMR-250 all up. It is sporting a custom 3d printed mobius case and landing gear as well as the proper 32 bit flight controller.

FPV
I have been using a board camera for the FPV feed and a Mobius to record HD.
- 25*25mm Mini Version of 600TVL Sony Super HAD CCD Camera DC5-15V Metal Case (HS1171)
- SkyZone TS5823 - 32 channel 5.8ghz 200mw (works with my ImmersionRC goggles)
-
RHCP Circular Polarized 5.8gHz Antenna Set

Resilient little guys