Required Parts for Crossfire 2
- 1047 GWS EP Propeller grey CW (From Rear) (6pcs/set)
- GWS EP Counter Rotating Propeller (RH-1047 255x119mm) Grey (6pcs/set)
- Turnigy TG9e 9g / 1.5kg / 0.10sec Eco Micro Servo (camera pan)
- Scorpion Lipoly Lock Strap 205mm (small)
- Nylon XT60 Connectors Male/Female
- Hobbyking Multi-Rotor Power Distribution Board
- Cable Ties 160 x 2.5mm Green (100pcs)
- Mobius ActionCam a 1080p HD Video Camera Set With Live Video Out
- ZIPPY Compact 2200mAh 3S 25C Lipo Pack
- Turnigy Plush 18A (with SimonK firmware)
- hexTronik DT750 Brushless Outrunner 750kv
- Circular Polarized 5.8ghz Antenna Set
- ImmersionRC 5.8Ghz Audio/Video Transmitter
- HKPilot Mega 2.5.2 Master Set With OSD, LEA-6H GPS, Power module, Telemetry Radio (915Mhz) (XT-60)
Efficiency
Efficiency is key for long range missions and getting the most out of each flight. Before investing in expensive batteries, I did some quick experiments to figure out the optimal battery size.
The first step is to find how much current the copter pulls. I designed a test where I would add weight then hover the copter. Each time reading off the current draw using a calibrated 3D Robotics power module to monitor current though a 3D Robotics radio.
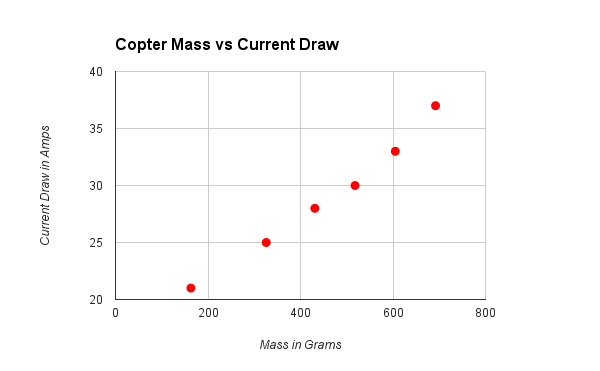
This produced a linear looking graph for the region that I experimented over. This makes sense because of Newton's second law (F= m * a). As the mass of the copter increases the force to keep it in the air will increase linearly. An assumption here is that the battery voltage is constant so any increase in current is directly proportional to an increase in power (P= I * V). This should be a valid assumption for a well charged battery of adequate discharge rating.
The next step is to investigate the energy density of batteries. For this step, I pulled several batteries from Hobby King and made a table. I looked into mostly 3s batteries when I did the testing after finding 4s to have similar efficiency and more cost.
| Weight (g) | 370 | 354 | 433 | 443 | 378 | 443 | 163 | 82 | 105 |
| Capacity (mAh) | 4000 | 5000 | 5800 | 5000 | 5000 | 5000 | 2200 | 1000 | 1000 |
| mAh/g | 10.8 | 14.12 | 13.4 | 11.3 | 13.2 | 11.3 | 13.5 | 12.2 | 9.5 |
| Voltage (V) | 11.1 | 11.1 | 11.1 | 11.1 | 11.1 | 11.1 | 11.1 | 11.1 | 14.8 |
| Energy Desnity (Wh/g) | 120 | 156 | 148 | 125 | 147 | 125 | 149 | 135 | 140 |
Using these results I began to draw up some plots to help find the maximum efficiency.

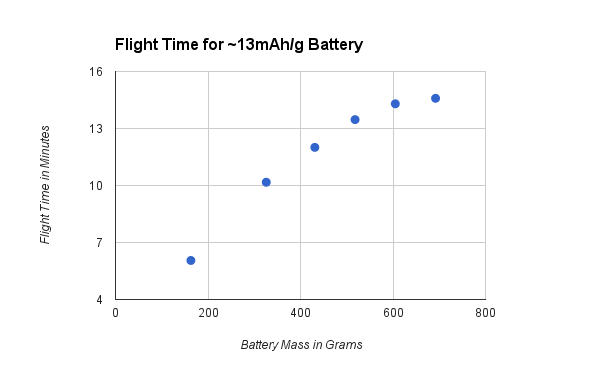
It was found that the a maximum hover flight time of 14 minutes could be obtained using one of the better performing batteries. It was also found that loading up with more than 500g of batteries had diminishing returns as the improvement in flight time was no longer linear. adding more than 700g worth of batteries actually would decrease the flight time.
Ultimately to save cost and weight, I went with two 3s 2200mAh batteries wired in parallel. This makes for ~325g of battery weight which is well within the linear region. Since the copter does more than hover, this weight reduction also allows for more performance.
FPV
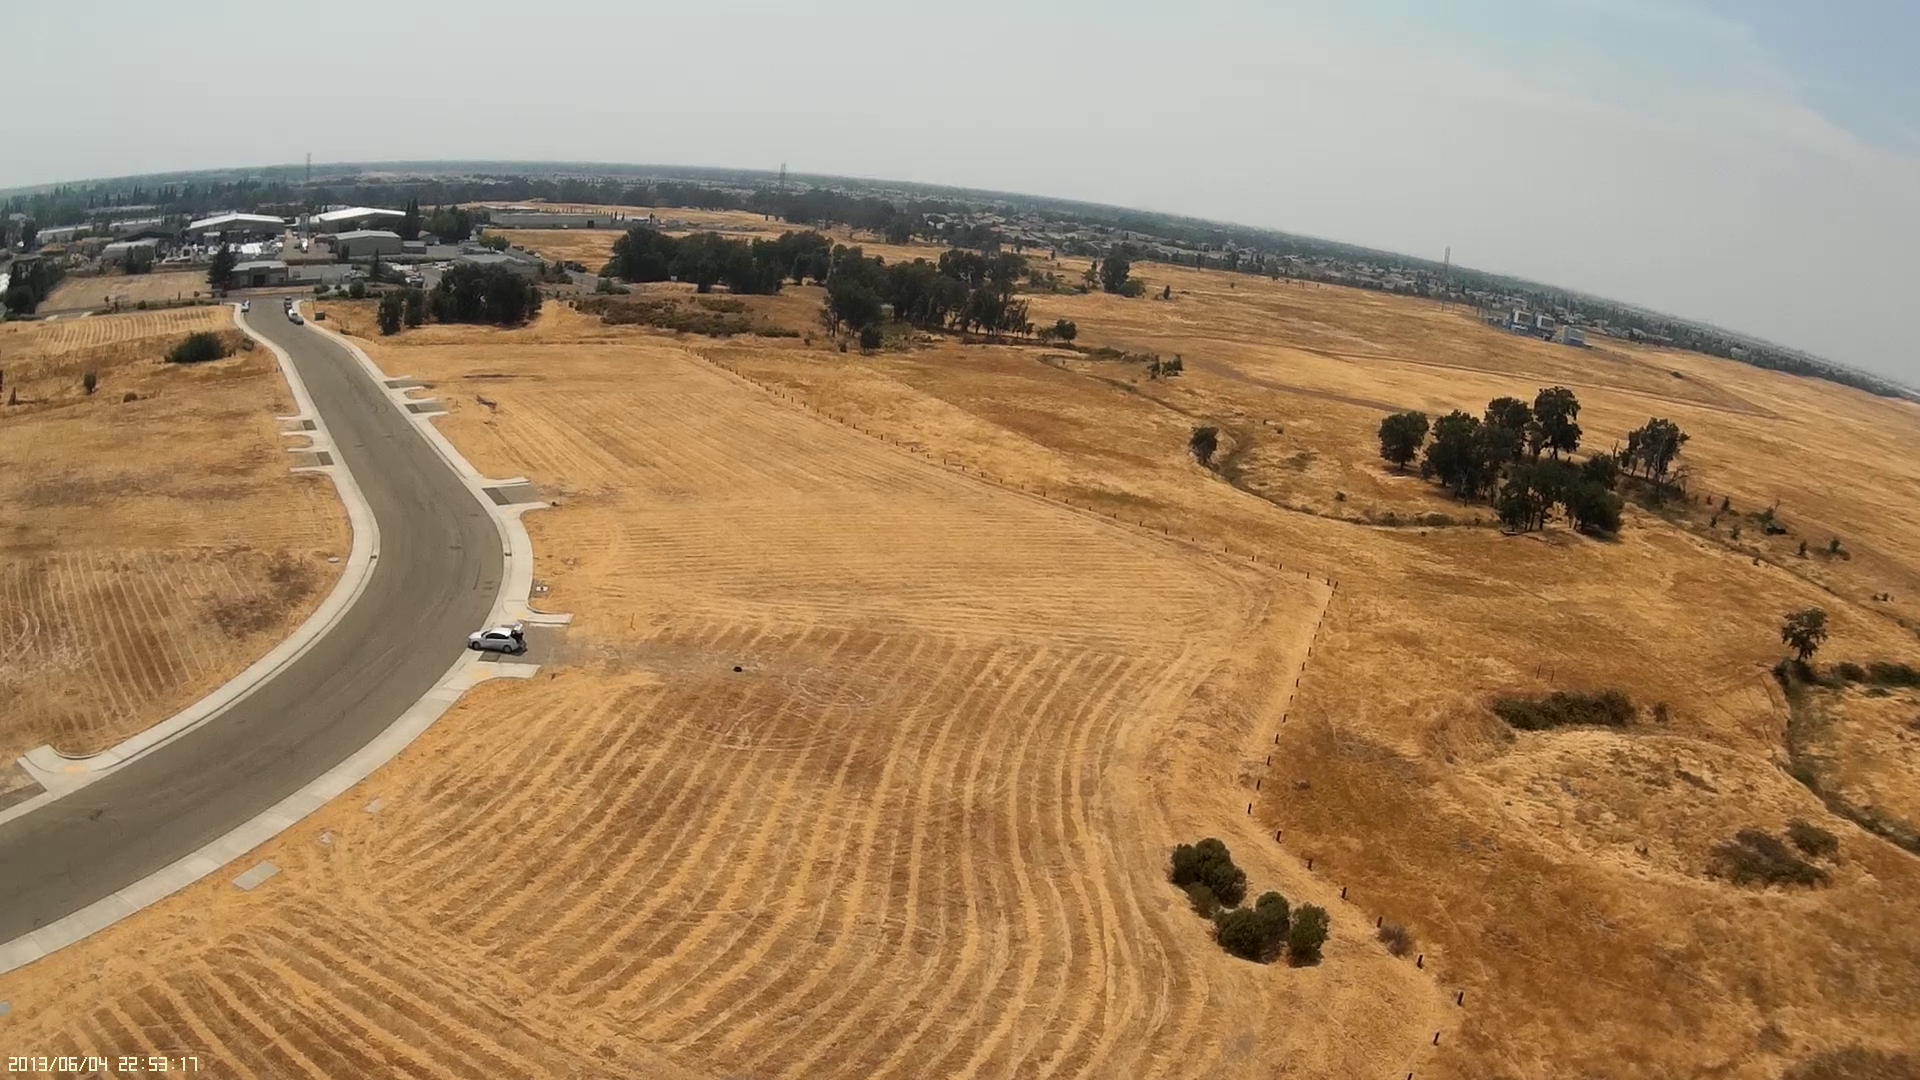
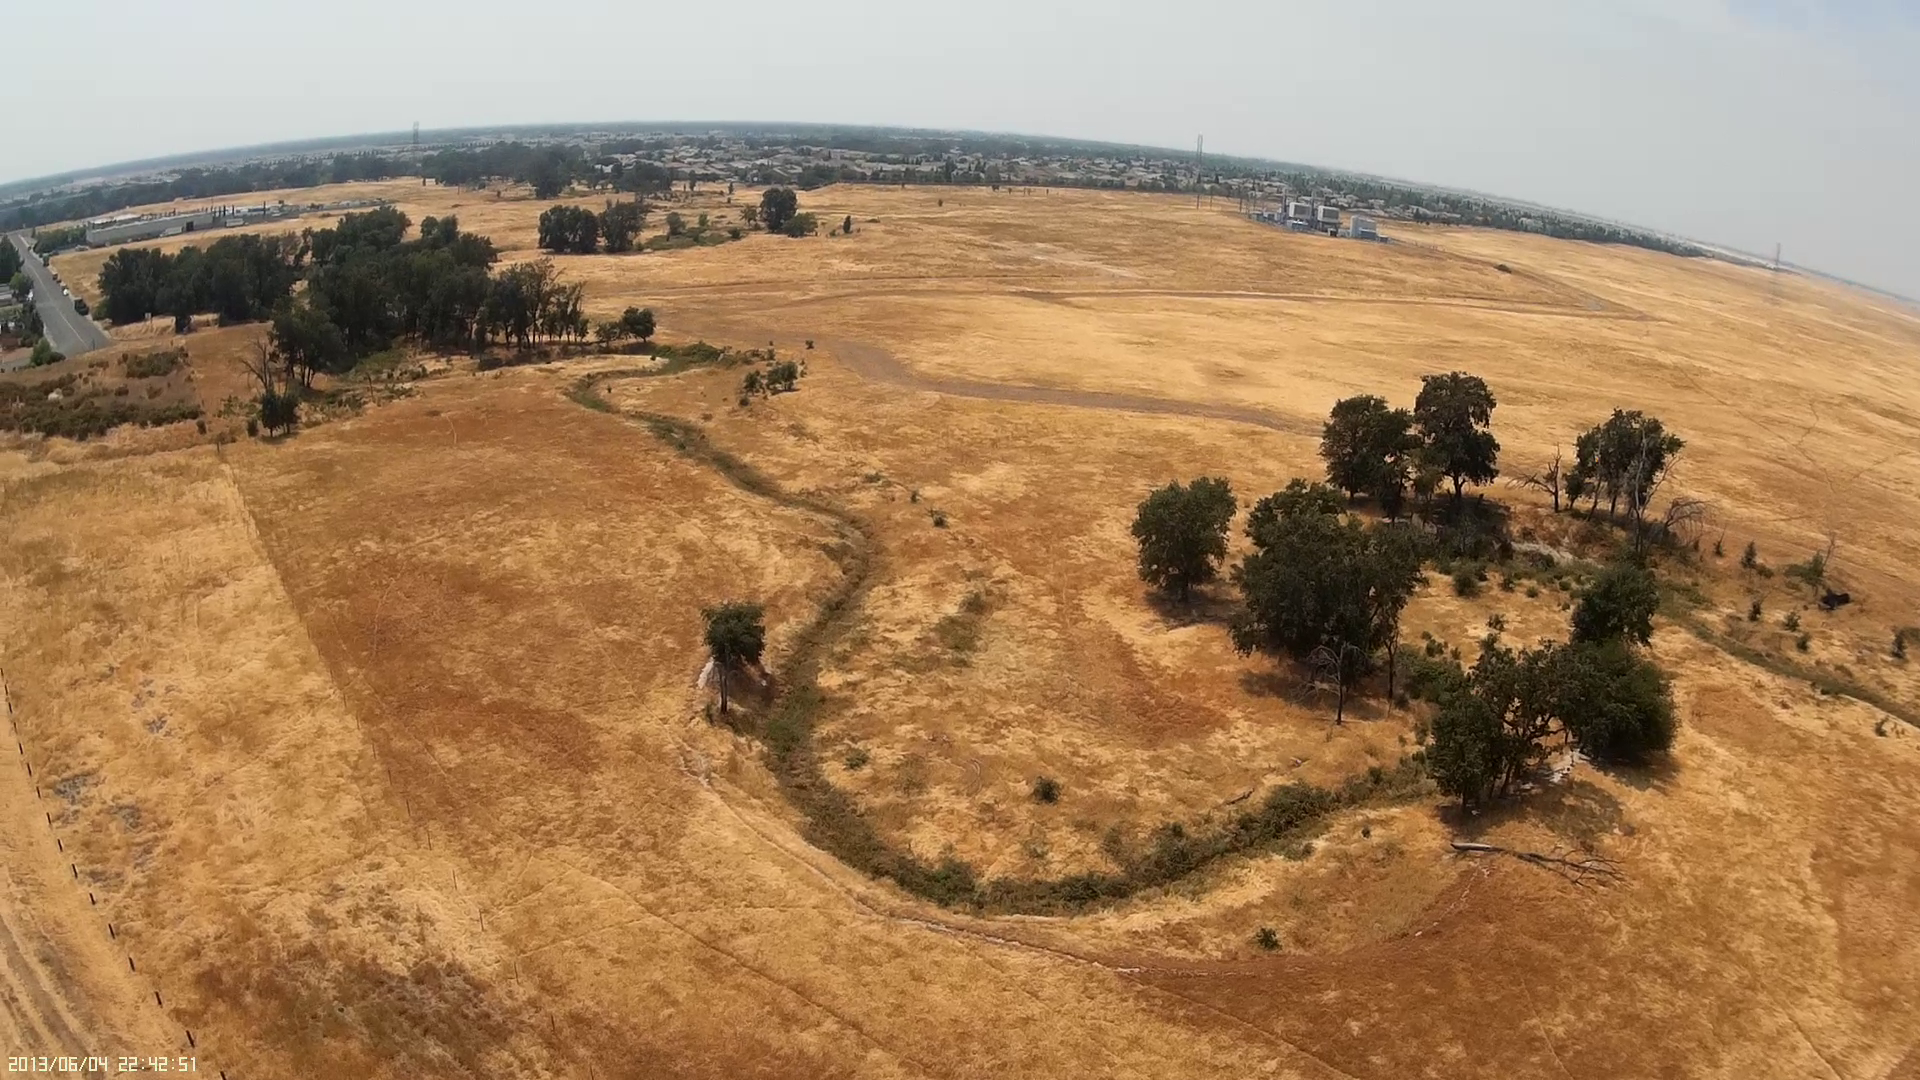
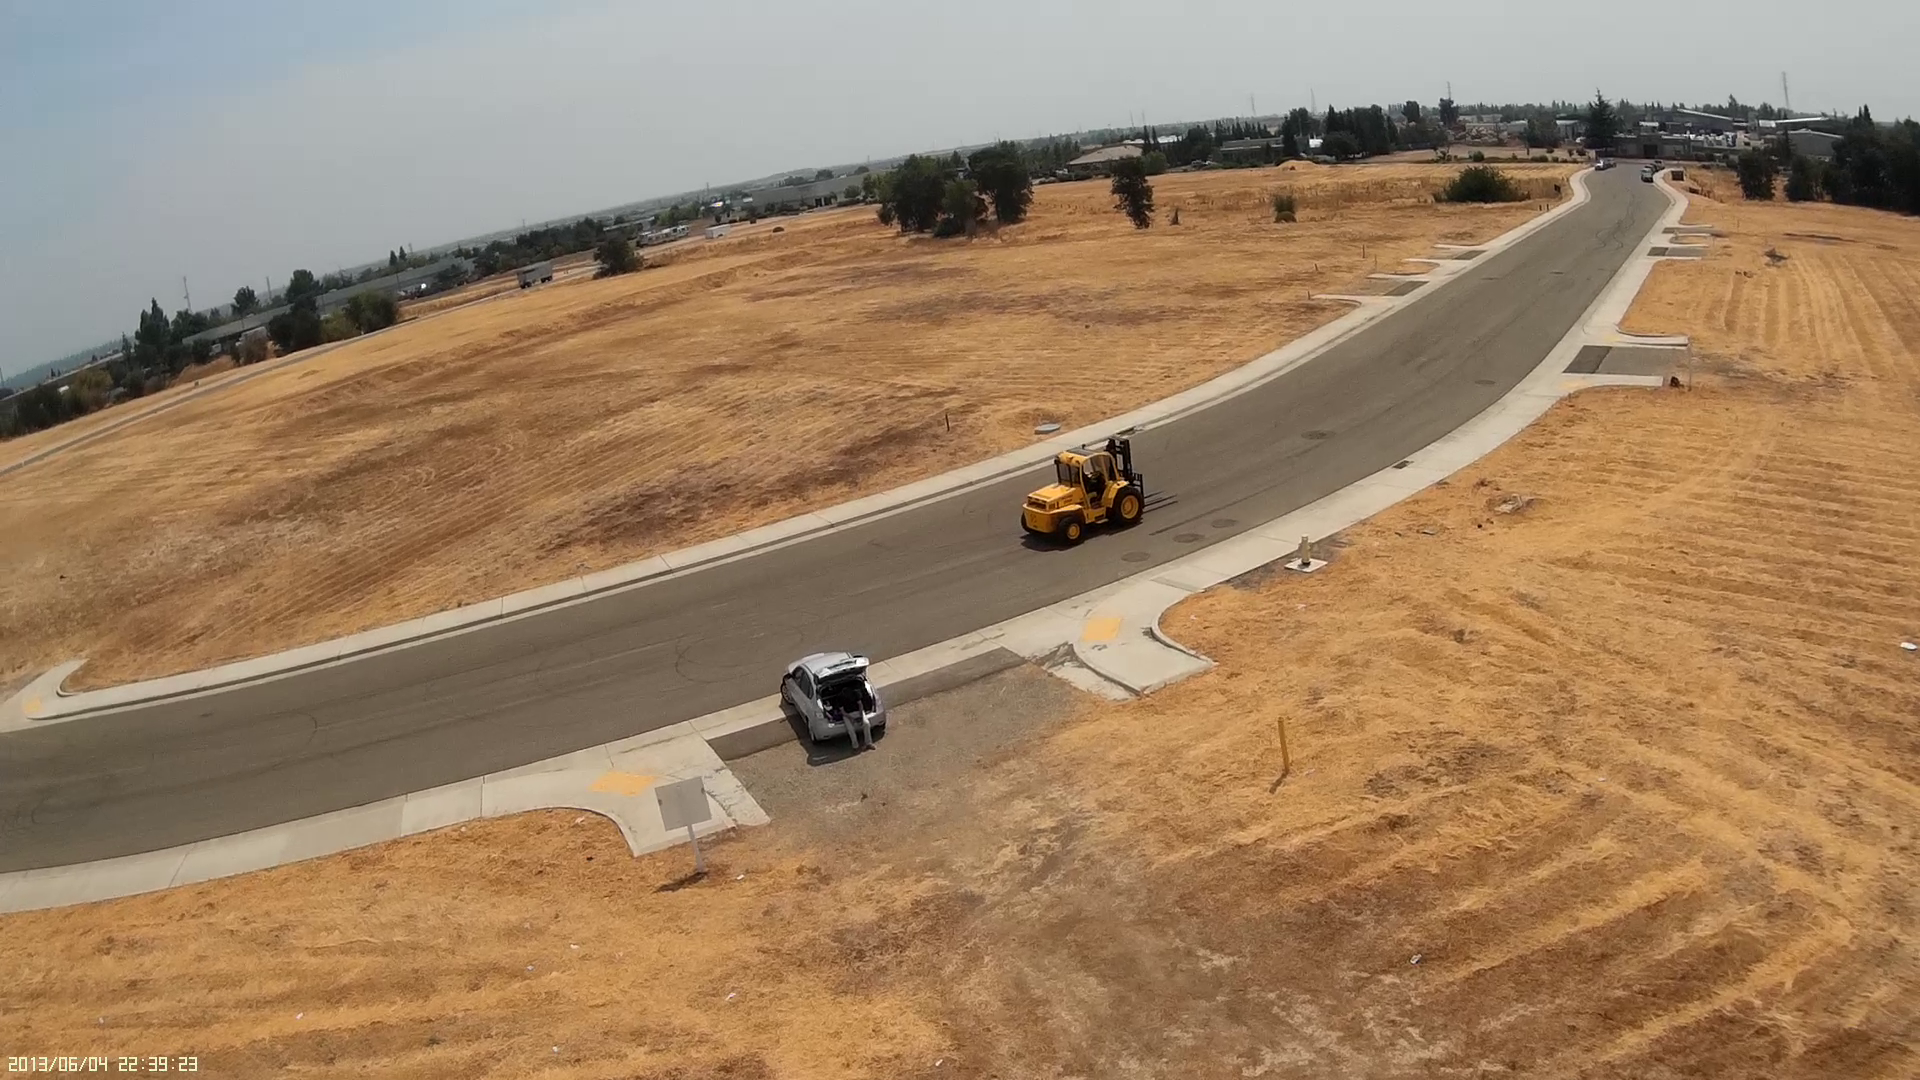
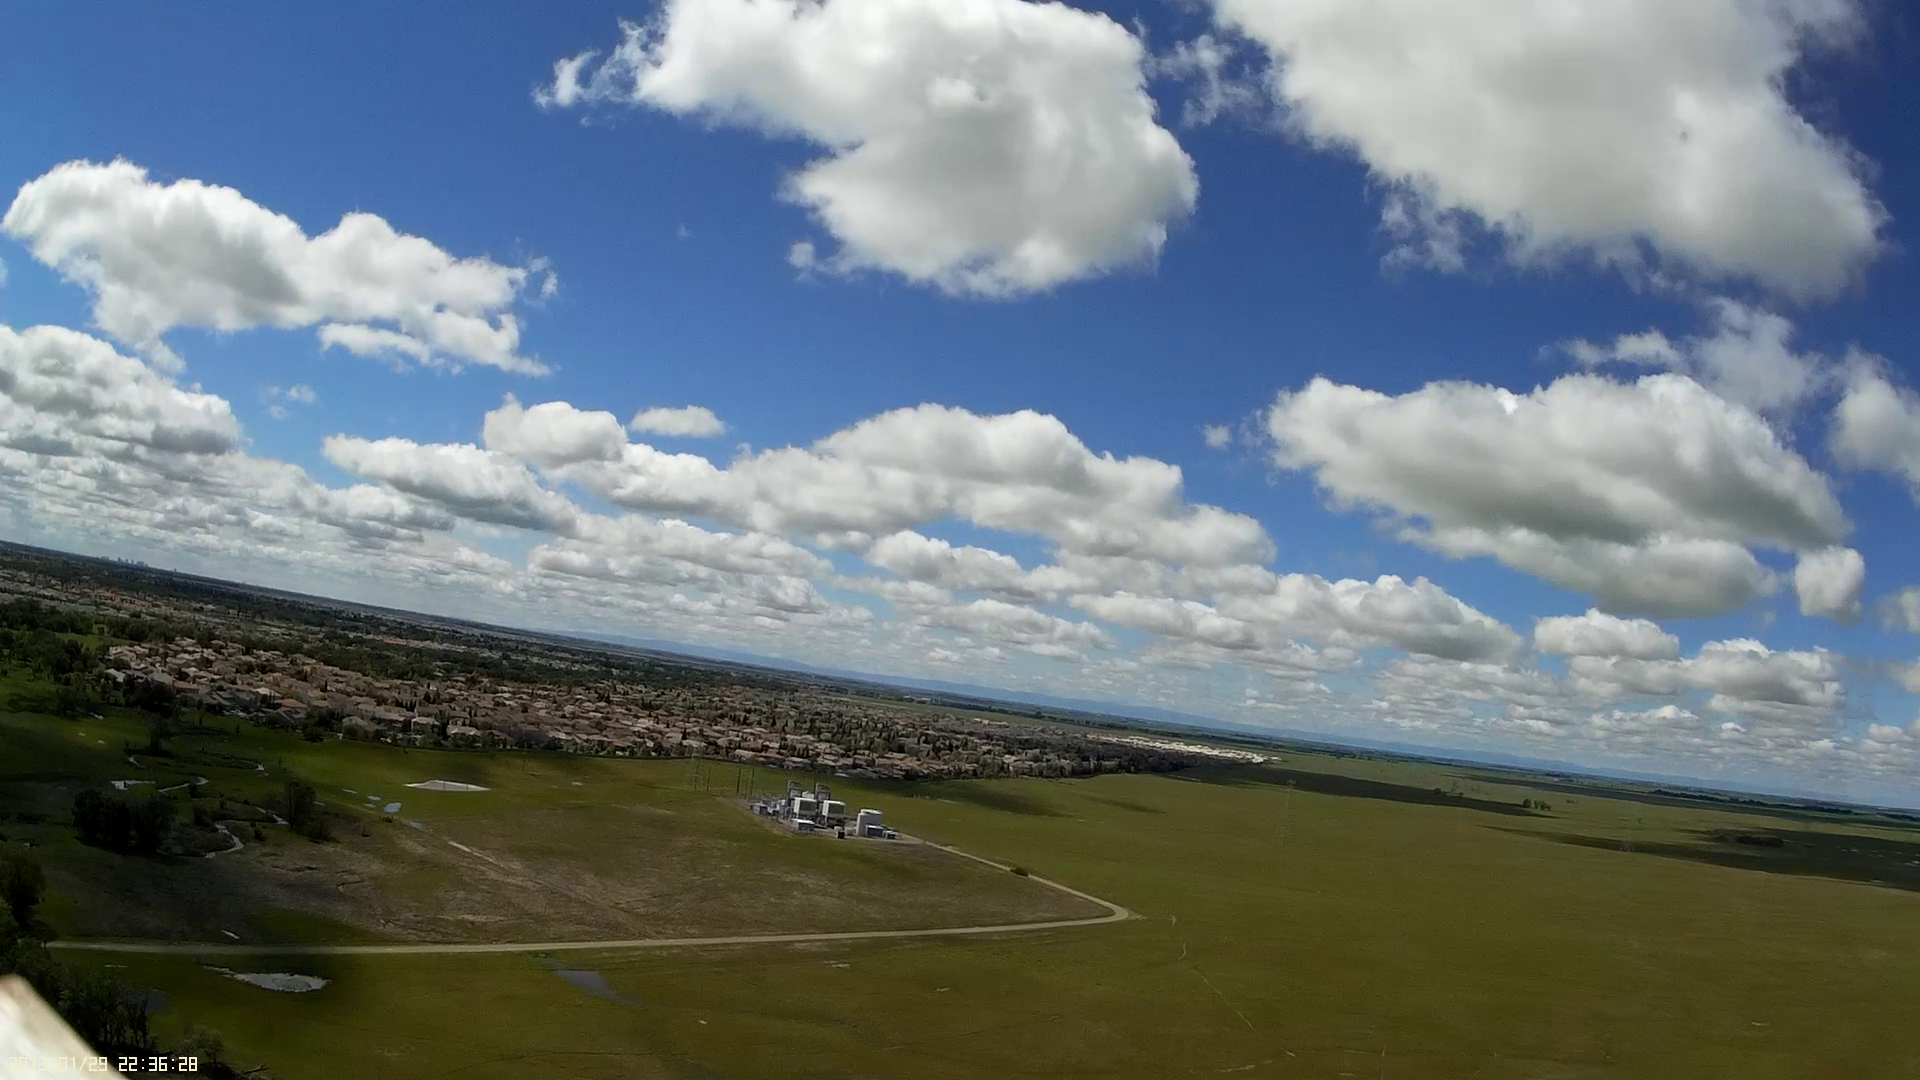
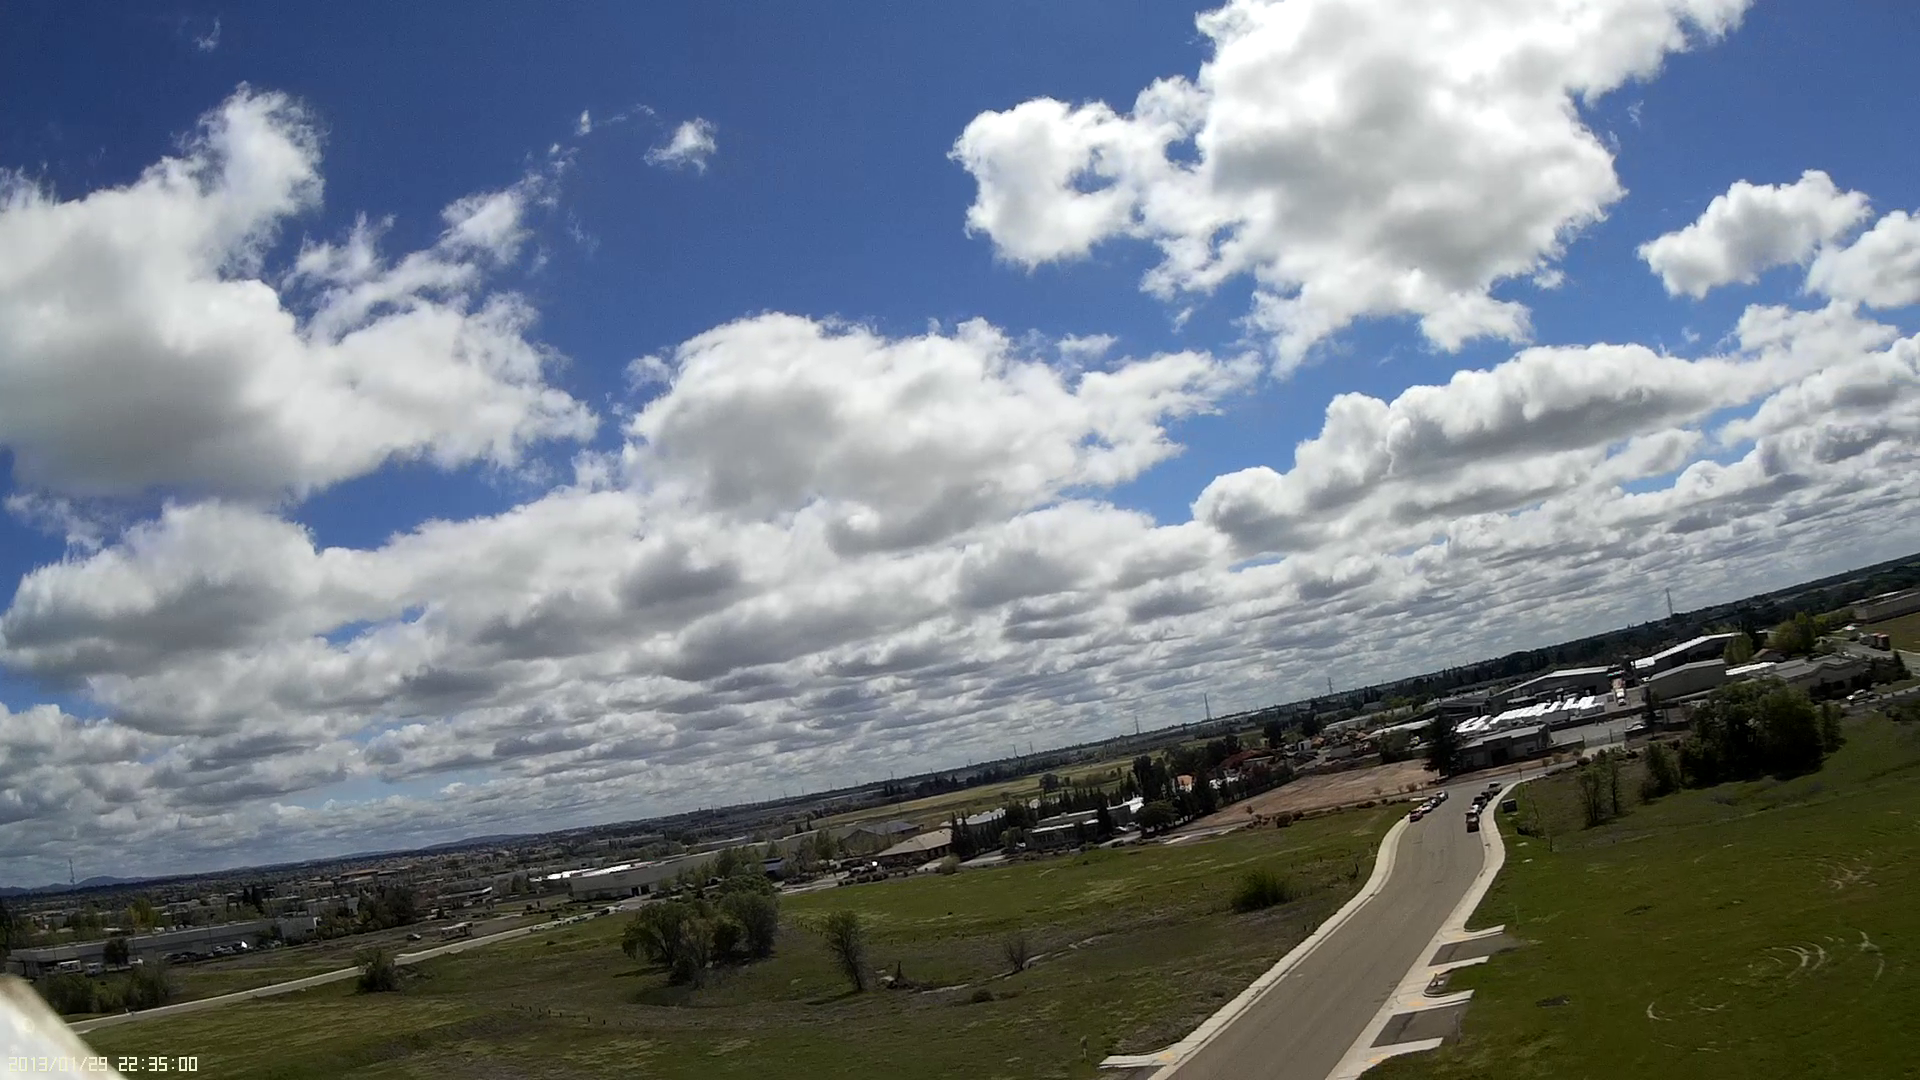
I have been using the video out on the Mobius to fly FVP. These are some videos and stills captured by the Mobius.


Autonomous Flight
Demise
This quad met its demise when there was some sort of mechanical failure in flight. From the plot below below it appears that a motor came loose and caused the copter to roll hard then come raining down.

The good news is that the electronics and motors are all in good working order. I have another frame coming off the printer now. In retrospect, using zip ties to secure the motors was probably not a good design decision. I am really happy that this failure did not occur at a few miles out.

Back in business