Version 2: ST-NUCLEO-F303RE Based
Components
| QTY | Part Description | Price |
| 1 | ST-NUCLEO-F303RE | $30 |
| 1 | Bonka Power 450mAh 3s 25C | $10 |
| 2 | ESCAP 16 Gear Motor With Encoder | $14 |
| 1 | L298N DC Motor Driver Module Dual H Bridge | $3 |
| 1 | TURNIGY 3A UBEC w/ Noise Reduction | $5 |
| 1 | 70mm diameter x 3mm bore Black Plastic Robot Wheels - Pair | $16 |
| 1 | 10DOF MPU6050 HMC5883L BMP180 Gyroscope Acceleration Compass Module | $12 |
3D Printed Parts
| QTY | Image | Part Description | Download |
| 1 | 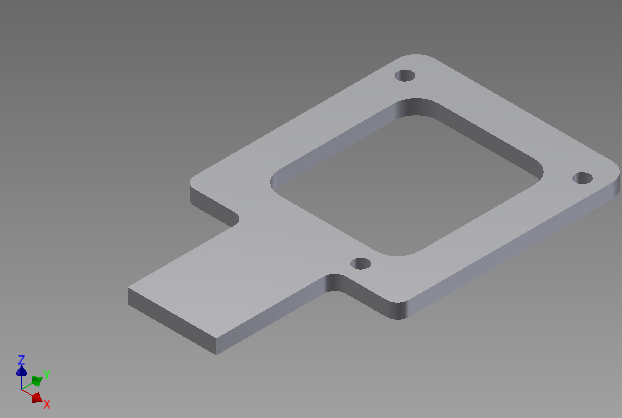
|
Part for mounting the Nucleo. The whole pattern matches the Nucleo with M3 hardware. | holder-nucleo_v02.stl.zip |
| 1 | 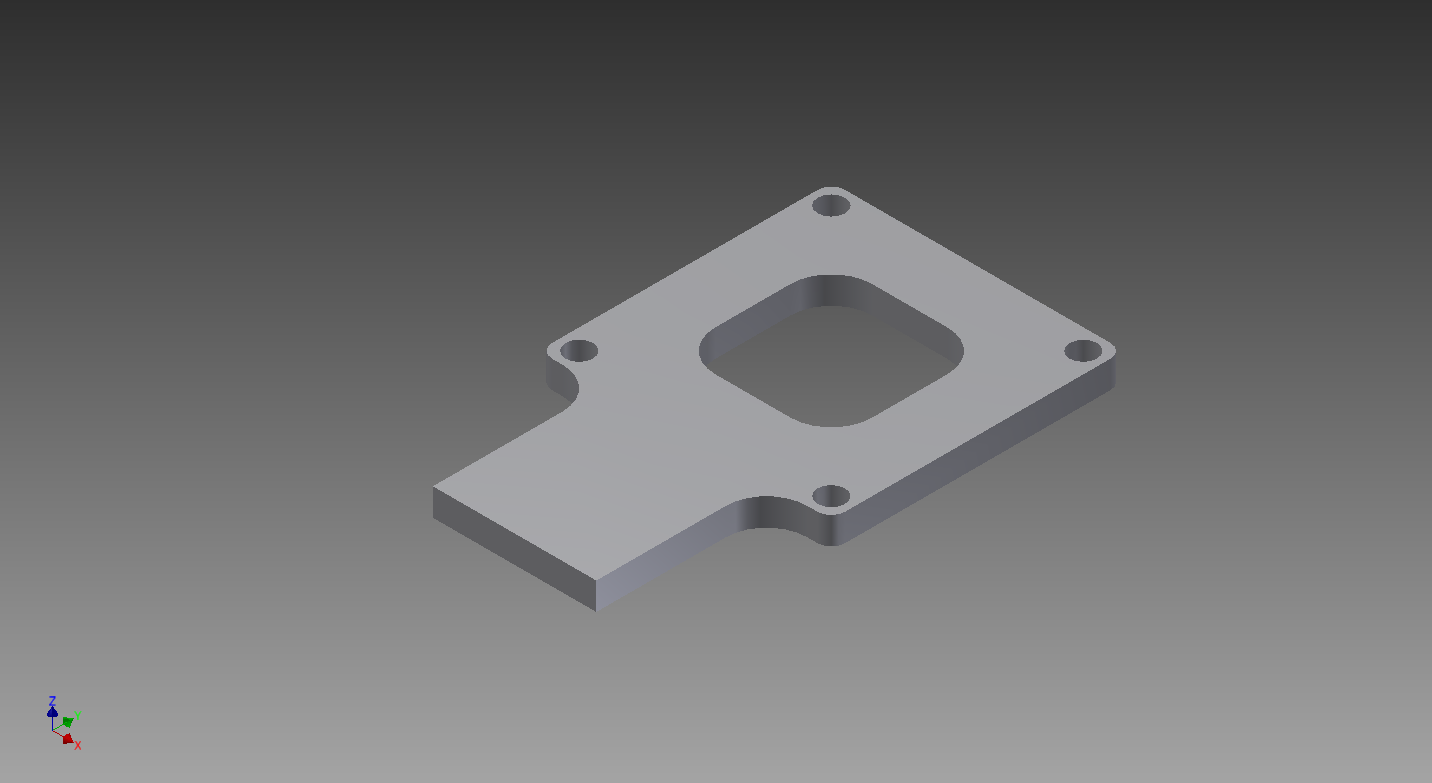
|
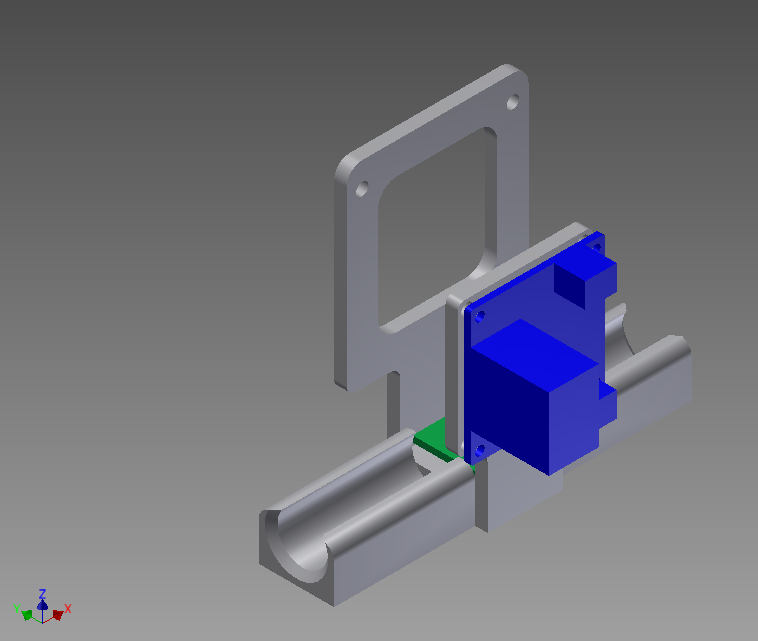
Part for mounting the motor amplifier. | motorControllerHolder_01.stl.zip |
| 1 | 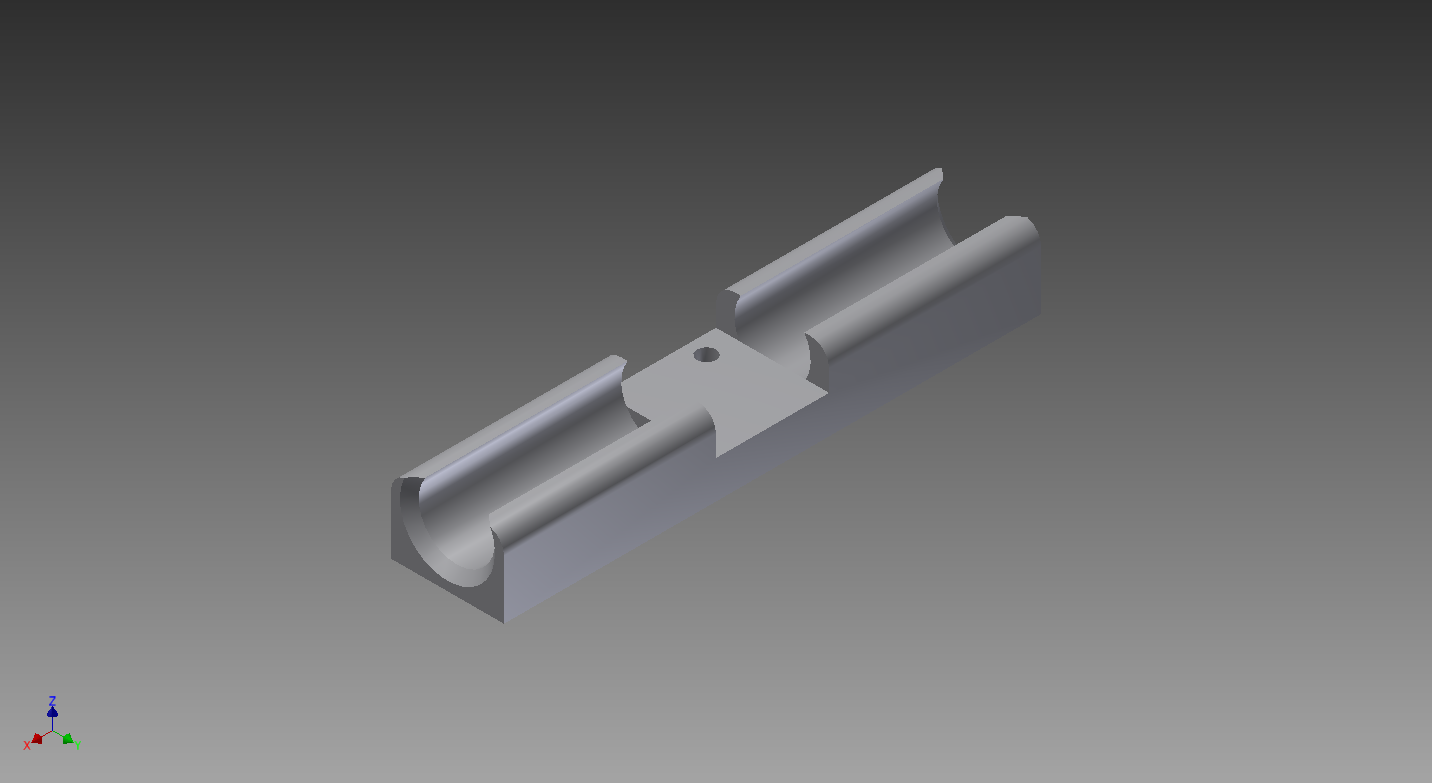
|
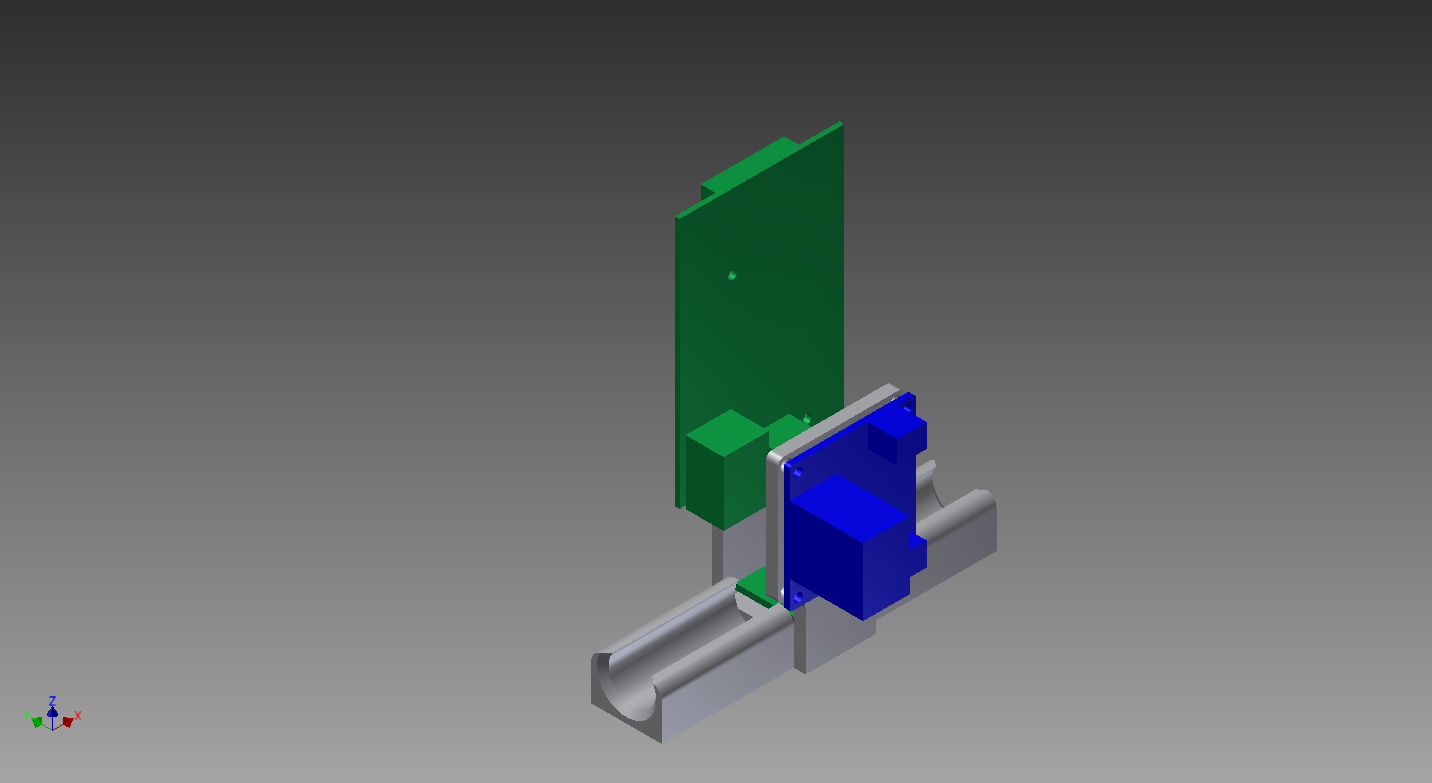
Part for mounting motors and IMU. The part features a hole for an M3 hex nut. | motorHolder_04.stl.zip |
Design
The STM32 is closing a big nasty loop at 20ms via a timer interrupt. It could run faster I am sure. The code could be optimized by using DMA for the I2C reads and by prioritizing control code, but given the sloppy geared motors and cheap motor driver this may not provide much gain.
The big nasty loop mentioned earlier runs every 20ms and does the following:
- Sets a velocity command that is proportional to the distance from the initialization point (which saturates quickly).
- Uses a PID to modify the target angle based on whether the target speed has been reached (which saturates quickly).
- Feeds an integrated one axis gyro reading and two axis (X and Z) accelerometer reading into a complementary filter to get current angle.
- Uses a PID to set torque commands (200Hz motor driver PWM duty cycle) for the motors to get the robot to the desired angle.
- Checks for bad states like tipped over :)
Future work may involve adding RC input by low passing a RC PWM and feeding it into an analog. For a development environment I used the STM32Cube HAL libraries and the openstm32 modified Eclipse IDE on Linux.
Version 1: Raspberry Pi 2 Model B Based
Shortcomings
My initial attempt with the PI involved using RPi.GPIO. I tried commanding a constant motor speed and monitoring encoder position, I noticed periods that lasted several seconds where I would get no new encoder interrupts. This was unacceptable since such delays would lead to position drift and poor control.
I assumed that the no encoder updates may be related to Python not being fast enough or not getting serviced fast enough by the OS. So next I tried the PIGPIO library and performed a similar test. Unfortunately even with the C version of the encoder position monitoring program, I saw similar poor performance.
Ultimately, I decided to swap out the PI for a STM32 processor. I did this for several reasons including:
- On the STM32 I know exactly what is happening (no wifi, ssh, other processes or an OS to compete for resources with my program).
- In college I gained in depth knowledge of the Intel 8052 but have not had a chance to learn about registers, times and interrupts on a modern microcontroller.
- STM32 microcontrollers seem to be everywhere. It was about time to get some exposure.
Components
| QTY | Part Description | Price |
| 1 | Raspberry Pi Revision 2 | $40 |
| 2 | ESCAP 16 Gear Motor With Encoder | $14 |
| 1 | L298N DC Motor Driver Module Dual H Bridge | $3 |
| 1 | TURNIGY 3A UBEC w/ Noise Reduction | $5 |
| 1 | EDIMAX EW-7811Un USB 2.0 Wireless nano Adapter | $10 |
| 1 | 70mm diameter x 3mm bore Black Plastic Robot Wheels - Pair | $16 |
| 1 | 10DOF MPU6050 HMC5883L BMP180 Gyroscope Acceleration Compass Module | $12 |
3D Printed Parts
| QTY | Image | Part Description | Download |
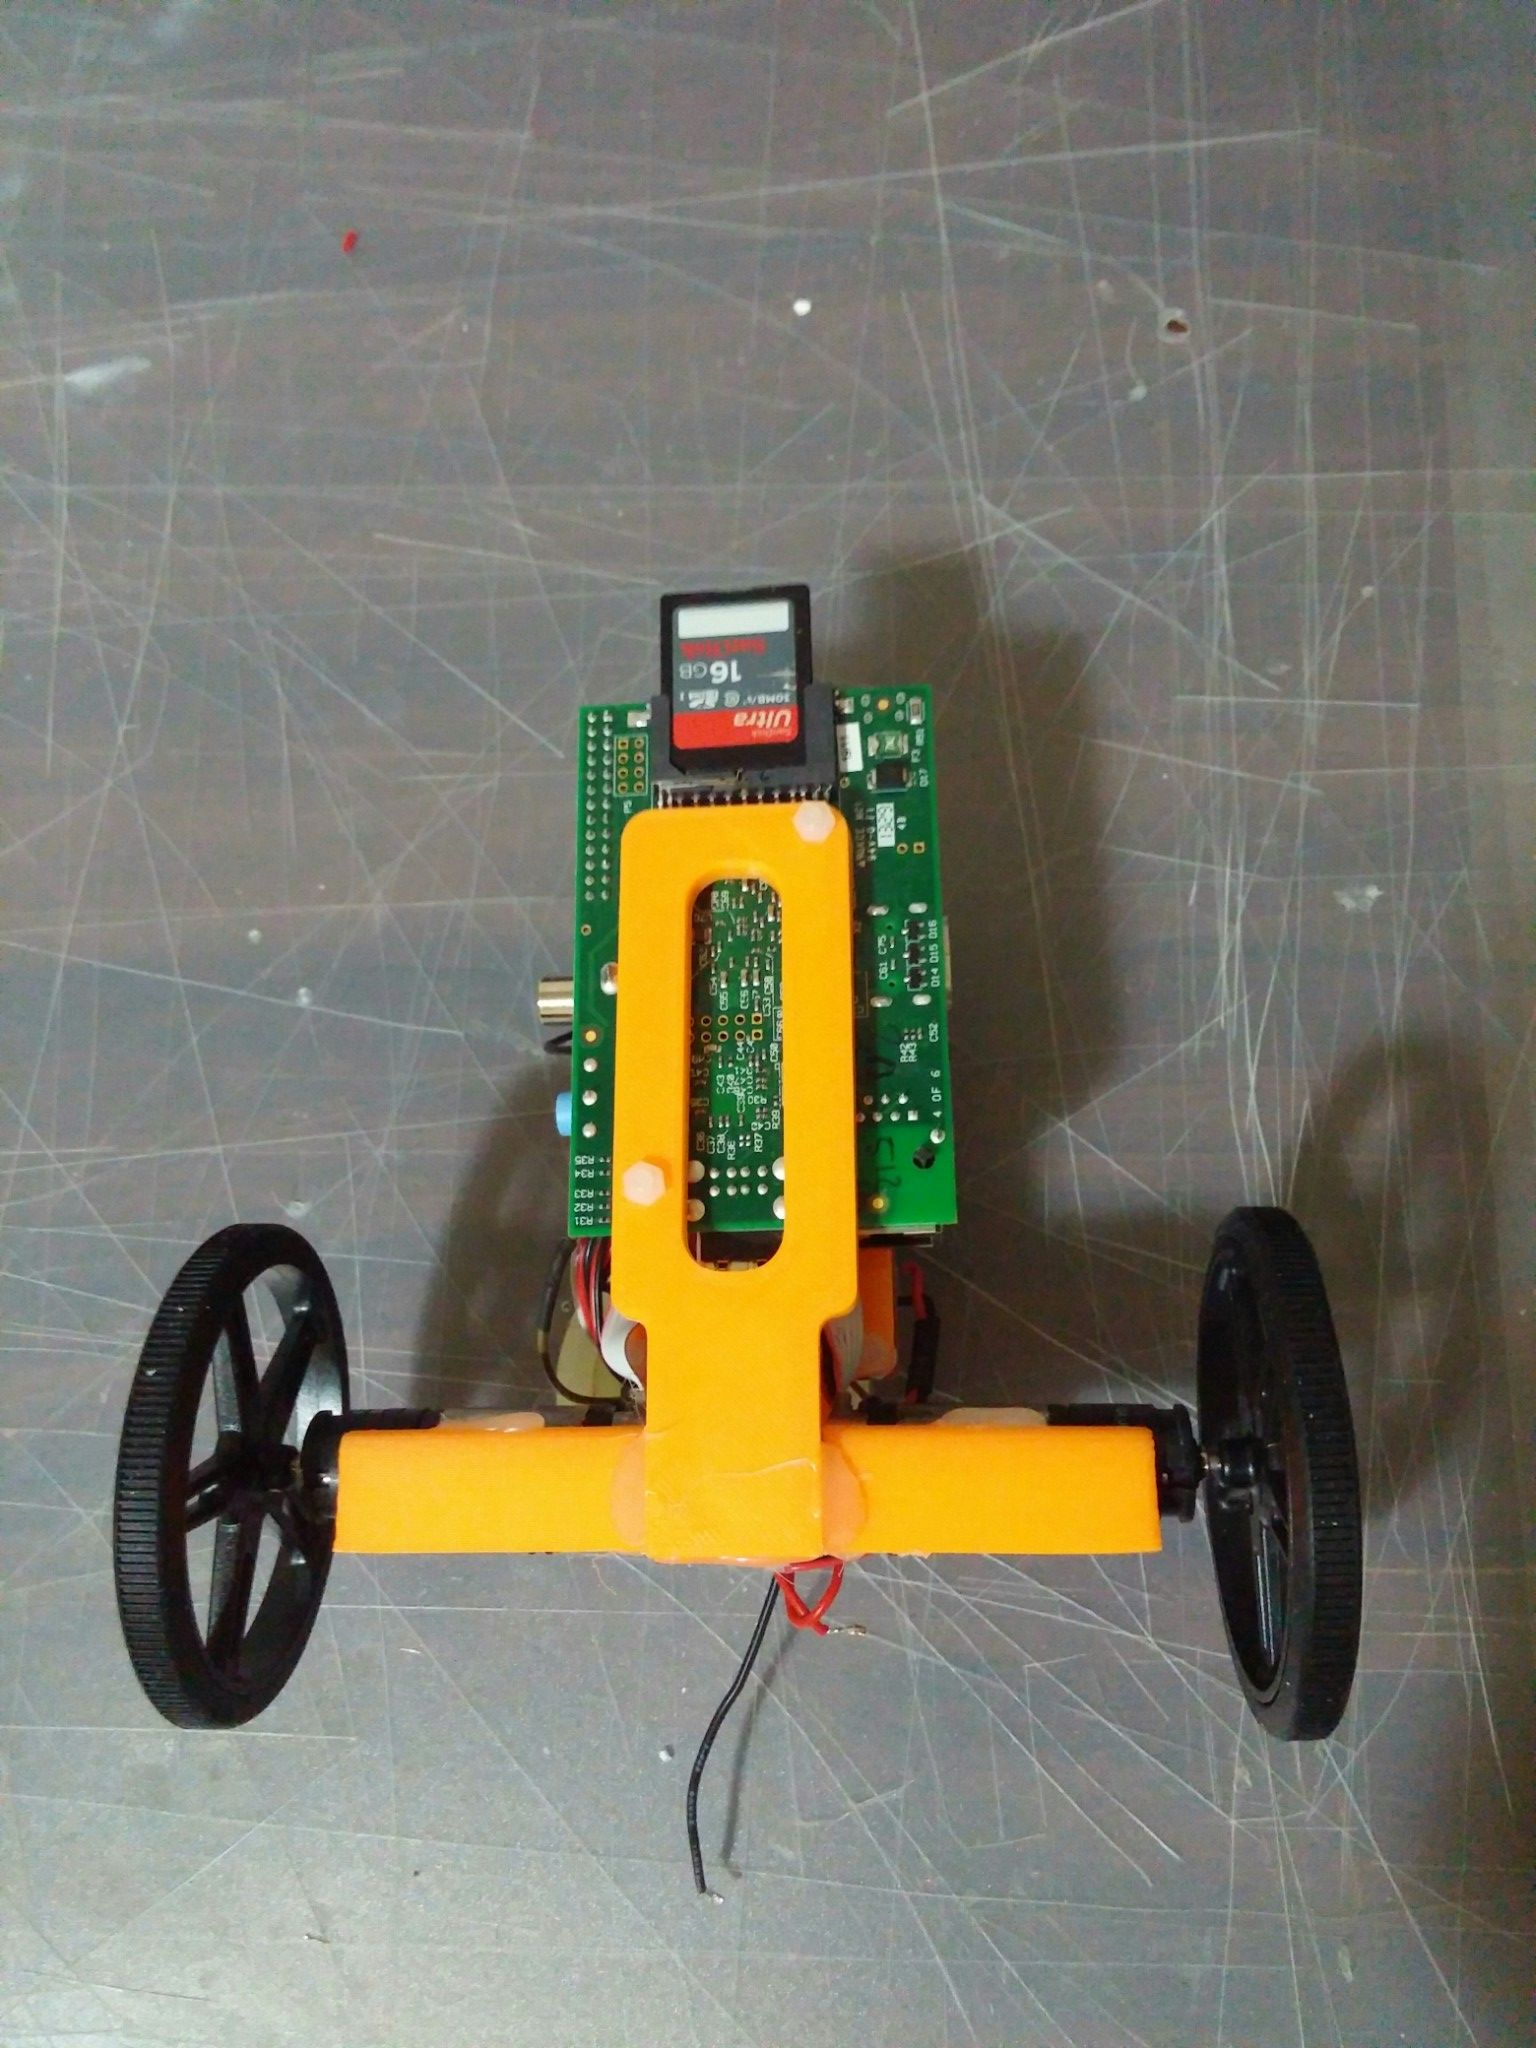
| 1 | 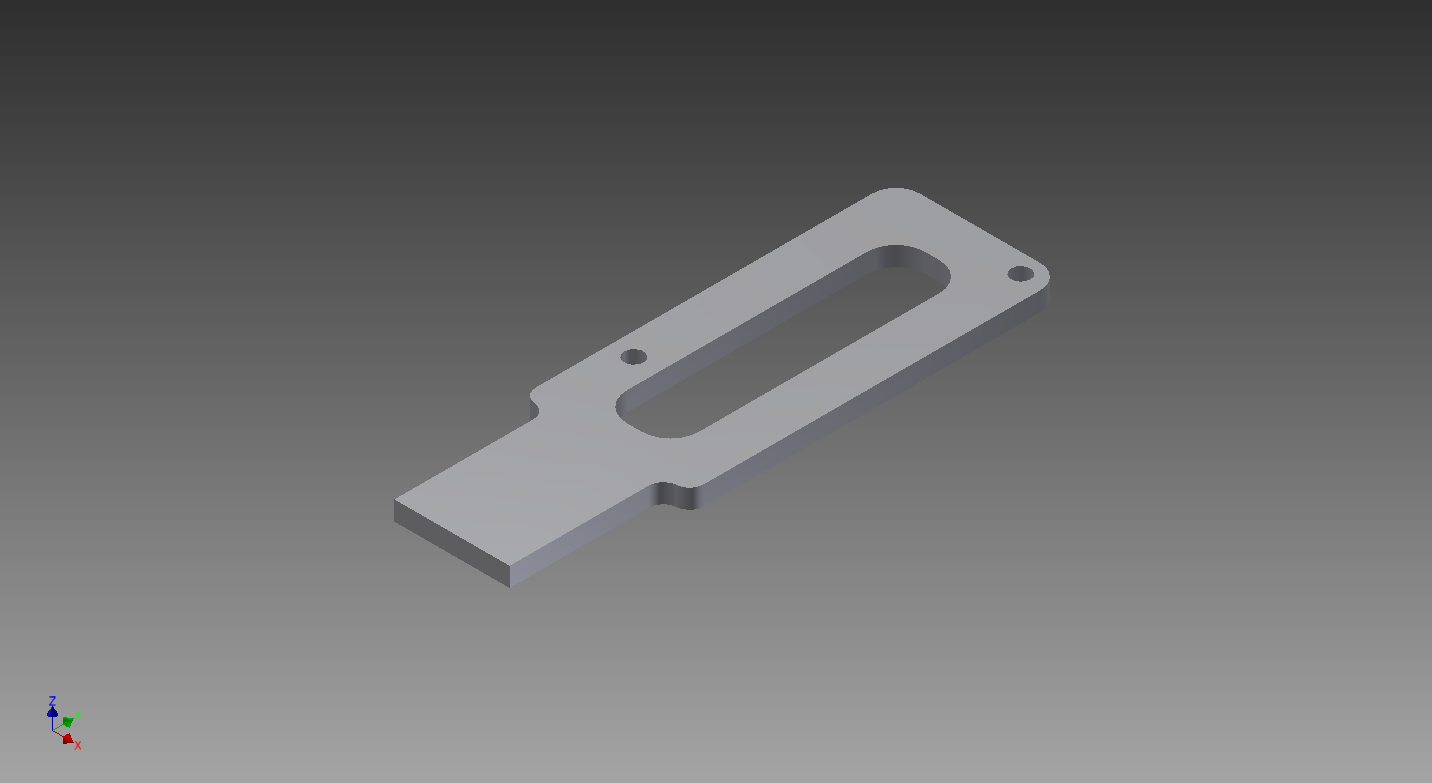 |
Part for mounting the Pi. The whole pattern matches the Pi with M3 hardware. | holder_01.stl.zip |
| 1 |  |
Part for mounting the motor amplifier. | motorControllerHolder_01.stl.zip |
| 1 |  |
Part for mounting motors and IMU. The part features a hole for an M3 hex nut. | motorHolder_04.stl.zip |
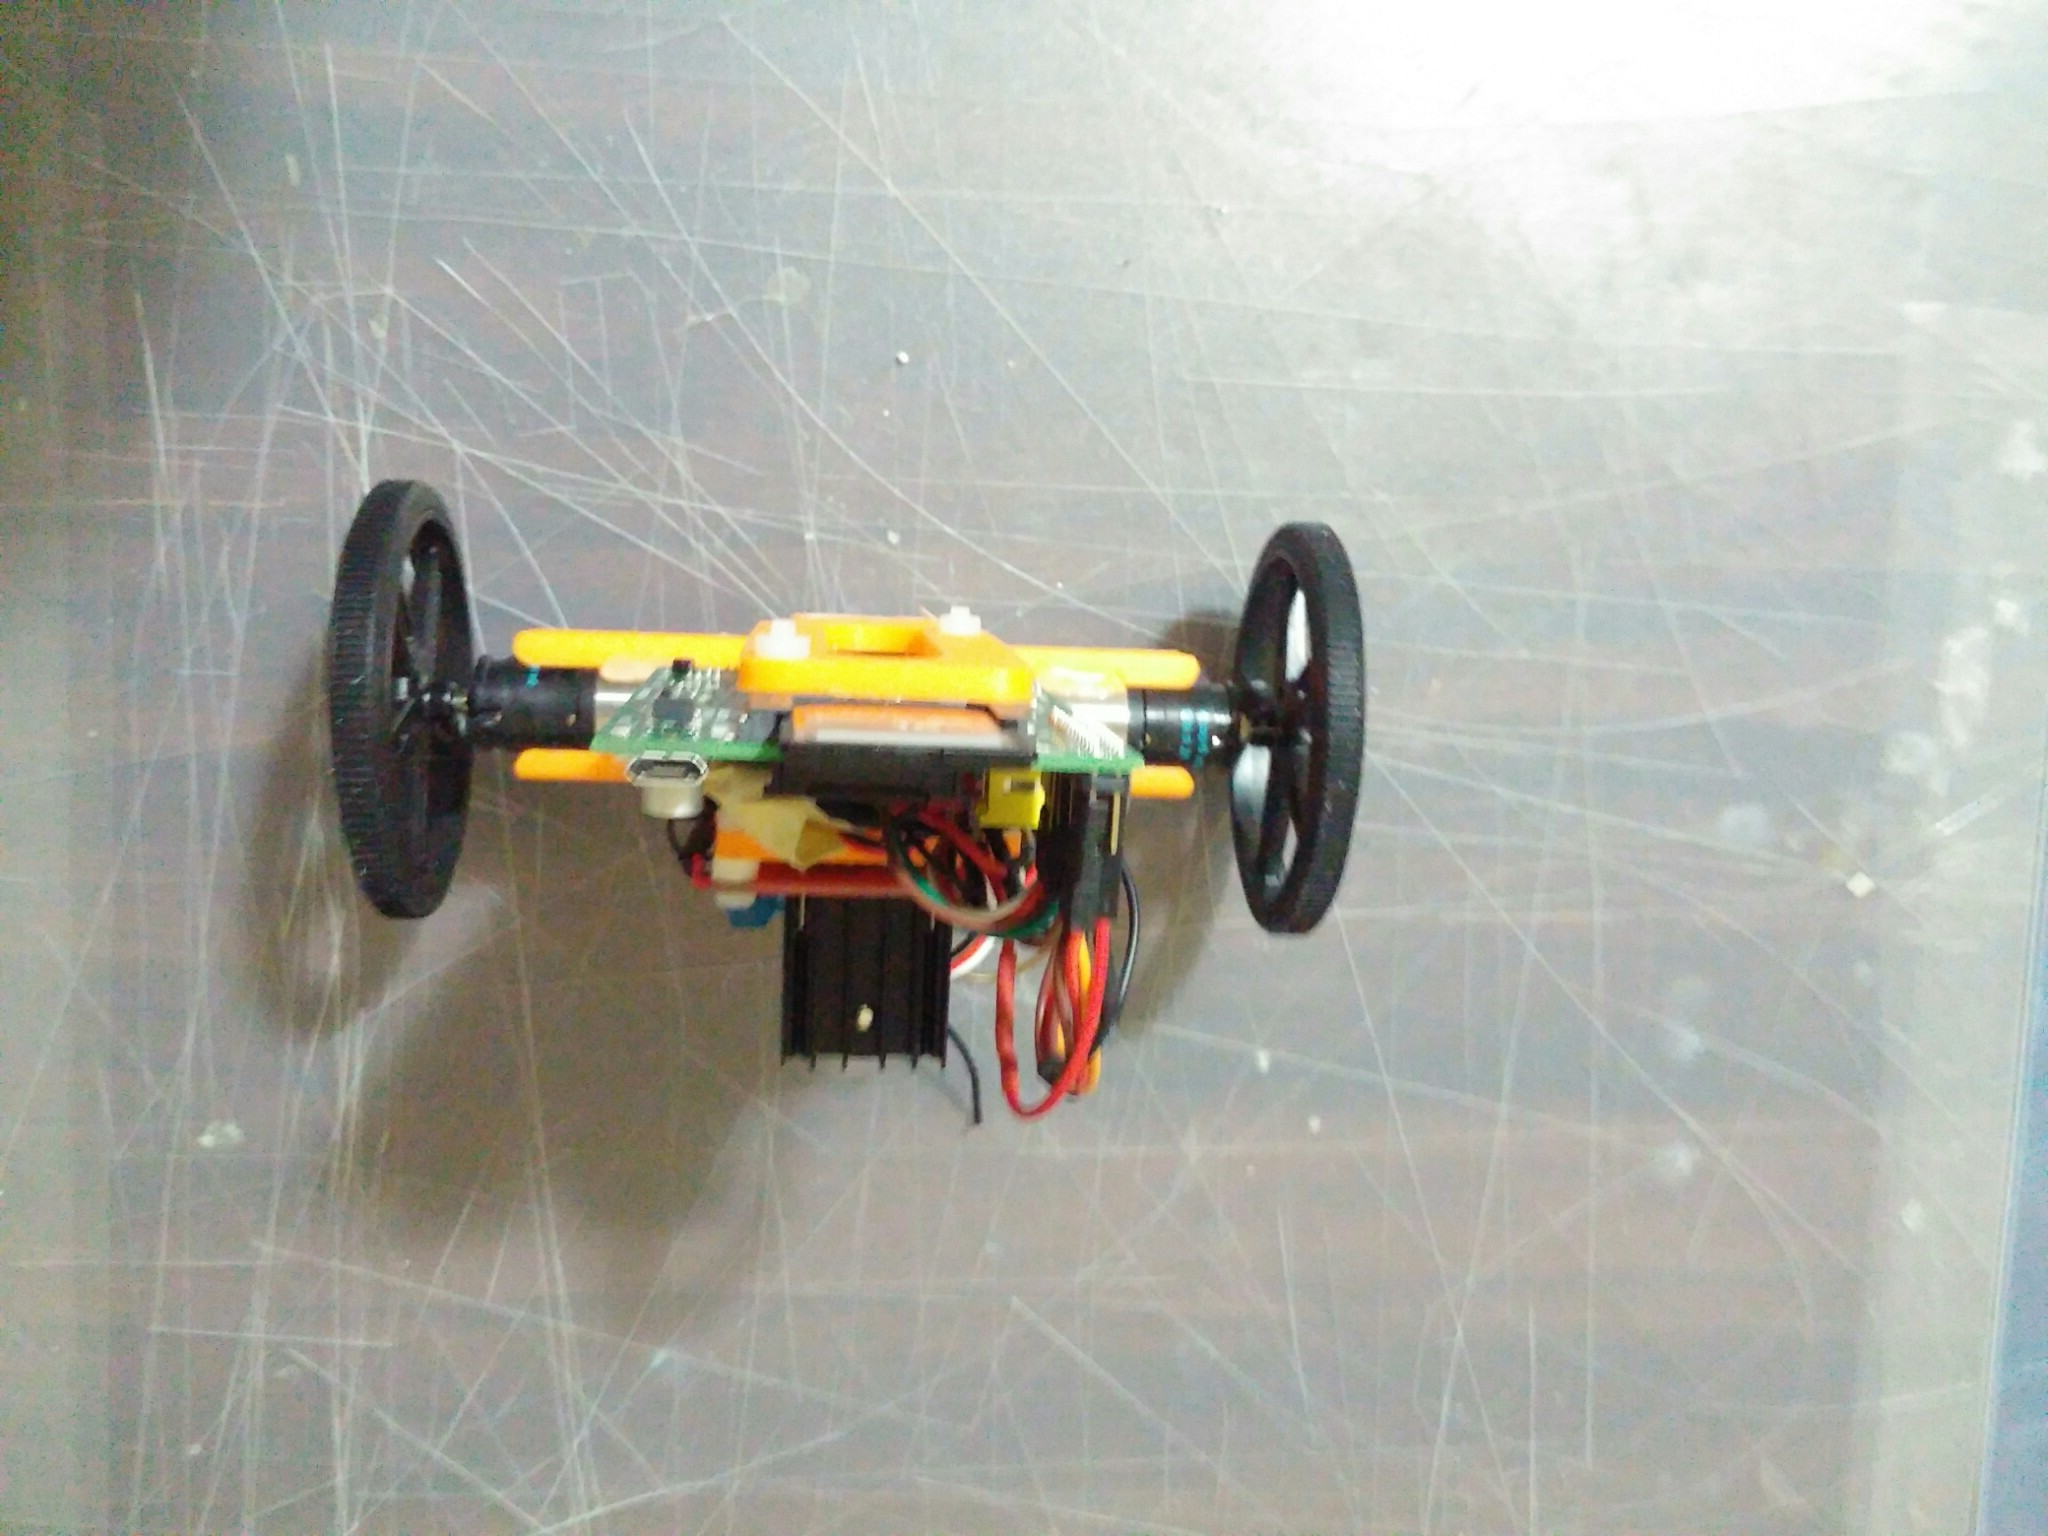
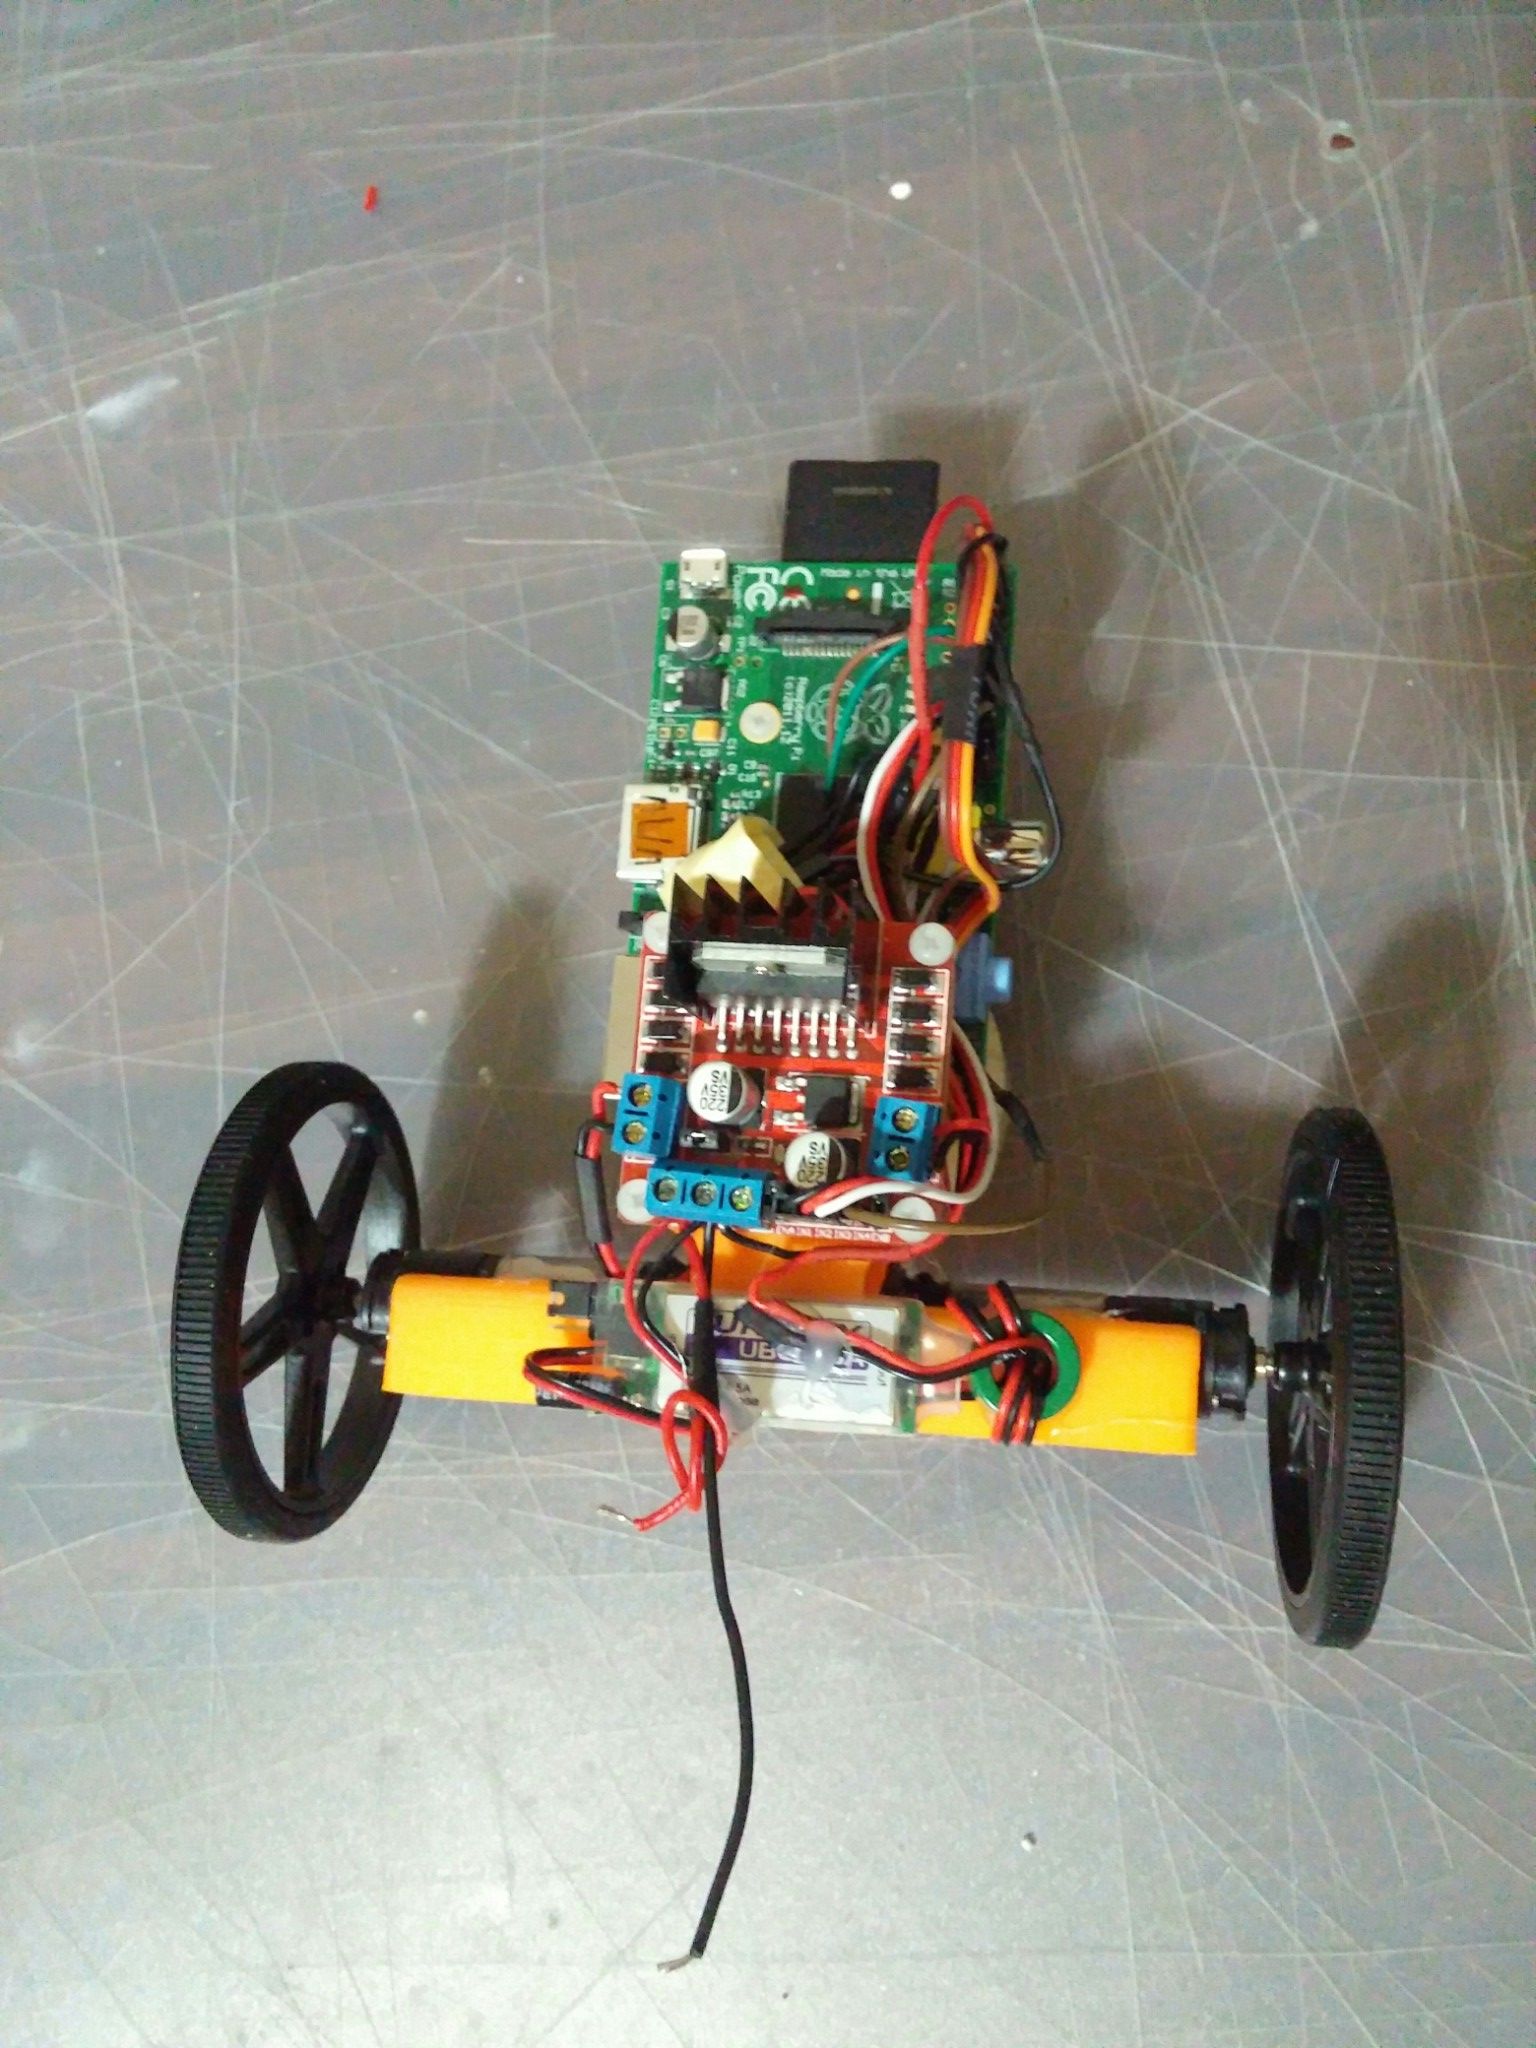
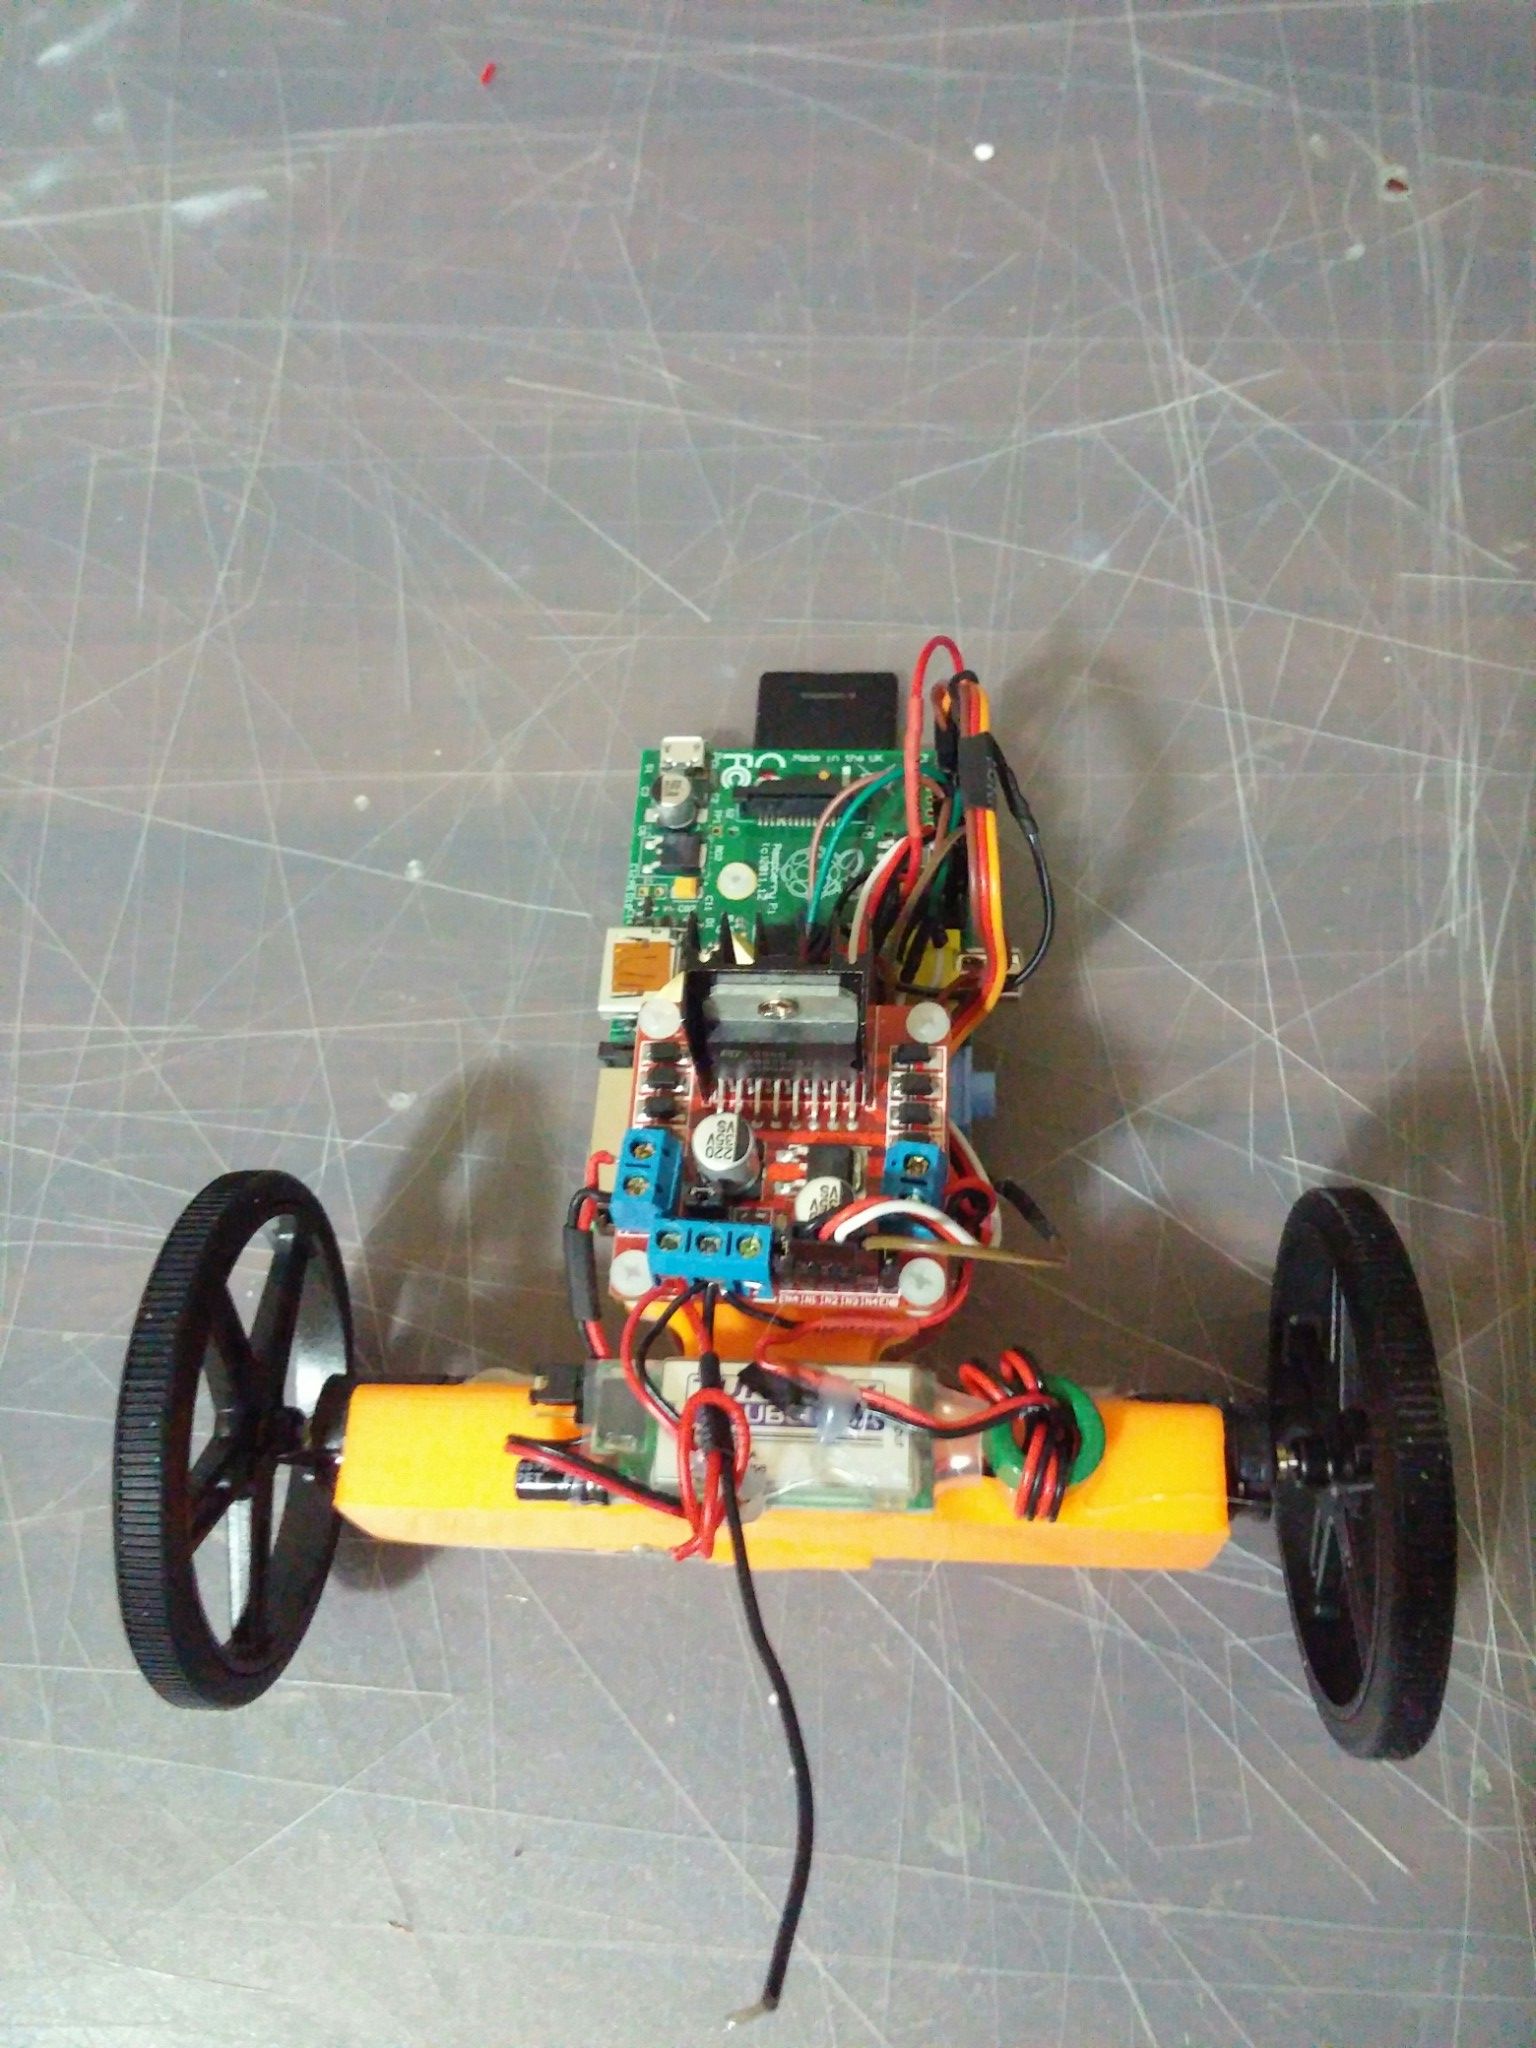
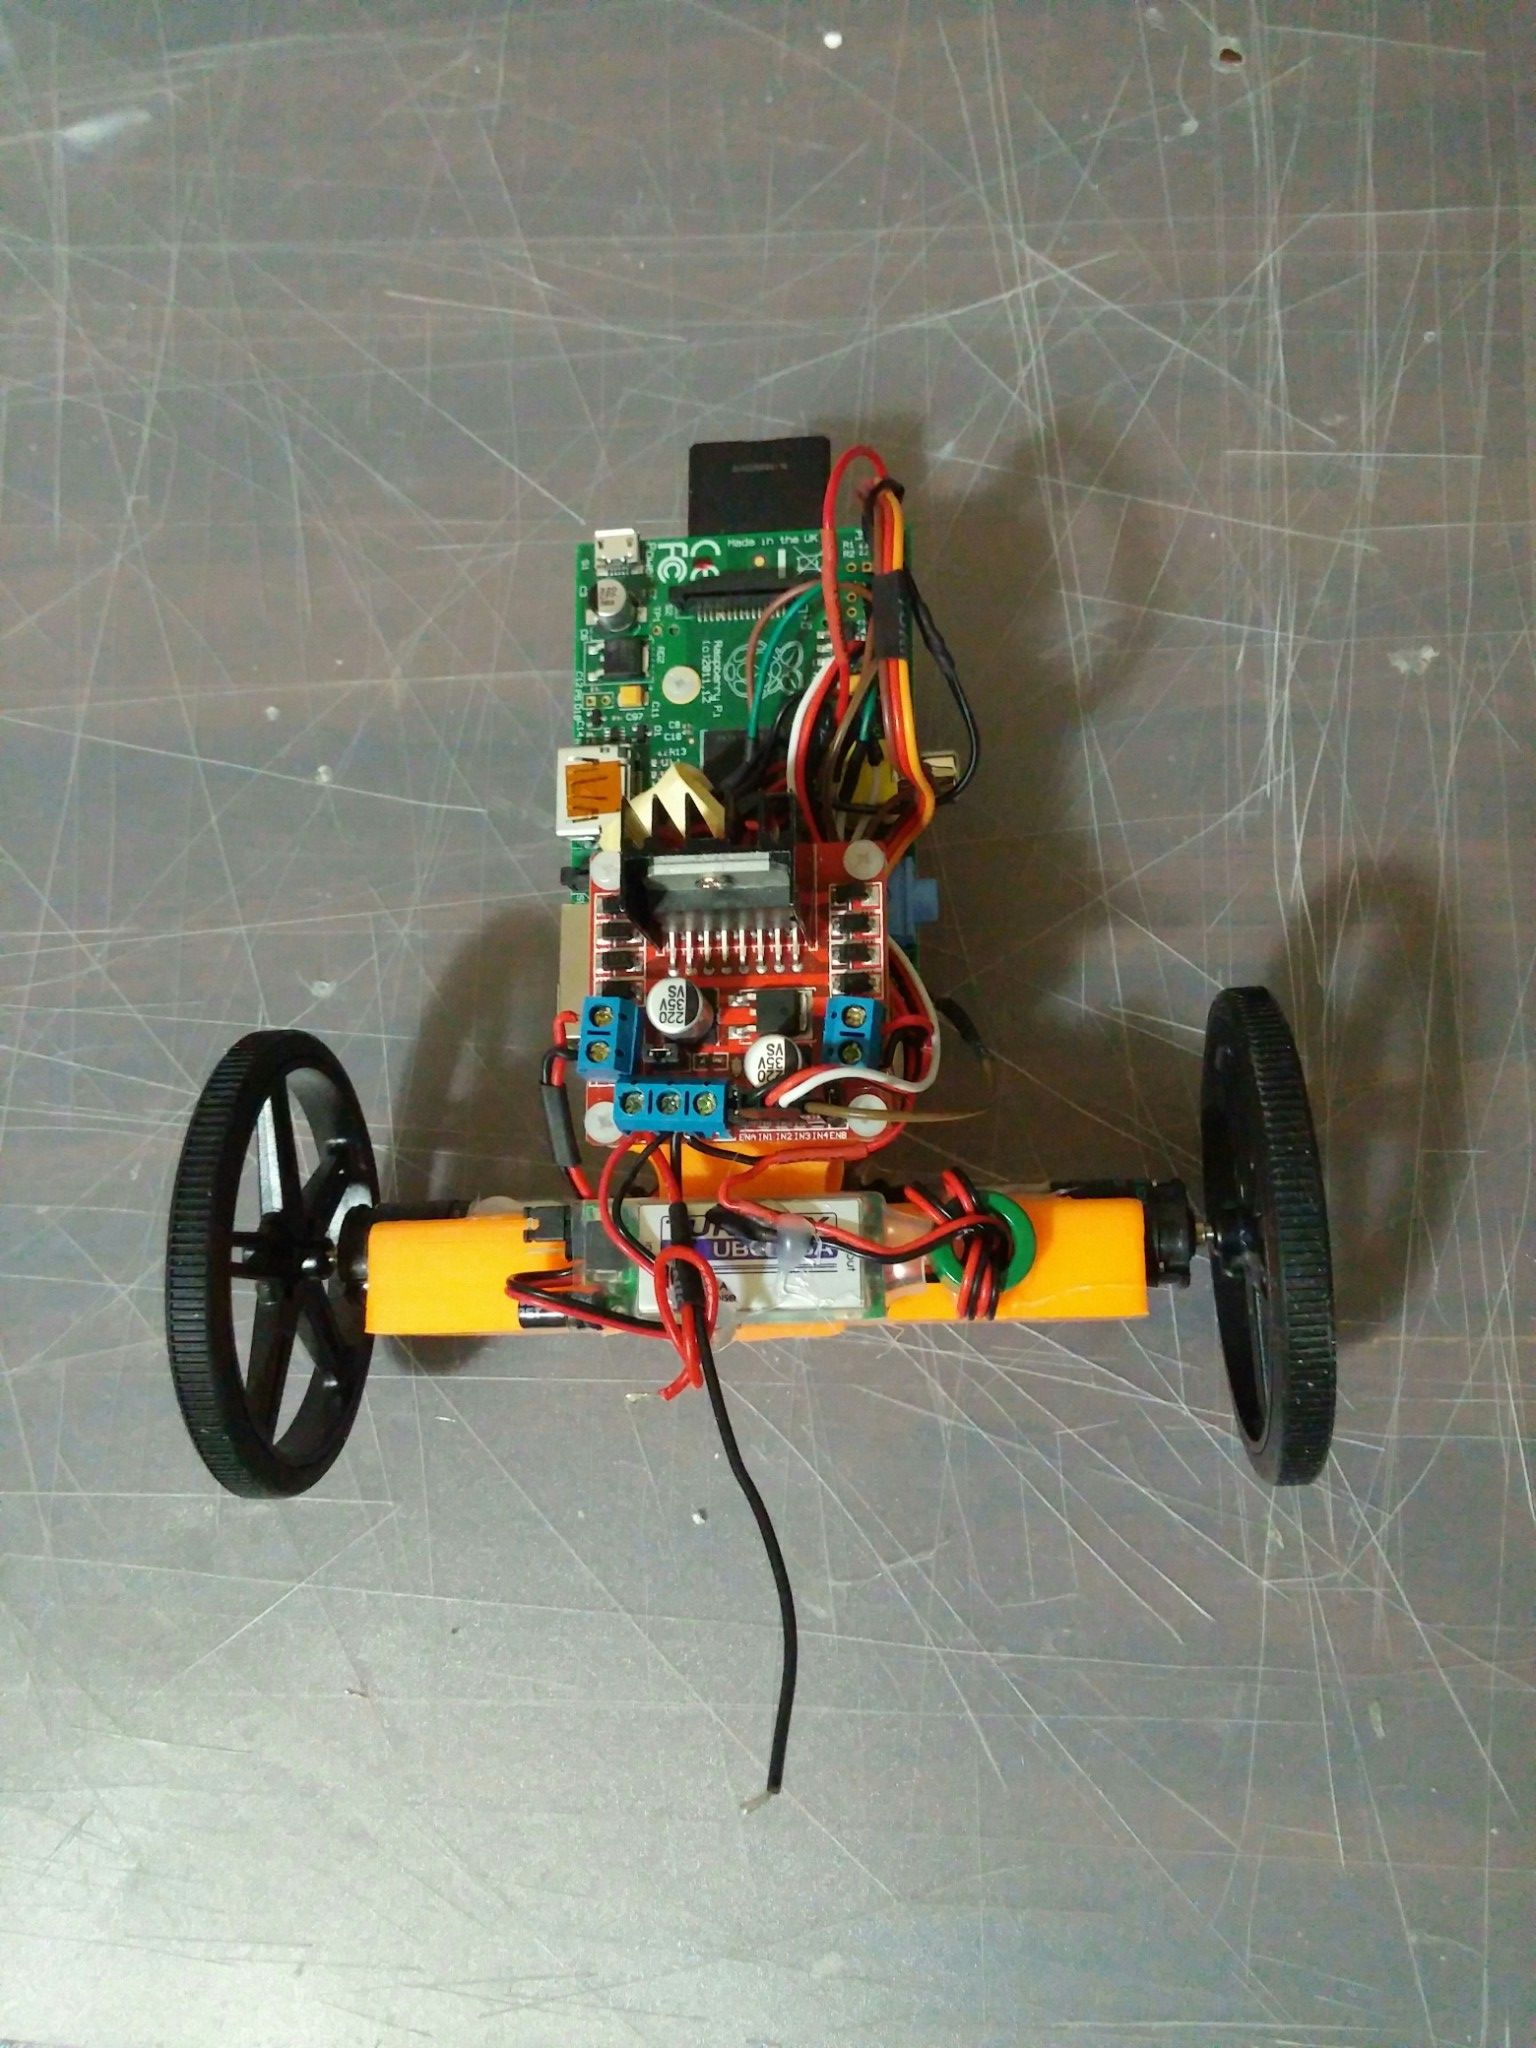
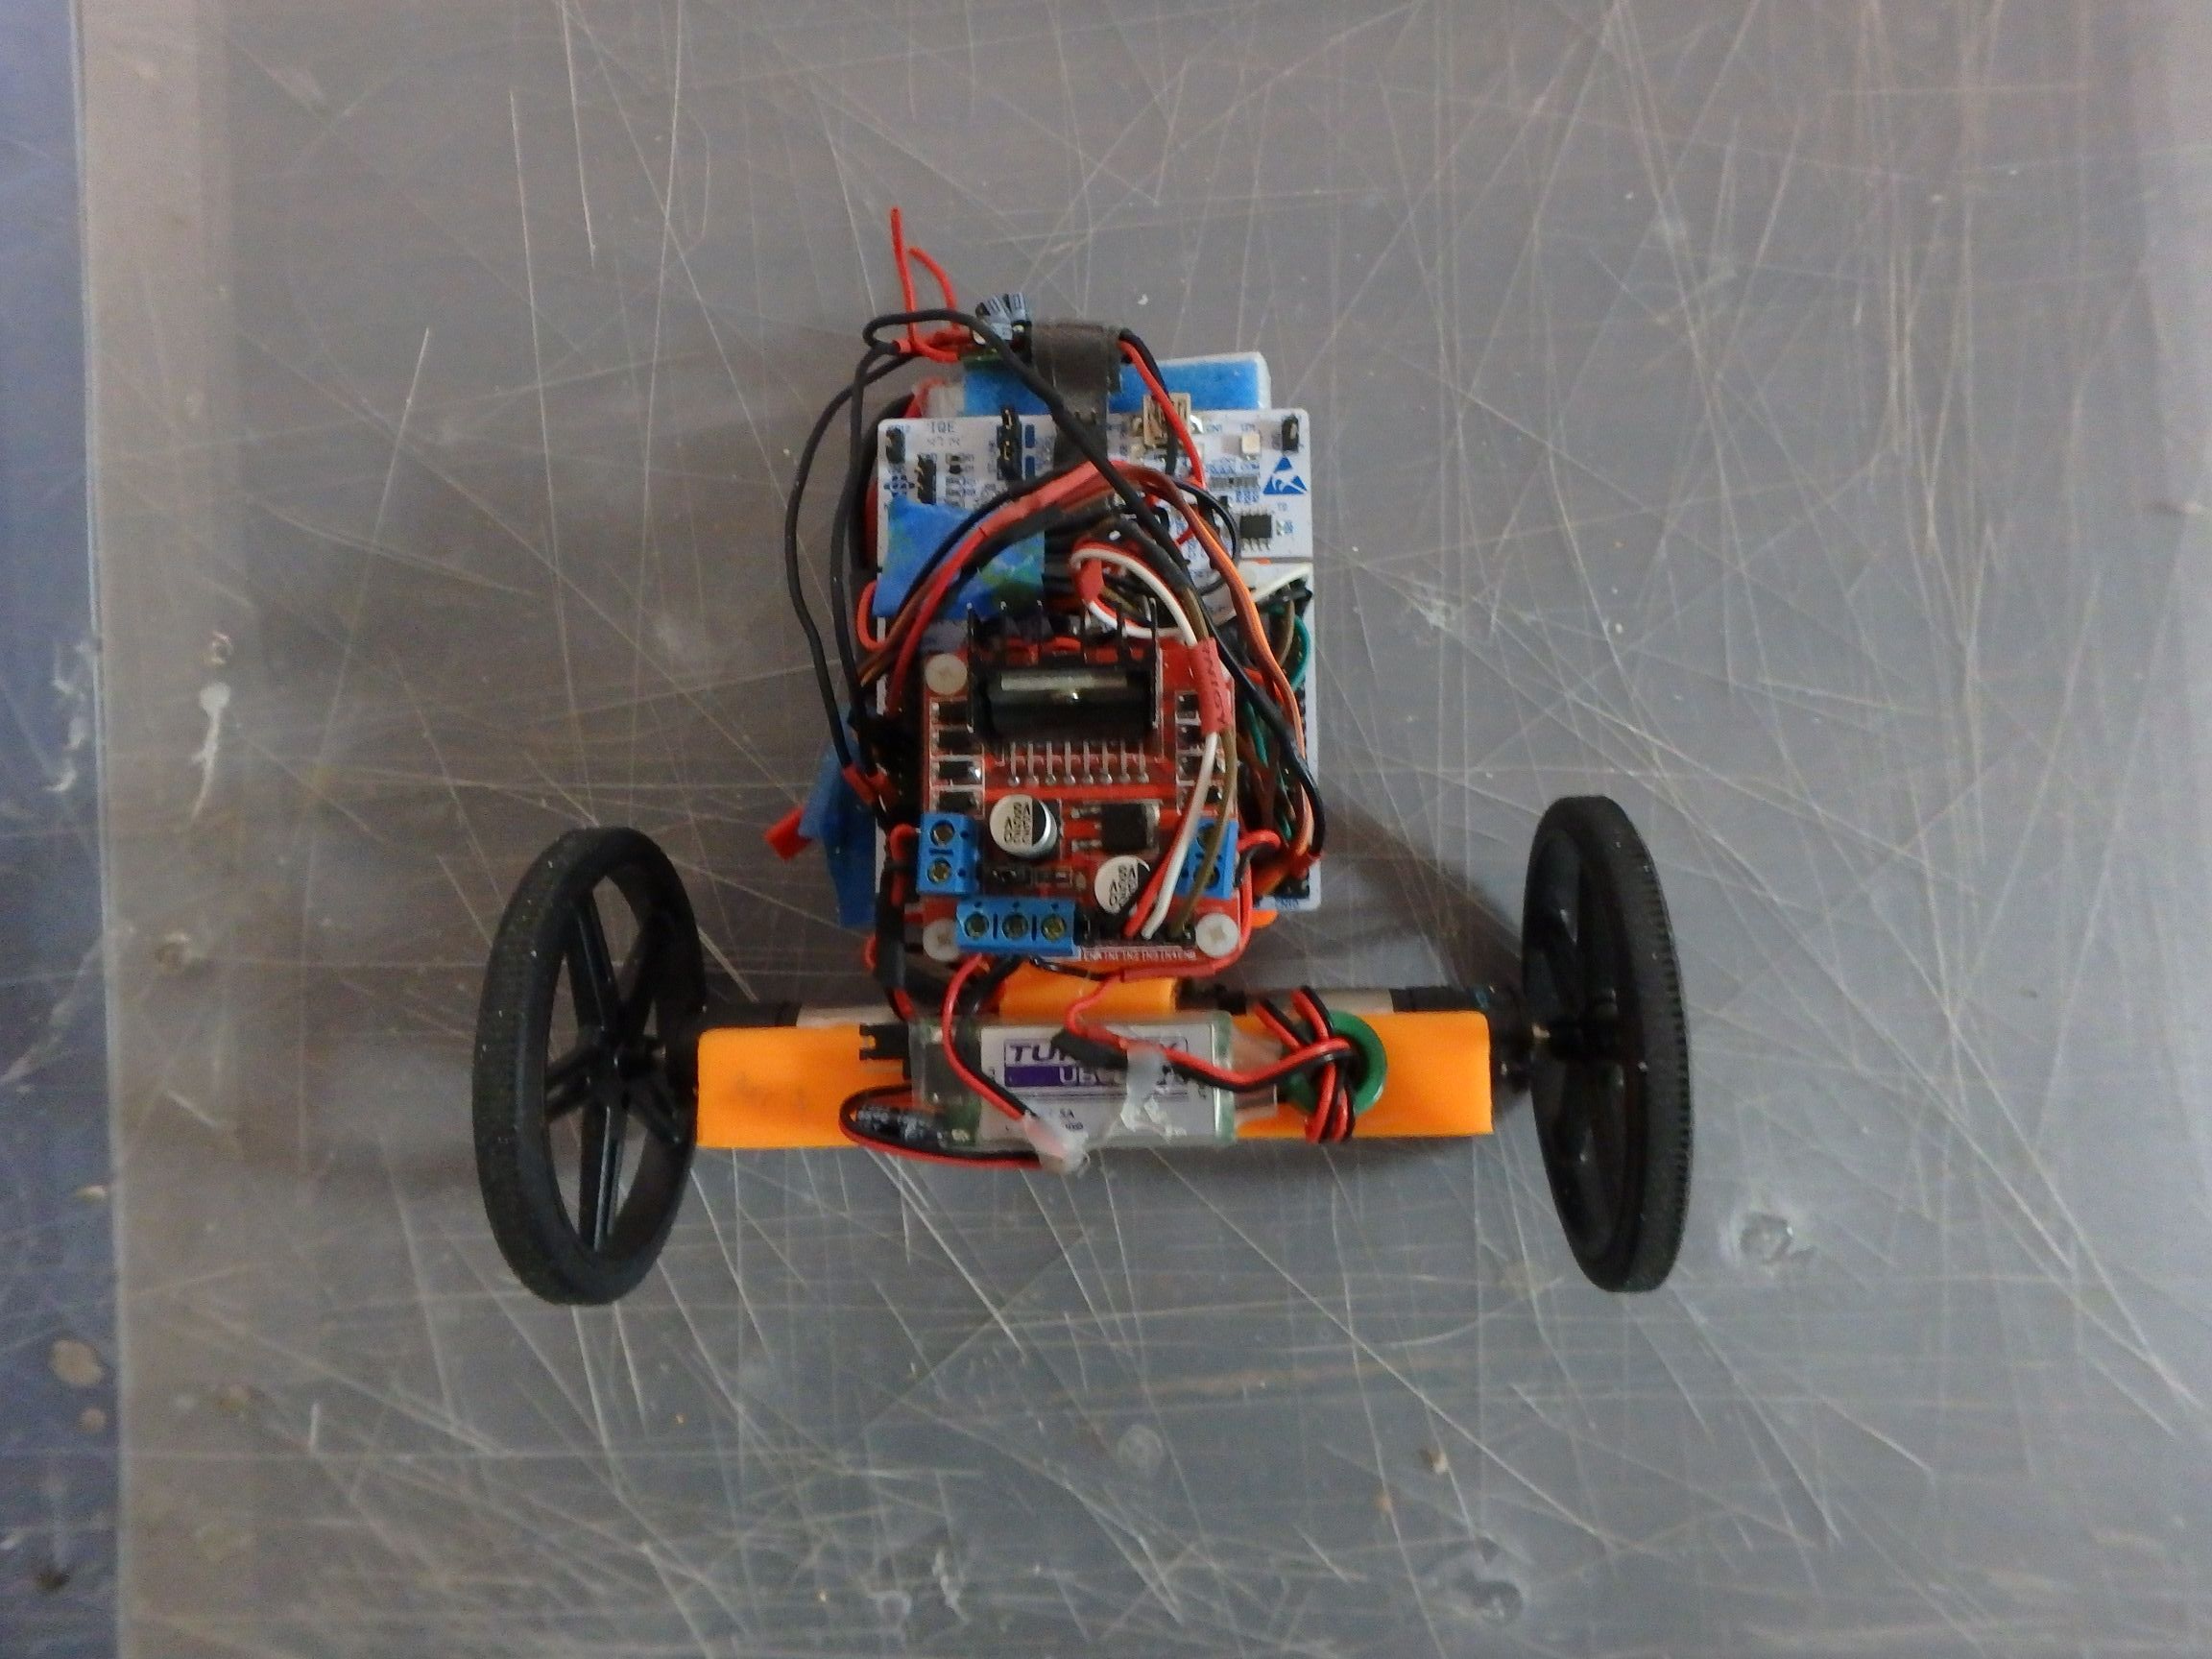
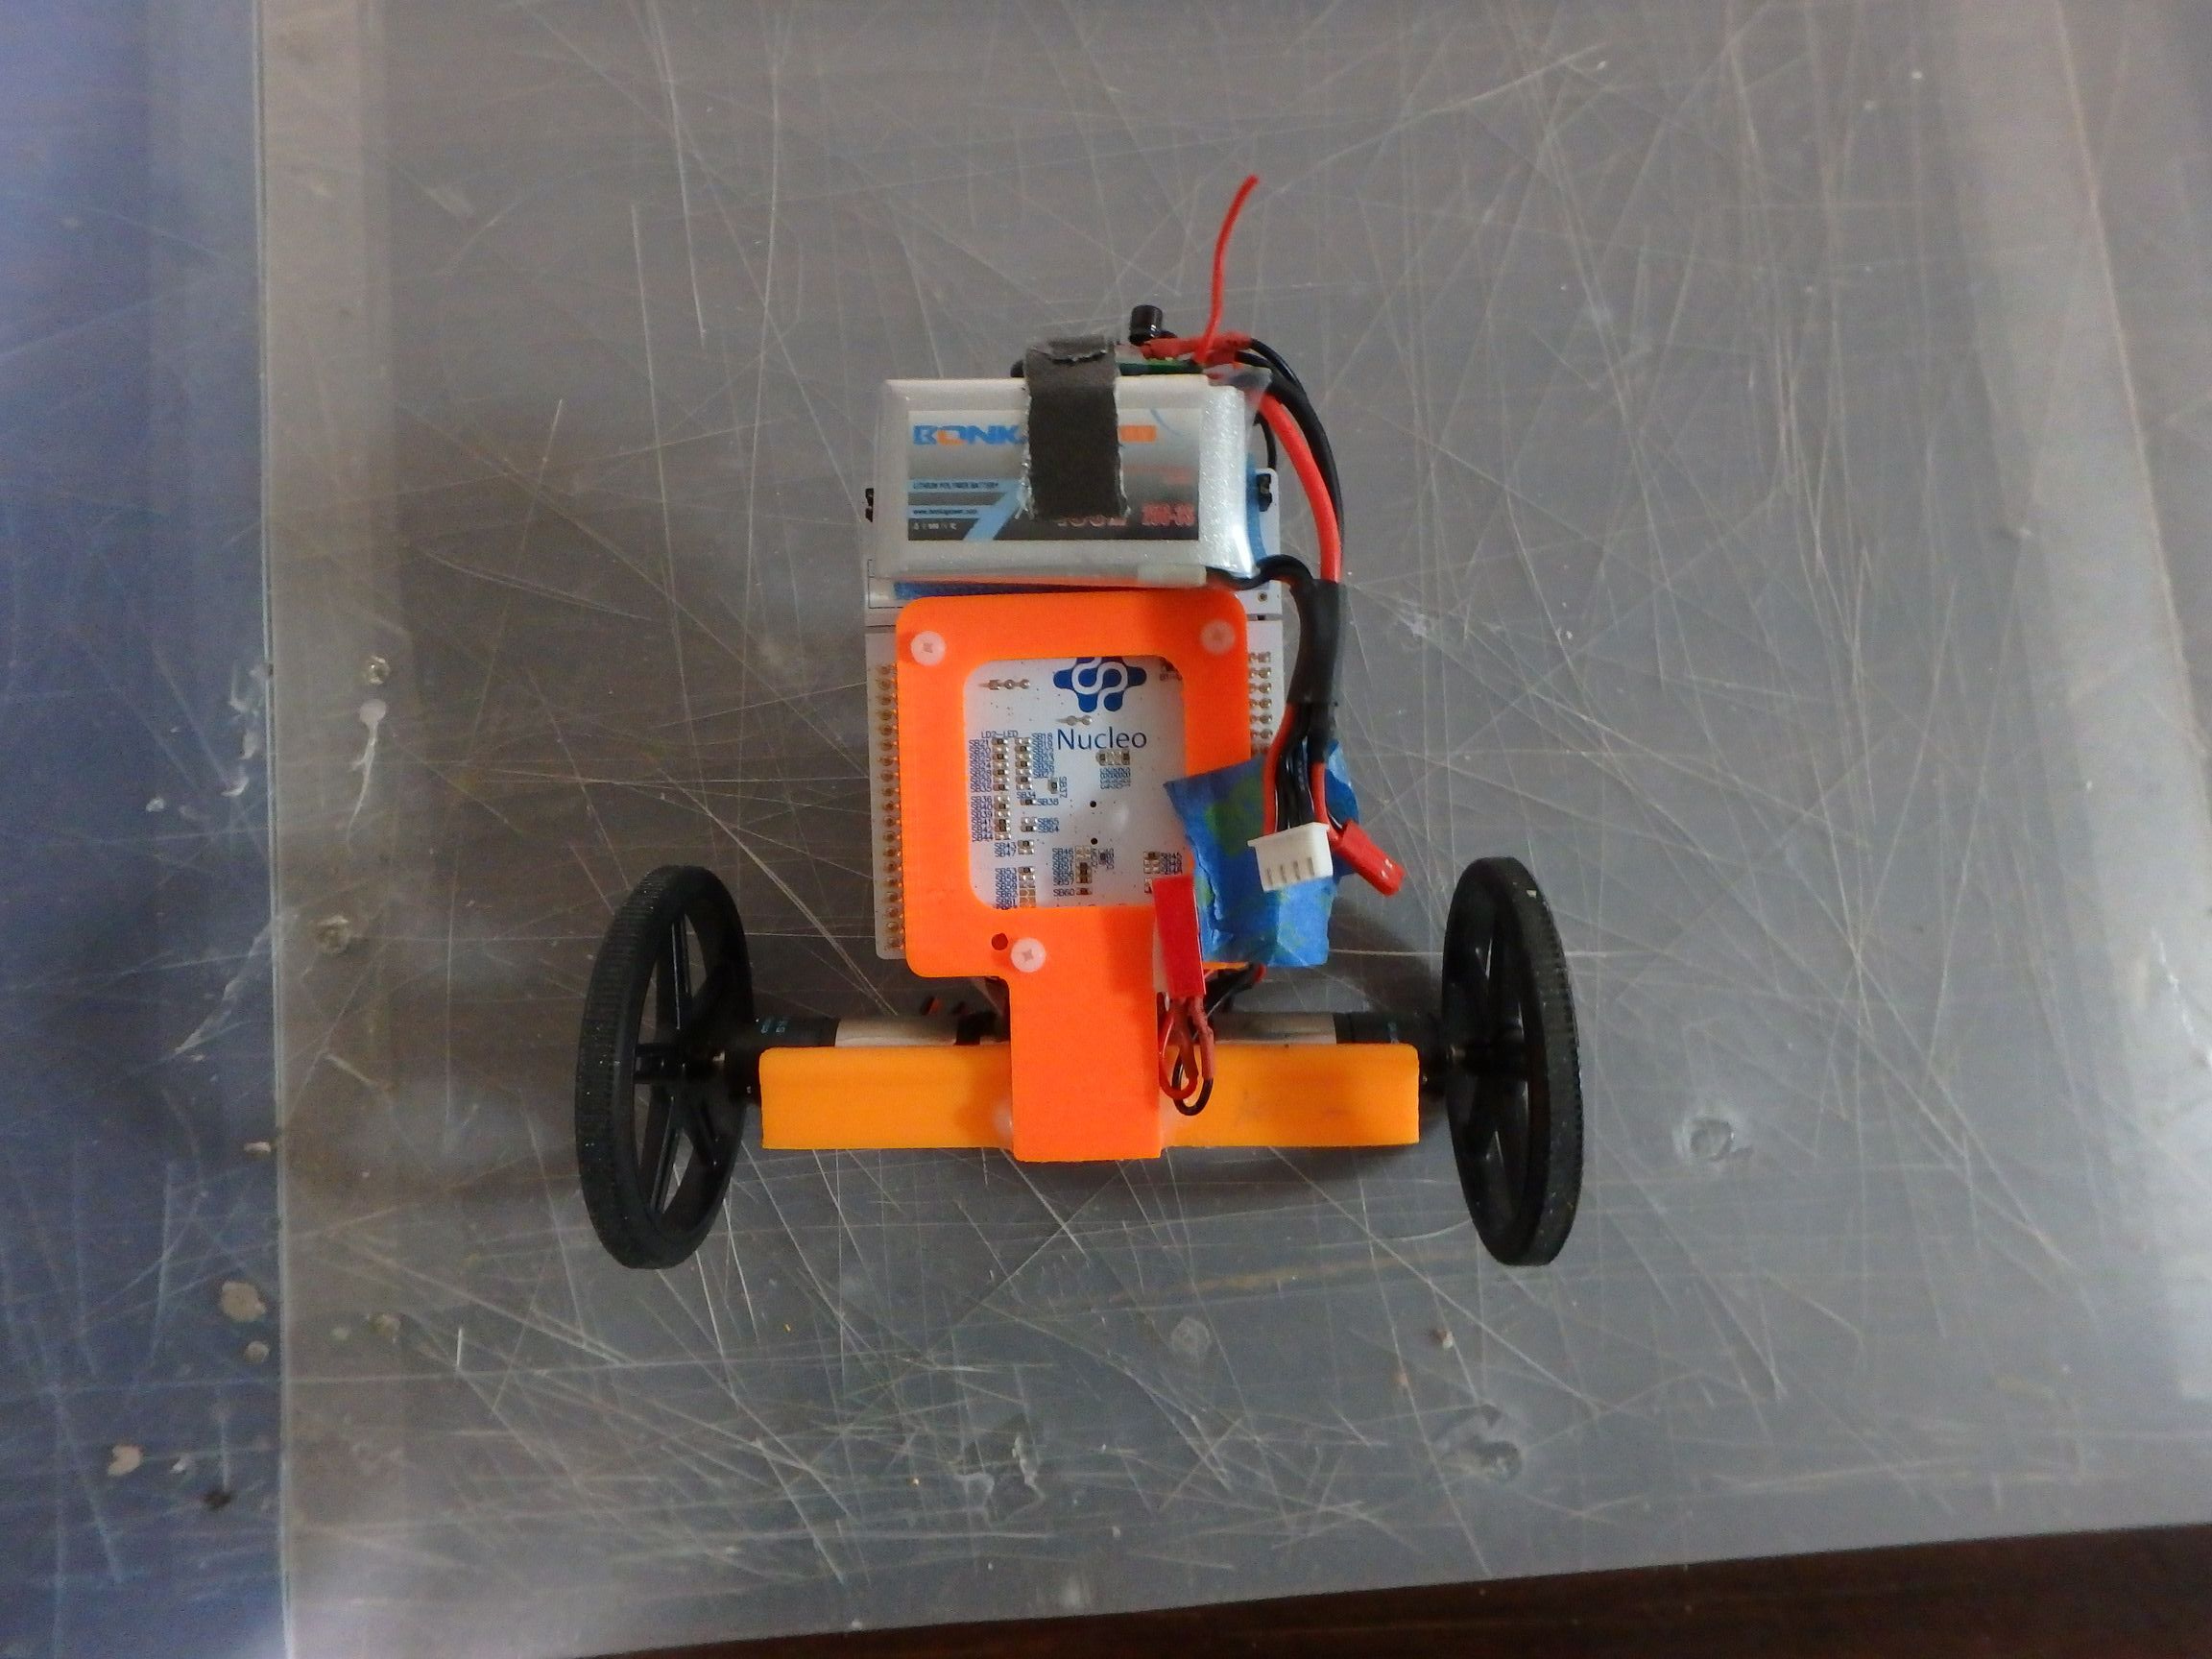
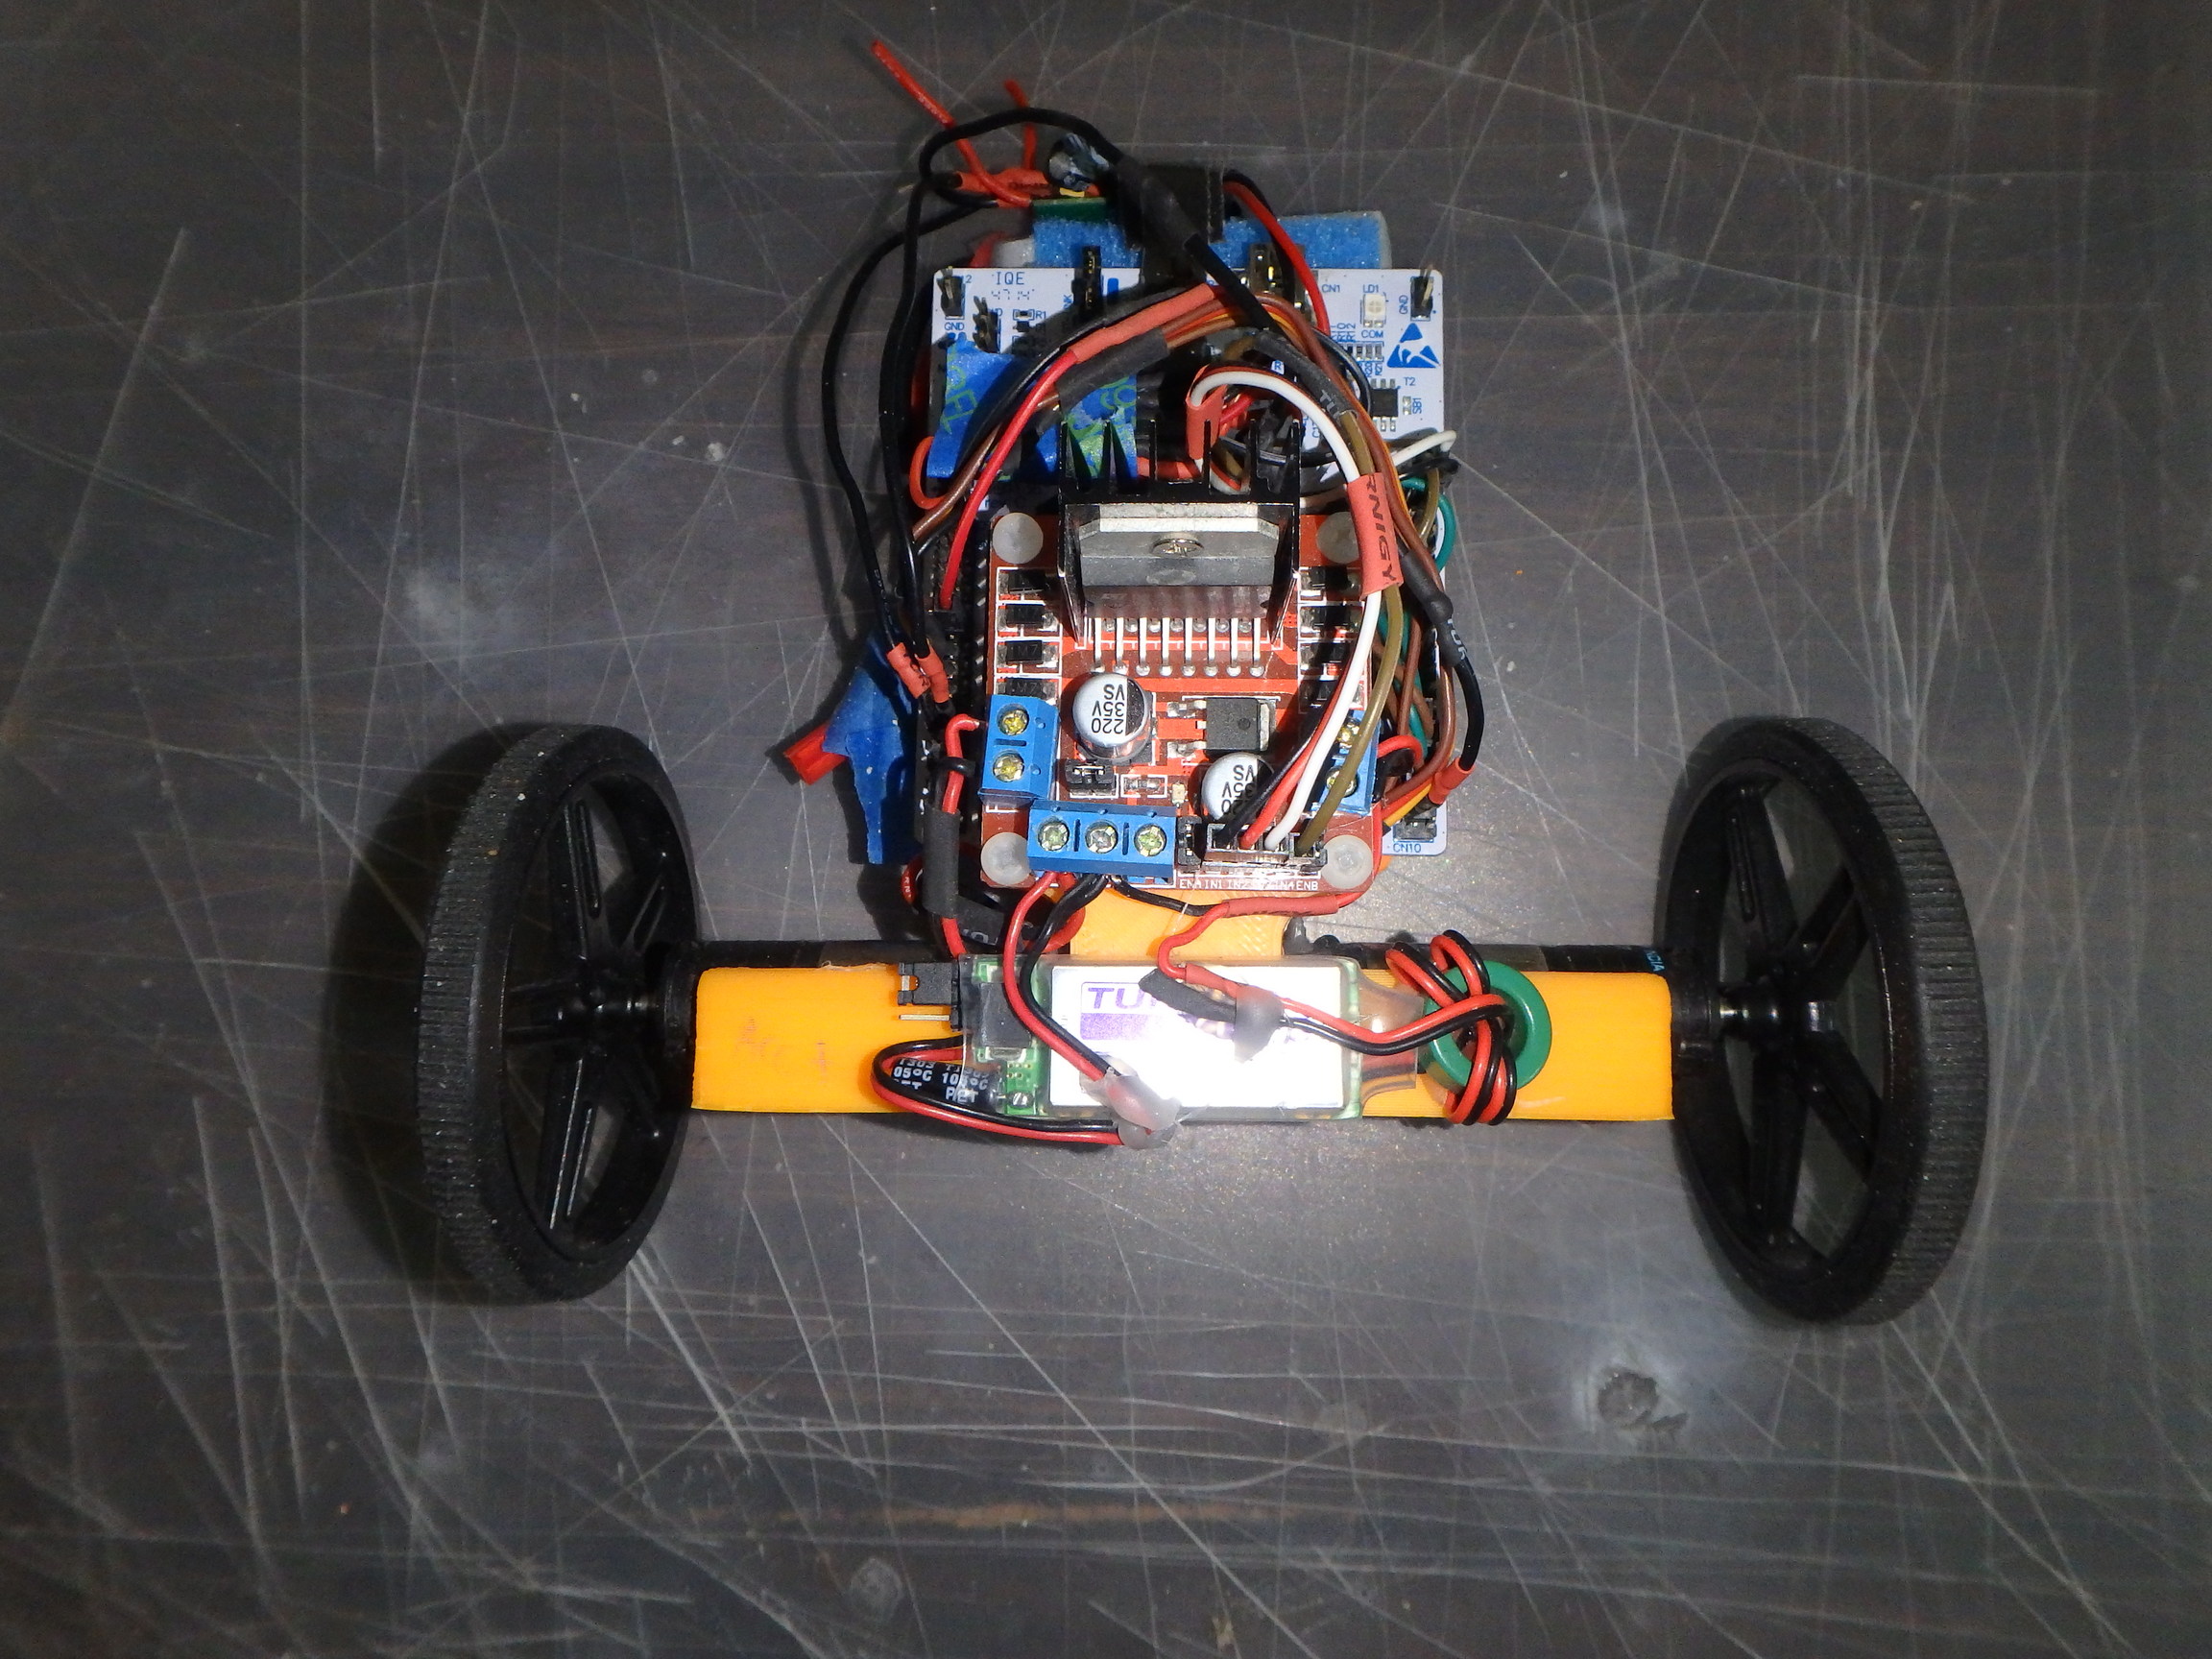
Hardware Build
The three 3D printed components stick together with a little bit of hot glue. The motors are a press fit but I added a little hot for good measure.